Advertisement
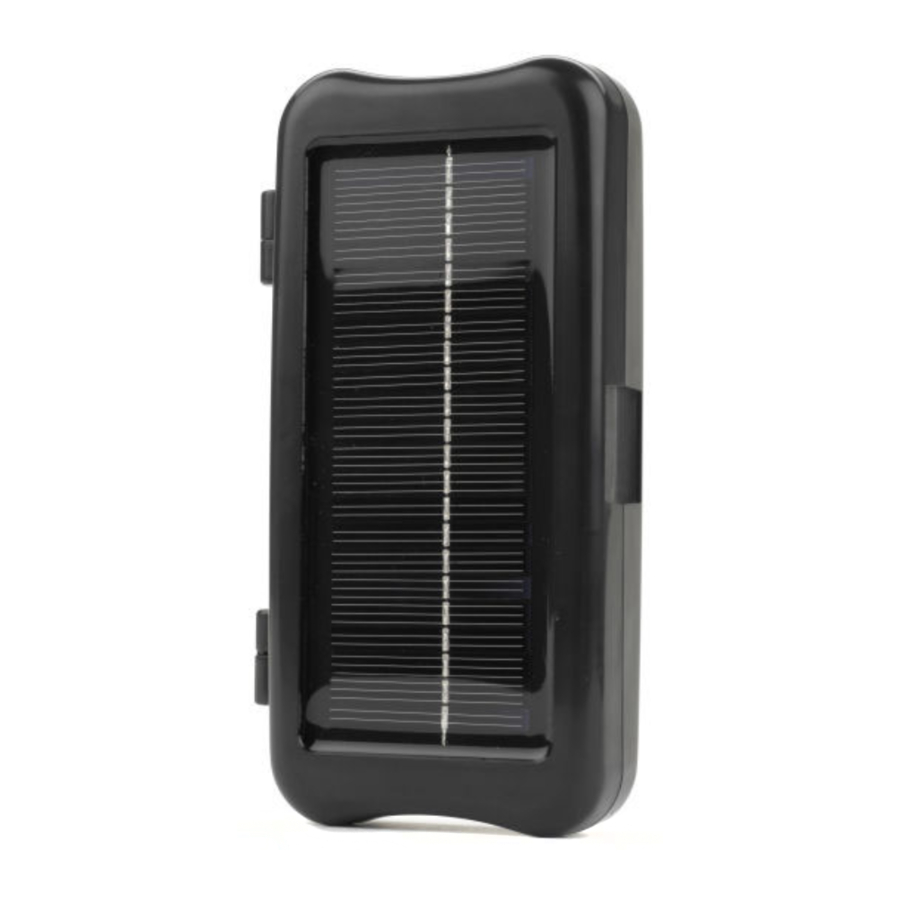
The SteriPEN™ Solar Case is both a carrying case and a battery charger. The rugged ABS plastic case with foam inserts will protect your SteriPEN™ Adventurer or SteriPEN™ Traveler while providing both solar and wall power charging capabilities for two CR123 batteries used by the Adventurer/Traveler.
We recommend alternating the use of two sets of batteries with your Adventurer/Traveler and Solar Case. By keeping one set of batteries charging in your case while using the other set in your Adventurer/Traveler, and alternating battery sets as necessary, you will be unlikely to run out of battery power.

To charge batteries with SOLAR POWER
- Place batteries in charging compartment in the proper polarity (see diagram A).
- Orient the case toward the sun.
Step 1: If you are in the northern hemisphere, aim the solar case so that the hinged side of the case faces south. If you are in the southern hemisphere, aim the solar case so that the hinged side of the case faces north (see diagram B).
Step 2: Position solar case lid at an angle approximately equal to your latitude. For example, if you are using your solar charger in Mexico City (latitude 19°24') then angle the lid at about 20° from horizontal (see diagram B).
Depending on the amount of available sun, batteries may require between 2 and 5 days to fully charge. The solar charge circuit has no LED charge indicator as this would consume a significant amount of solar power and cause an increase in charging time.
To charge batteries with WALL POWER
- Place batteries in charging compartment in the proper polarity (see diagram A).
- Plug AC adaptor (wall cube) into wall source appropriate for the wall cube packaged with your solar case (see diagram D).
- Plug wall cube jack into socket on the side of solar case (see diagram C).
Charge indicator LED will glow red to indicate that batteries are charging. During the final charging stage, indicator LED will change from bright to dim. When battery charging is complete, indicator LED will shut off. Charging may take up to 6 hours for fully drained batteries.
Troubleshooting
Batteries do not seem to be charging from solar power.
Be sure that solar panel in solar case lid is properly oriented as outlined in instructions above. Check to be sure that rechargeable batteries are being used and that they are oriented in correct polarity. The LED indicator does not function during solar charging as the LED consumes power, diverting solar energy. If availability of sunlight is low, batteries may require approximately 5 days to charge. In very poor solar conditions battery charging may take even longer.
Batteries do not seem to be charging from wall power.
Check to be sure that rechargeable batteries are being used and that they are oriented in correct polarity. Be sure wall cube is plugged into a live outlet and that the coaxial plug is properly seated in the socket in the Solar Case. If charger is properly charging from wall power the LED will be bright red during bulk charging and dim red during final trickle charging stage. LED will turn off once battery charging is complete.
Care and Cleaning
The Solar Case should not be exposed to temperatures below -40°F (-40°C) or above 180°F (82°C)
Clean exterior of Solar Case with a soft cloth dampened with a mild solution of water and detergent. Rinse exterior of Solar Case with a soft cloth dampened with clean water.
When Solar Case is not in use for extended periods, remove batteries and store in a clean, dry location.

- Read and understand these instructions completely before using the Solar Case.
- Only use rechargeable CR123 batteries in the Solar Case. Attempting to recharge non-rechargeable batteries may cause damage to the batteries or the Solar Case.
Be sure the rechargeable batteries are placed in the charger so that they are oriented in the correct polarity. (see diagram A).
Use only the wall power converter (wall cube) that came with your Solar Case or a wall power converter approved by Hydro-Photon. Check our web site, www.steripen.com, for approved wall cubes suitable for various regions of the world.
Avoid pinching your fingers in the Solar Case. If finger tips are placed in the space between the base and lid on the hinged side of the case (see diagram E) they may be pinched when lid is closed onto base.
The Solar Case is not intended for use by children. Keep Solar Case out of reach of children.
Do not submerge SteriPEN™ Solar Case in water. It is not waterproof.
Do not tamper with Solar Case circuit board or associated electronic components.
Repair Information
Any repairs to your SteriPEN Solar Case should be done by an authorized technician. Please contact your local distributor/importer for all repairs.
Product Registration & Warranty Information
For product registration and warranty information, please visit www.steripen.com or contact your local distributor/importer.
Part Number: MAN-SC-0609
SteriPEN is a trademark of Hydro-Photon, Inc.
Hydro-Photon, Inc.
PO Box 675
262 Ellsworth Rd.
Blue Hill, ME 04614 USA
Tel: (207) 374-5800
Fax: (207) 374-5100
spinfo@steripen.com

Documents / Resources
References

Download manual
Here you can download full pdf version of manual, it may contain additional safety instructions, warranty information, FCC rules, etc.
Advertisement
Need help?
Do you have a question about the Solar Charging Case and is the answer not in the manual?
Questions and answers