Table of Contents
Advertisement
Quick Links
Advertisement
Table of Contents

Related Manuals for Metroboard X.o

Summary of Contents for Metroboard X.o
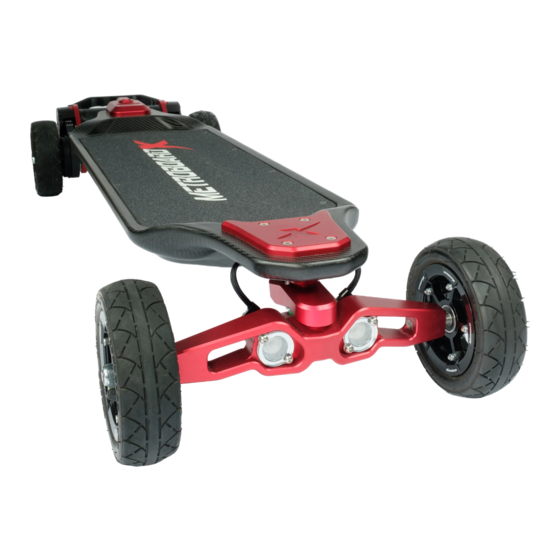
- Page 1 READ BEFORE YOU RIDE X.o User Guide HP1 and HR1 Controller...
-
Page 2: First Things First
First Things First Congratulations on your new Metroboard X.o! From all of us at Metroboard, thank you! If you have questions or concerns you can reach us at 360-851-9586 or info@metro-board.com (note the hyphen) Please read this guide while you charge. - Page 3 Plug the charger into the wall and then insert the 3-pin connector into the charge port on the rear top plate of your Metroboard. The charger’s LED light will turn red while charging and the charger’s internal cooling fan may turn on.
-
Page 4: Safety Gear
Safety Gear Everybody falls. It is better to crack a helmet than your skull. Always wear a helmet. We strongly encourage a full-face helmet. Gloves are also highly recommended because shredded palms are just the worst. Knee and elbow pads are also advised. Armored jackets and hoodies are a good idea. -
Page 5: Using The Remote Control
Using the Remote Control The Metroboard X.o ships with a custom 2.4 Ghz Flipsky VX1 remote as shown in the illustration below. Accelerate/Brake & Reverse Power Button Toggle Lights On/Off (Press and hold for pairing) & Cycle 3 Brightness Modes... - Page 6 Loctite Threadlocker Blue 242. Always test your remote connectivity as part of your pre-ride inspection. Use the handle on the Metroboard to lift the rear wheels up off the ground and test the remote by throttling the thumb-wheel gently all the way forward, and braking/reversing by pulling all the way back.
- Page 7 Test the remote Always test your remote connectivity as part of your pre-ride inspection. Use the handle on the Metroboard to lift the rear wheels up off the ground... Accelerating With the drive wheels off the ground, test the remote by throt- tling the thumb-wheel gently forward.
- Page 8 New Rider Tips Your feet should be parallel to each other with your toes point- ed slightly forward on the deck. Prepare for acceleration by bending your front leg slightly and bracing with your back leg. Prepare your body for braking by bracing your front leg and bending your back leg a little.
- Page 9 Adjusting Your Trucks Double-Kingpin (DKP) Trucks have more going on than tradi- tional trucks, but they offer a more fine-tunable experience. The easiest way to think about your trucks is that you want the front road-side pair (F3-F4 shown below) loosest of all to facilitate turning, and the rear board-side pair (R1-R2) tightest of all to prevent speed wobbles.
-
Page 10: Changing Wheels
Step 1 Remove the rear handle from the Metroboard X, Remove the belt covers from each side, & loosen all 4 motor mount bolts on each side. Step 2 Insert the M5 35mm screw into the back of the motor plate. - Page 11 DUI. Avoid water and do not ride in wet conditions. Your Metroboard is sealed against the elements, but riding in the rain or on wet roads is especially dangerous due to slick roads and poor visibility. If you get caught in a down-pour, seek shel- ter and try to wait it out.
-
Page 12: Fcc Statement
FCC Statement WARNING: Changes or modifications not expressly approved by the party responsible for compliance void the users authority to operate the equipment. This equipment has been tested and found to comply with the limits for a Class B digital device pursuant to part 15 of the FCC rules. -
Page 13: Warranty
(typically 2-3 years)! Nonetheless, we’ll have them ready for you to make sure your Metroboard Electric Skateboard is always up and running!
Need help?
Do you have a question about the X.o and is the answer not in the manual?
Questions and answers