Advertisement
- 1 PRODUCT DESCRIPTION
- 2 NANIGHT TECH 2 INCLUDES
- 3 BATTERY INFORMATION
- 4 CHARGE THE BATTERY
- 5 CHANGING THE LENS
- 6 USAGE
- 7 DIM THE LIGHT
- 8 USE OF SOFT GOODMAN HANDLE
- 9 AFTER USE MAINTENANCE
- 10 RECYCLING
- 11 WARRANTY
- 12 APPROXIMATE BURN TIMES
- 13 OPTIONAL ACCESSORIES
- 14 OPTIONAL ACCESSORIES
- 15 Documents / Resources
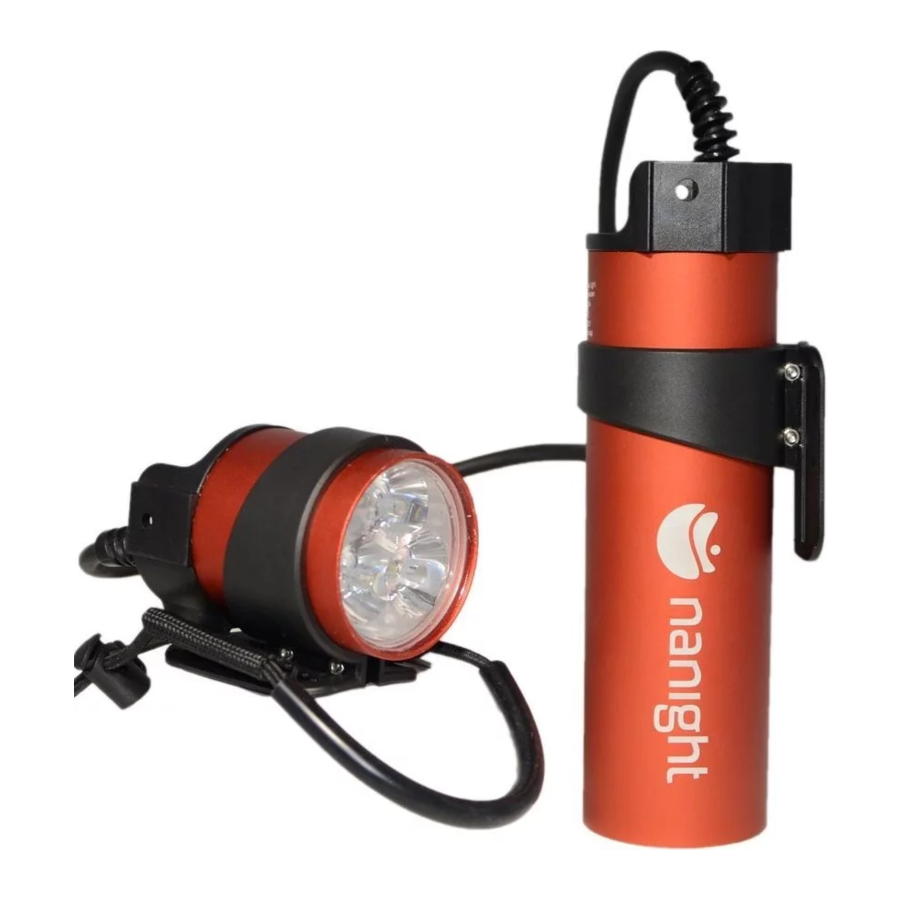
PRODUCT DESCRIPTION

The light is designed for diving at depths of up to 100m. We at Nanight hope your new light will give you many rewarding days and nights of diving!
- LED Type: 3x Cree XHP35
- Battery: 14.4V Panasonic Li-Ion, 6700 mAh
- 4-step dimming
- Operating temperature: 0 – 35°C ● Depth rating: 100m
- Light output 4000 emitter lumen
- Weight: 1000 g
- Weight in freshwater: ca 250 + 50 g
- Burn time
NANIGHT TECH 2 INCLUDES
- Dive light
- Charger
- Lens 10°, 100° without lens
- Soft goodman handle
- Case
- Standard canister mount
- Canister velcro quick strap

The battery pack in this light is of Li-Ion type. This kind of battery may explode if charged incorrectly, short circuited or damaged in any way. Charge the light outside away from flammable materials. Never charge the light in direct sunlight or in temperatures above 35°C. If the light or battery becomes hot, immediately disconnect the charger, open the light and place the light in a fire proof area outside and don't use the light again until a Nanight service center has checked the light. Never use a light that has been flooded. Regularly open the light and check for over pressure if the light is equipped with an external charging port. Replace the battery if the battery is damaged or has significantly lost capacity. Only use original Nanight battery packs with this product.
When diving in dark water, a backup dive light should always be brought.
This is a bright light. Never direct the light directly into the eyes of yourself or others.
When using the dive light above water, it may become hot. Be careful not to burn yourself or others.
Do not disassemble the dive light while it's still wet.
BATTERY INFORMATION
The lithium ion battery is certified for flying according to UN 38.3, and the energy content is below the allowed upper limit. As specified by the certification, the battery should not be removed from the product before or during flying. Depending on regulations between different airlines you should either fly with your lights as hand luggage or checked in luggage.
CHARGE THE BATTERY

-
![caution]() Make sure the Charge Port is completely dry.
Make sure the Charge Port is completely dry. - Attach the brass adaptor to the Charge Port.
- Connect the charger to the wall and plug in the DC connector to the brass adapter.
- The charger will indicate charging by a red LED. A green led will indicate completed charge.
- Disconnect the charger.
![caution]() Always remove the brass adapter after charging.
Always remove the brass adapter after charging.
 Make sure the Charge Port is completely dry.
CHANGING THE LENS
- It is easier to open the light head if you first remove the (soft or aluminium) goodman handle.
- Open the dive light by unscrewing the housing tube counterclockwise and pull the tube carefully.
- Remove the lens manually by gently wiggling it.
- Insert the new lens, being careful so that its legs are aligned correctly in the light base.
- Inspect the o-ring for damages and dirt. Replace o-rings or clean them if necessary.
- Close the dive light by pushing the tube past the first o-ring. Tighten the housing tube by turning clockwise. Be careful so that the parts are threading correctly to each other. Make sure that the tube covers both o-rings.
USAGE
The drop-shaped knob controls the functionality of the light. Loosening or tightening the screw can adjust knob friction.
SWITCH THE LIGHT ON
- Turn the knob clockwise. The light will always start on step 3/4.
- If the battery level falls below 10%, the amount of light will automatically be reduced to optimize the battery performance and allow the user to terminate the dive safely.
SWITCH THE LIGHT OFF
- Turn the knob counterclockwise until it touches the locking position, the light will go off with a delay of 2 seconds.
- Whenever outside of the water, turn the knob counterclockwise past the locking position, to ensure that the light is not accidentally switched on.
DIM THE LIGHT
- Turn the knob counterclockwise until it touches the locking position, and back again within 2 seconds.
- Repeat the maneuver for further dimming.
- In this way, the light is dimmed gradually in four steps, and back again to the highest brightness
- The light will always start up on step 3/4.
Note that the light automatically dims down when the battery level drops below 10%.

Battery level indication
A colored led seen in the lens, indicates the battery level each time the light is switched off.

Green: 100-65%
Amber: 65-33%
Red: 33-0%
USE OF SOFT GOODMAN HANDLE
The soft goodman handle is mounted on the hand as seen on the picture below. One sling in the palm and the other around the wrist.

AFTER USE MAINTENANCE
- Rinse the dive light with fresh water after use.
- Lubricate the o-rings with silicone grease if necessary.
- Disconnect the battery if the light is not used for long periods or when transporting by air.
- Inspect the o-ring for damages and dirt. Replace o-rings or clean them if necessary.
- Charge the light at least every 6 month.
RECYCLING
This product contains electronic components and must not be disposed of with household waste. Leave the product for recycling in designated areas, such as municipal recycling centers.
WARRANTY
Provided the product is used as intended, two years of warranty is given on the light. The warranty is valid provided that a receipt of the purchase can be presented, and includes repair or replacement of defective parts.
APPROXIMATE BURN TIMES

OPTIONAL ACCESSORIES
These accessories can be purchased by your local Nanight dealer.

If you prefer hard goodman handles. This aluminium goodman handle is for you. You can easily adjust the size to fit your hand, and when not diving it can be folded flat. The thumb grip enables smooth control and variation of
Aluminium Goodman Handle, NT-AGH.

When using thick gloves or if you have large fingers, the switch extender simplifies the switch handling.
Switch Extender, N-SE

When diving in crystal clear waters, a wider 35° lens will lighten up a bigger part of that cave, beneath the stone or in the crack of the reef.
35° lens, N-L35
OPTIONAL ACCESSORIES

The canister mount HD is made from stainless steel and webbing. Designed for rough handling of your canister.
Canister Mount HD, NT-CMHD

If you are photographing or shooting video, it is almost always beneficial with extra light. The 1" ball or YS mount enables you to easily attach your Nanight light to your camera tray or arm. 1" ball mount, NT-BM, YS mount, NT-YS.

Documents / ResourcesDownload manual
Here you can download full pdf version of manual, it may contain additional safety instructions, warranty information, FCC rules, etc.
Advertisement


Need help?
Do you have a question about the Tech 2 and is the answer not in the manual?
Questions and answers