Table of Contents
Advertisement
Advertisement
Table of Contents

Related Manuals for Logitech Harmony 659


Summary of Contents for Logitech Harmony 659
- Page 1 600-Series Harmony Remote User Manual version 1.2...
-
Page 2: Table Of Contents
Table of Contents INTRODUCTION ...1 ETTING TO ARMONY BEGINNING THE SETUP PROCESS ...3 USING YOUR HARMONY REMOTE...4 ...4 ELECTING AN CTIVITY Switching Between Activities...4 ISPLAYING ELP ON ARMONY ONTROLLING NDIVIDUAL EVICES Device Mode...5 Sound Mode ...5 Picture Mode ...5 CUSTOMIZING YOUR HARMONY REMOTE ...6 USTOMIZING THE CTIVITY UTTONS... -
Page 3: Introduction
Harmony remote. If in doubt about how to set up your Harmony remote, follow the information and instructions using the Logitech Harmony remote software (also referred to as Harmony remote software). -
Page 4: Controls & Functions
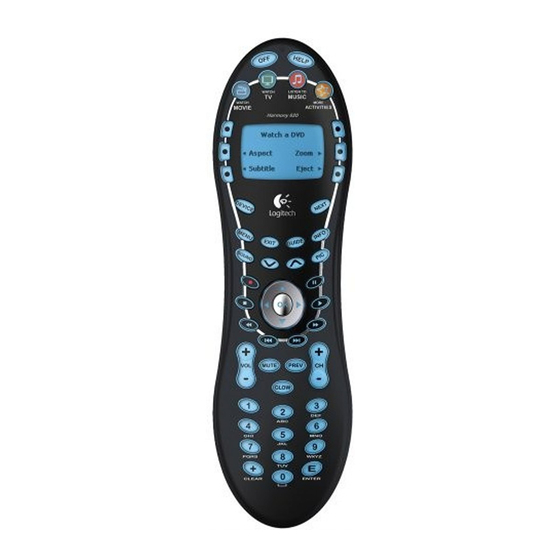
Getting to Know Your Harmony Remote Many of the Harmony remote’s buttons are standard remote buttons. However, there are buttons and other hardware that may not be so familiar to you. The extra buttons and hardware give you access to the special features of the Harmony remote. -
Page 5: Beginning The Setup Process
600-Series Harmony Remote Beginning the Setup Process Once you have installed the Logitech Harmony remote software, connect your remote and you will be guided through a series of question-and-answer steps to complete the online setup process: Login Information: Create your login information. -
Page 6: Using Your Harmony Remote
Using Your Harmony Remote This section provides you with information that will help you use your remote. Selecting an Activity View the Activities you have added by pressing the Activities button. The display will then list the Activities you have added. Press the corresponding display button next to the Activity you want to start. As a default, when you select an Activity, you will see a message on the remote’s display reminding you to keep the remote pointed at your entertainment system while the Activity starts. -
Page 7: Controlling Individual Devices
Controlling Individual Devices This section provides you with an overview of three modes you can use to access specific features of each device. Device Mode Press Device to enter device mode. Device mode gives you access to all the possible commands for each device included in your Harmony remote configuration. -
Page 8: Customizing Your Harmony Remote
Customizing Your Harmony Remote All customization of your Harmony remote is done from the Harmony remote software: Use the Harmony remote software to: • Troubleshoot • Add or delete Activities • Add or delete devices • Change the settings for the remote •... -
Page 9: Adding Custom-Labeled Buttons
B: Your Harmony remote C: Distance between remotes: 5-10 cm (2”-5”) apart The following steps outline what happens when you press a button on your original remote control: 1. The infrared sensor on the Harmony remote learns the infrared signal. - Page 10 For infrared commands that select inputs (e.g. on a stereo receiver), start with the prefix “Input”. Do not name the input based on what you have connected to your device, rather name it based on what it is called on the front of the device, or on the remote control (e.g. InputAux, InputVideo1, InputTape, InputDVD, Input VCR).
-
Page 11: Additional Help
Additional Help The Harmony remote provides you with several features to assist you with: • Finding answers to your questions quickly and easily • Troubleshooting the setup and customization process Finding Answers to Your Questions The help you find answers to your questions quickly and easily, consult any of the following tools: Tool Search FAQs (Frequently-Asked Questions)
Need help?
Do you have a question about the Harmony 659 and is the answer not in the manual?
Questions and answers