Advertisement
Quick Links
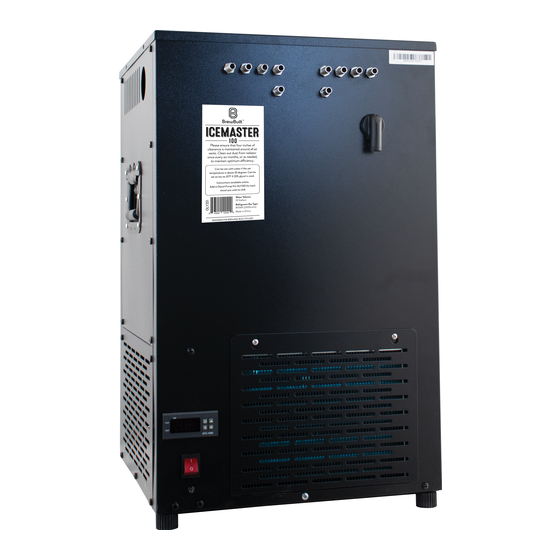
ICEMASTER 100
Thank you for purchasing the IceMaster refrigeration
unit. You are taking a big step to better manage
fermentation temperatures, and ultimately making
cleaner, more consistent beverages.
Assembly Instructions
1
Unpack your unit and open the top cover to find
the power cord and drain plug. Install the drain plug
and place the power cord aside for now.
2
Unscrew and remove the 3-piece reservoir
cover.
TIP -
take note of which side
take note of which side
the slot is located on.
the slot is located on.
3
Fill the reservoir with a 20% propylene glycol
solution - 4 parts RO/distilled/deionized water
to 1 part 99.9% propylene glycol.
If you choose to use water only - it is best to
use tap water as RO/distilled/deionized water
on its own may damage the heat exchanger.
TIP -
While you work on the next steps,
While you work on the next steps,
attach the power cord and plug in the
attach the power cord and plug in the
IceMaster to verify that it cools.
IceMaster to verify that it cools.
Picture of the IceMaster with our
optional Glycol Pump Kit installed.
This IceMaster is designed to manage your
fermentations by cooling water/glycol to
a set temperature in a reservoir which will
then be circulated via a submersible pump
(sold separately) through your specific
cooling coils/jacket/plate/system.
WARNINGS
1.
Freezing can occur so icing in the reservoir is considered normal
operation. To compensate for this we recommend that one uses a
20% propylene glycol solution to lower the freezing point.
2.
Do not set the reservoir temperature controller lower than 28°F
(-2.2ºC). Running the unit below this temperature may negatively
affect the unit's efficiency and has the potential to freeze beer
which may impact the finished beer's flavor.
USING THE OPTIONAL
GLYCOL PUMP KIT (GLY355)
TIP -
Ultimately you will need to have the
Ultimately you will need to have the
tubing and pump power cord come out of the
tubing and pump power cord come out of the
unit through the slotted cover removed earlier.
unit through the slotted cover removed earlier.
Make note of which corner you will need to run
Make note of which corner you will need to run
the tubing and cord through.
the tubing and cord through.
1
Attach & clamp the hose to the pump.
2
Place the pump in the middle of the reservoir -
it should rest at the bottom.
3
Routing the hose through one of the stainless
bulkheads, extend the hose to the inlet of your
cooling system. This depends on your cooling
system, but the general idea is that we want
the coolant to circulate from the bottom of
your fermenter to the top.
4
Cut & clamp the hose to the inlet of your
cooling system.
5
Attach & clamp the remaining hose to your
cooling system's outlet.
6
Routing the return hose through one of the
stainless bulkheads, insert the other end of the
tubing into the reservoir below the liquid level.
TIP -
to ensure the tubing stays in place zip
to ensure the tubing stays in place zip
tie it to one of the cooling lines.
tie it to one of the cooling lines.
7
CHECK FOR LEAKS:
• Plug in the pump to any outlet/extension
cord (not the temp controller).
• Look for leaks where the tubing is connected
to the cooling system.
• If necessary, tighten or re-attach clamps.
Advertisement

Related Manuals for BrewBuilt ICEMASTER 100

Summary of Contents for BrewBuilt ICEMASTER 100
- Page 1 (sold separately) through your specific ICEMASTER 100 cooling coils/jacket/plate/system. WARNINGS Freezing can occur so icing in the reservoir is considered normal Thank you for purchasing the IceMaster refrigeration operation.
- Page 2 Final Set-Up Plug the pump in to your temperature controller. Assuming the unit is cooling and there are no leaks, unplug the pump. Set your desired fermentation temperature by following the instructions provided with the Replace the 3-piece reservoir cover temperature controller.
Need help?
Do you have a question about the ICEMASTER 100 and is the answer not in the manual?
Questions and answers