Table of Contents
Advertisement
Quick Links
Advertisement
Table of Contents

Summary of Contents for Staniot Smart Security Box H300
- Page 1 Smart Security Box Kit User Manual...
-
Page 2: Table Of Contents
CONTENTS 1. General Description ............................3 2. Security Box ................................ 5 2.1 Appearance Design ........................... 5 2.2 Indicator Status ............................5 2.3 Function Button ............................5 3. Using Smart Life APP ............................6 3.1 Notice ................................ 6 3.2 Download APP - Smart Life ........................6 3.3 APP Sign up &... -
Page 3: General Description
1. General Description Welcome to use the smart security box! This device is embedded with a high-performance and low-power intelligent microprocessor, with a simple and ultra-thin design. The device has 30 built-in ringtones, which can be used as a doorbell with a wireless doorbell button. - Page 4 Detector mode: 4 options All Arm Active: When the security box is in "Away Arm" or "Stay Arm", the box will alarm after the detector is triggered. It is recommended that the outdoor detector can be set to this mode. Away Arm Active: When the security box is in "Away Arm", the box will alarm after the detector is triggered.
-
Page 5: Security Box
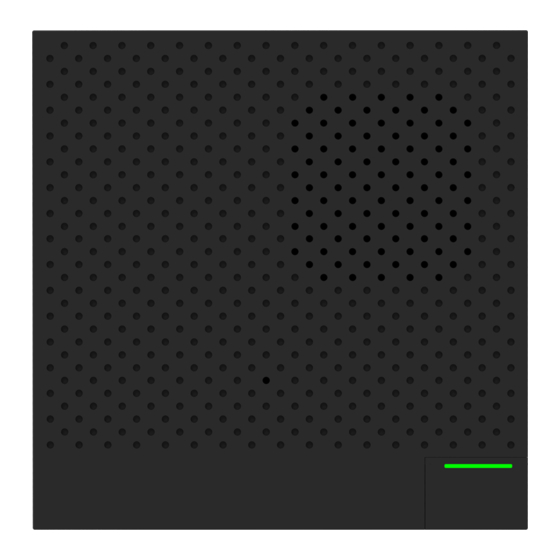
2. Security Box Appearance Design Indicator Status Action Color Always on Quick Flash Slow Flash Configure network/clear Green Disarm Network disconnected network configuration Alarm status (After the Alarm status(Siren duration) Alarm delay siren duration expires) Yellow Armed status Accessories pairing Arm delay No external power supply, and the built-in battery is exhausted, please connect to the No light... -
Page 6: Using Smart Life App
3. Using Smart Life APP Notice This device can be connected and controlled through the "Smart Life" APP. Please download the "Smart Life" APP in advance from the app store. The relevant guide details are as follows: Download APP - Smart Life Users can search "Smart Life"... -
Page 7: Connect Security Box To App
and click: "Get verification code", then the APP interface will jump to: "Enter verification code", and the user can fill in the six-digit verification code received into the APP. After finishing the previous step, the interface will pop up to set the "password". Users can set the APP login password according to their own preferences or habits. -
Page 8: User Interface Of Smart Life App
(10) In order to allow users to use APP to realize remote control equipment more conveniently. As long as the device and the APP are connected, even if the phone is not connected to the original WiFi network, the user can use the APP to remotely control the device. User interface of Smart Life APP It indicates that the current device uses external External power supply... -
Page 9: Setting Accessories On App
Whether to push notifications to the APP after the device alarms, status: Alarm message propel on/off; default: on. Set the device alarm delay time, the range is 0~180 seconds, the default Alarm delay value is 30 seconds. Set the device's doorbell ringtones, ranging from 1 to 30, and the default Doorbell ringtone value is 1. - Page 10 that is, the transmitter should be installed on a fixed door frame, and the magnet should be installed on the movable door. The triangle marks on the transmitter and the magnet should be facing each other, and the distance between the two is less than 10mm. When the door is opened after installation, the indicator light will be on for 2 seconds to indicate that the installation is complete.
-
Page 11: Doorbell Button
Doorbell Button Features: Two installation methods: support glue and screw fixation. No standby power consumption. Using DC12V power supply, higher transmitting power, longer wireless distance. Installation Step: 1. Hold the lower cover tightly with your left hand, fasten the upper cover and the lower cover with your right hand, and then press along the edges, as shown in the following figure. -
Page 12: Remote Control
Remote Control Introduction of Parts 5.3.1. Battery Replacement 5.3.2. -
Page 13: Hazardous Substance Declaration
6. Hazardous Substance Declaration Harmful substance Component Lead Mercury Cadmium Hexavalent Polybrominated Polybrominated Name chromium biphenyls diphenylethers Cr(VI) PBDE Metal parts Plastic parts 7. Warranty Rules Please contact our after-sales service for any failure caused by the product itself during the warranty period.
Need help?
Do you have a question about the Smart Security Box H300 and is the answer not in the manual?
Questions and answers