Table of Contents
Advertisement
Quick Links
Advertisement
Table of Contents

Related Manuals for RUNDEER Hummer


Summary of Contents for RUNDEER Hummer
- Page 1 Rundeer Hummer ELECTRIC BIKE USER MANUAL COPYRIGHT © 2022 RUNDEER. ALL RIGHTS RESERVED. The manufacturer reserves the rights to make changes to the product and manual at any time www.rundeers.com Visit for more detailed information about the products.
-
Page 2: Table Of Contents
Congratulations Contents on your purchase! Home Page -------------------------------------------------------------------------- 01 This user manual will help you assemble and Product Safety Notice ------------------------------------------------------------- 02 operate your new electric bike. Be sure to read all of the information in this manual before Warning Message ----------------------------------------------------------------- 03 riding. -
Page 3: Product Safety Notice
Abuse - We do not cover physical damage due to negligent care and extreme riding. Whenever you ride the Rundeer Electric Bike, you risk severe injury or even death from loss of control, collisions, and falls. Use caution and ride at your own risk. -
Page 4: Package Contents
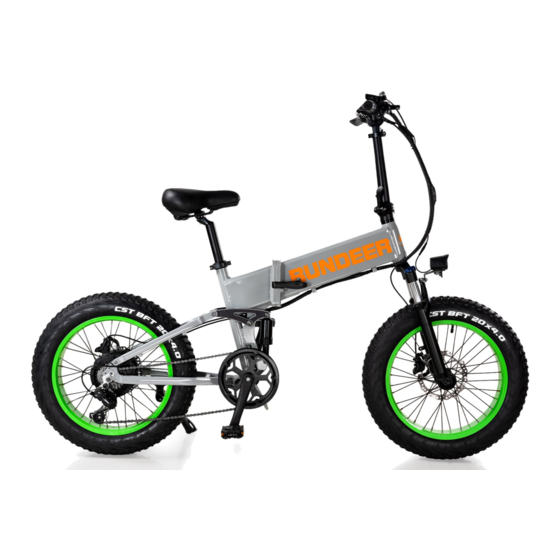
Package Contents Product Overview Carefully check package contents, if anything is missing or damaged, please contact Rundeer Customer Service for support:support@rundeers.com Unpack the bike. Open the bike box and remove the small box inside. With the help of another person capable of safely lifting a heavy object, remove the bike from the bike box. -
Page 5: Assembly 1
Assembly 2 Assembly 1 Visit https://www.youtube.com/watch?v=CZBbdOkz_Pw&t=93s for additional help with assembly, including a step-by-step video walk-through. If you do not feel comfortable assembling the bike yourself we recommend taking your new bike to a bike shop for assembly and inspection. If you are willing to assemble the bike yourself be sure to follow all instructions, properly adjust gears and brakes, and set tire pressure. - Page 6 Assembly 3 Assembly 4 For better pedaling, safety and overall riding comfort, positioning the seat at the right height is important. The rider's leg length is used to determine the seat's position. When you pedal, your hips should remain level and your legs should be almost fully extended at the bottom of the pedal stroke, but not over-extended.
- Page 7 Watch the chain and ensure the chain runs through the drivetrain (the rear cog, chain tensioner; and around the front chainring) smoothly. Note: If the pedal/ chain doesn't run smoothly or something seems misaligned, please contact Rundeer Support.
-
Page 8: Battery Key Positions
Battery Key Positions Start-up procedure Familiarize yourself with the key port and key positions before riding the bike. The photo below reputable mechanic has checked the assembly, and you have read this entire manual, turn on the bike and select a pedal assist level following the steps below: shows the key port aligned in key position in line with the ON icon. -
Page 9: Remove The Battery
Remove the battery Charge Your E-Bike For your convenience, the Rundeer Hummer ebike battery can be removed. Before using the electric bike, you must fully charge the battery. Open and lossen the folder. Press and rotate the key to the UNLOCK icon. -
Page 10: Display And Setting
Charge Your E-Bike Display and Setting The battery can be charged off the bike. To remove the battery, turn the key to the UNLOCK position. (see the previous remove battery section for details), Then carefully pull the battery up until the battery detaches from the receptacle. Remove the rubber cover on the charging port on the opposite side of the battery from the key switch. - Page 11 LCD Display Controls speed unit from MPHTO KPH. Operation Directions Press and hold Botton until power engages Turn on bike (turn the battery first) Turn off bike Press and hold Botton Increase pedal assist (PAS) Press Button level Decrease pedal assist (PAS) Press button level...
- Page 12 Error Code...
- Page 13 Regular inspection and maintenance are key to ensure bikes from Rundeer function as Daily Care and Maintenance intended, and to reduce wear and tear on their systems. Recommended service intervals are Cleaning and Storage meant to be used as guidelines. Real world wear and tear, and the need for service, will vary If you see stains on the bike body, wipe them off with a damp cloth.
- Page 14 Notice: Before every ride, and after every 25-45 miles(40-72 km), we advise following the Ensure hub motor is spinning smoothly and motor bearings are in good working order. pre-ride safety checklist. 9. Motor Drive Assembly Ensure all power cables running to hub motor are secured and undamaged. and Throttle Make sure the hub motor axle bolts are secured and the torque arm, torque arm bolt, and torque washers are in place.
-
Page 15: Troubleshooting
Brakes rubbing The battery will not charge Using after mar ket tir es or inner tubes, not pr ovided by Rundeer may void your war r anty, cr eate an unsafe r iding condition, Charger not well connected Adjust the connections \or damage to your bike. -
Page 16: Specifications
30DAYS SATISFACTION GUARANTEED RETURN POLICY Tire Pressure 20 PSI If you are unsatisfied with your purchase, Rundeer's return policy allows you to return the Bell/Horn Electric Horn Installed product purchased on the authorization channel within 30 days counting from the date of... - Page 17 5. All accessories originally included with your purchase must be included with your return. 6. If you return a product to Hey bike, (a) without an RMA from Rundeer(b) without all parts included in the original package, Rundeer retains the right to refuse delivery of such...
-
Page 18: Contact Us
• For the avoidance of doubt, Rundeer will not be liable and/or responsible for any damage, failure or loss caused by any unauthorized service or use of unauthorized parts.
Need help?
Do you have a question about the Hummer and is the answer not in the manual?
Questions and answers