
Related Manuals for Aven Mighty Cam Eidos

Summary of Contents for Aven Mighty Cam Eidos
- Page 1 Mighty Cam Eidos Integrated 5M Camera / 1 1.6” LCD Screen Item# 26100-260 aventools.com info@aventools.com 734-973-0099...
-
Page 2: Product Introduction
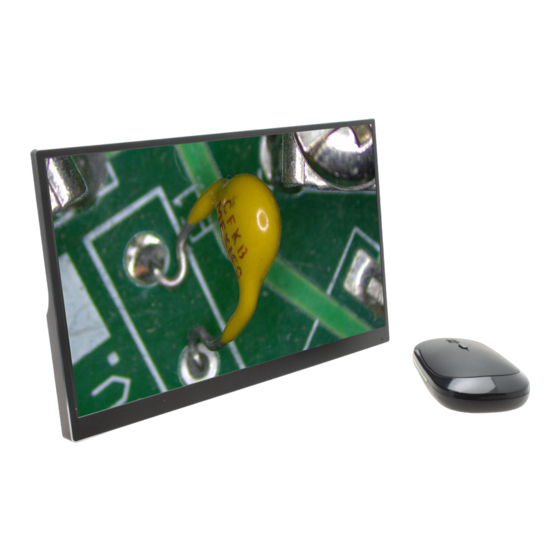
Mighty Cam Eidos 26100-260 Product introduction connects HDMI output connects mouse and USB device to external HD monitor ON/OFF DC-12V power 1. HDMI connects to an external monitor 2. USB connects to mouse and USB storage device 3. After connecting to DC-12V power , the camera will turn on automatically. The LED will turn blue, and camera will operate. - Page 3 Mighty Cam Eidos 26100-260 Left menu introduction Image capture: Click to capture image Video: Click to record video Preview: Click to view the captured image and video files Measurement: Click to enter measuring interface Setting: Click to enter the setting interface...
- Page 4 Mighty Cam Eidos 26100-260 Menu at the bottom Zoom in Zoom out Mirror: Image flips horizontally Flip: Image flip vertically Monochrome: Click and the image changes to high quality monochrome. HDR: Click and turn on the high dynamic image mode.
- Page 5 Mighty Cam Eidos 26100-260 Setting interface on the left Move the mouse to the left side of the screen and this menu will appear...
- Page 6 Mighty Cam Eidos 26100-260 Setting introduction Auto exposure: Select auto exposure, or choose a custom exposure setting Auto Gain: Select auto gain, or choose a custom gain setting White balance:Select Auto or One push to adjust the white balance. Anti-flicker:Select 50Hz or 60Hz based on your requirement Contrast:Use the mouse to adjust the contrast...
- Page 7 Mighty Cam Eidos 26100-260 Measurement introduction Coordinate point: Draw a marker over the image, and it indicates the coordinate point value. Circle radius measurement: Click any point in the interface to determine the center of the circle, and click second time to determine the distance between the circle center and the point on the circle, which is radius.
- Page 8 Mighty Cam Eidos 26100-260 Rectangle: Click anywhere on the screen to determine the right-angle, and click again to determine the rectangle area. The result is the rectangle area. Broken line: Click anywhere on the screen, and click again to determine the distance between start and end, and the second point also is the start of the new line.
- Page 9 Mighty Cam Eidos 26100-260 Select and delete: Delete the selected item. Delete all: Delete items. Save Calibration Click the Measurement Icon to open the calibration tools Click the "+" symbol to create a new calibration setting In the "Name" field, choose the name of your calibration...
- Page 10 Mighty Cam Eidos 26100-260 Grid Click the Measurement Icon to access the Grid settings menu Click "Enable All" to display the grid on screen To adjust the placement of individual lines on the grid, move the cursor to the line and drag it to the new position The "Group"...
- Page 11 Notes...
- Page 12 Contact Us: Aven Tools 4330 Varsity Drive Ann Arbor, MI 48108 734-973-0099 734-973-0097 info@aventools.com aventools.com Join The Conversation! aventools.com info@aventools.com 734-973-0099...
Need help?
Do you have a question about the Mighty Cam Eidos and is the answer not in the manual?
Questions and answers