
Related Manuals for Finnleo SaunaLogic SL2 Control

Summary of Contents for Finnleo SaunaLogic SL2 Control
-
Page 1: Table Of Contents
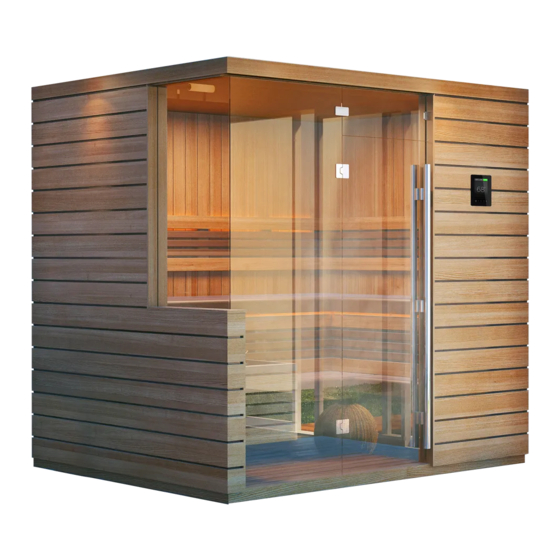
Twilight Indoor Free-Standing Sauna Manual SL2 Control Read Before Installation Receiving Shipment Room Assembly Top Plate Knee Wall Glass – Transom & Door Installation Door Handle Installation Ceiling Panel Installation Bench Installation Backrest Installation Heater Guard and Electrical/Heater Assembly Corner Cap/ Corner Panel /Finishing Trim Audio Operations SaunaLogic 2 Control Operations Maintenance and Troubleshooting... -
Page 2: Read Before Installation
Read all instructions carefully before installation WARNING: The use of alcohol, drugs, or including instructions packaged separately with medication can increase the risk of fatal the sauna heater. Please leave all instructions hyperthermia. and warranty with the owner. WARNING: Prolonged exposure to elevated temperatures is capable of inducing hyperthermia. -
Page 3: Receiving Shipment
Receiving Shipment Please immediately check for any hidden damage that may have occurred in shipping. If any damage is found, you must notify the delivering carrier within seven days. Taking a few minutes with the following instructions will ensure quick and proper assembly, and many years of enjoyment and relaxation. -
Page 4: Room Assembly
INSTALLATION OF SAUNA ROOM If the sauna is to be placed against existing wall(s), panel installation should begin away from the wall starting with the right panel. After these panels are in place, the sauna can be slid back towards the wall(s) keeping it 1/2”... -
Page 5: Top Plate
NOTE: For ease of installing the panels, tilt the top of each panel back to get the tongue and groove alignment started. Then tilt forward for an easy fit. (Image 4) 4. Secure the back wall to the right wall with three 3” Torq screws (screws and bit provided). -
Page 6: Knee Wall
Knee Wall Installation 13. After the top plate is installed and side walls are up, install the knee wall by leaning it in, as shown in (Image 11). 14. Lean and set the side glass panel into the channel of the knee wall and connected side wall panel. -
Page 7: Door Handle Installation
Door Handle Installation 22. A pair of door handles is provided with each door. 23. Using the screws provided, install the door handles by screwing from the inside of the sauna through the pre-drilled holes in the handles and the door. Make sure the handles are aligned (Image T). -
Page 8: Backrest Installation
26. Place upper bench on upper bench supports. Tilt bench upwards for easier installation of the lower bench. 27. Next install the lower bench. 28. Secure upper bench with two 3” screws through the framework into the backwall and one 3” screw into right and left sidewalls. 29. -
Page 9: Heater Guard And Electrical/Heater Assembly
Temp Sensor Installation 33. Locate predrilled hole in the front ceiling panel. It will be in the front right corner. Feed the temp sensor cable through the hole with 3-4 inches of cable exposed. (Image 18) 34. Connect cable to the back of the sensor board. 35. -
Page 10: Corner Cap/ Corner Panel /Finishing Trim
43. Confirm everything is working. After confirmation, do the final installation of the control and see Himalaya installation manual for complete heater instructions. NOTE: At this point, prior to the completion of the room assembly, apply power to the heater and control panel to verify that the proper wiring connections have been made throughout the sauna assembly process. -
Page 11: Audio Operations
AUDIO OPERATION Audio Power On ▪ Press icon to toggle On or Off the Bluetooth System. Note: The control does not have to be active for Sound System to operate. Pairing ▪ Refer to your mobile device to pair to the unit. ▪... -
Page 12: Saunalogic 2 Control Operations
SL2 (SAUNALOGIC 2) CONTROL OPERATION Operating Instructions for Heater Default settings for temperature are preset to 194°F, the bath time is set to 60 minutes and 0-minute delay to start to heat. These settings are adjustable (as described below) from 119°F to 194°F. Length of sauna can be set from 0 to 60 minutes. -
Page 13: Maintenance And Troubleshooting
COMMONLY ASKED QUESTIONS CLEANING Yes, cleaning is needed. Perspiration and dirt may absorb into the wood, so periodic cleaning is needed. Scrubbing the benches and floorboards with a stiff brush and mild detergent is normally sufficient. Light sanding with 220 grit is another option. INTERIOR PAINT OR STAIN You should never apply any paint or stain to the interior of your sauna! Off-gassing from these products could be harmful to your health when the room is heated. - Page 14 Date of Purchase: _______________________ Place of Purchase: ____________________________ Record Serial Number Here Enjoy Your Sauna! Follow Finnleo (@finnleosauna) on social media. Tag Finnleo & include #MyFinnleo for a chance to be featured on our page. www.finnleo.com • 575 East Cokato St., Cokato, MN 55321...
Need help?
Do you have a question about the SaunaLogic SL2 Control and is the answer not in the manual?
Questions and answers