Advertisement
Smart touch sensitive light switch
Model
GMB-HAR-WS1-M02
GMB-HAR-WS2-M02
GMB-HAR-WS3-M02
GMB-HAR-WS4-M02
GMB-HAR-WIR1-M02
GMB-HAR-WIR2-M02
GMB-HAR-WIR3-M02
GMB-HAR-WIR4-M02
Logical devices / Lines count
1 x On/Off light
2 x On/Off light
3 x On/Off light
4 x On/Off light
1 x On/Off light
2 x On/Off light
3 x On/Off light
4 x On/Off light
User Guide
version 2.0
IR receiver
No
No
No
No
Yes
Yes
Yes
Yes
Advertisement
Table of Contents

Summary of Contents for Houseper GMB-HAR-WS1-M02
- Page 1 Smart touch sensitive light switch Model Logical devices / Lines count IR receiver GMB-HAR-WS1-M02 1 x On/Off light GMB-HAR-WS2-M02 2 x On/Off light GMB-HAR-WS3-M02 3 x On/Off light GMB-HAR-WS4-M02 4 x On/Off light GMB-HAR-WIR1-M02 1 x On/Off light GMB-HAR-WIR2-M02 2 x On/Off light...
-
Page 2: Technical Specification
Optionally, some models have a built-in IR receiver that allows them to be taught and controlled via an IR remote. The device has a built-in module for measuring current and total electricity consumption. Connected to a Houseper system, it provides information on the cash equivalent of the energy consumption spent. - Page 3 Functionality (Clusters) (input 0x0000) Basic (input 0x0006) On/Off (input 0x0702) Consumption metering (input 0x0003) Identify (input 0x0004) Groups (input 0x0005) Scenes Control Touch a button to toggle the corresponding line. If the device is connected to a ZigBee network, use the capabilities of the corresponding system to monitor and control the device remotely.
-
Page 4: Preparation And Installation
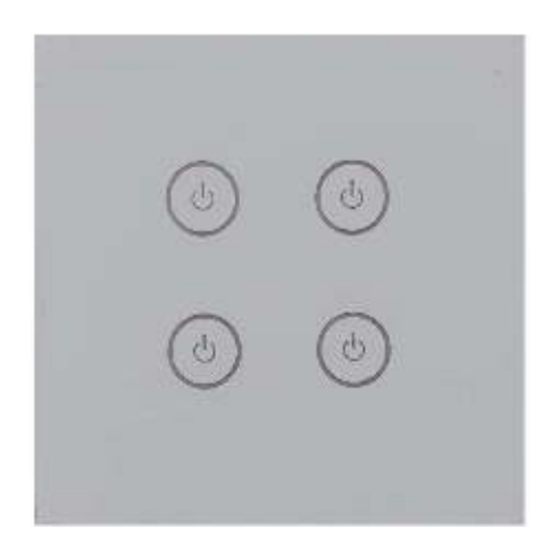
1 button 2 button 1 button 1 button 1 button 3 button 2 button 2 button 4 button 3 GMB-HAR-WS2-M02 GMB-HAR-WS1-M02 GMB-HAR-WS3-M02 GMB-HAR-WS4-M02 button 1 button 2 button 1 button 1 button 1 button 3 button 2 button 2... -
Page 5: Initial Power On
Initial power on On power up, the device will check if it has a configured ZigBee network and: a. If there is a ZigBee network configured, the device will start periodically trying to join it until it successfully joins. If you want to terminate this process, you need to execute the "Leave network"... -
Page 6: Network Status
4. The Houseper wall switch will remember the command and stop blinking. 5. In case the Houseper wall switch does not receive a command from the remote within 30 seconds, it will remove the old command if there was one configured and stop blinking. - Page 7 3. Follow the binding instructions of the device you want to control the wall switch with. It must be part of the same ZigBee network. Alternatively: When both devices you want to bind are part of a Houseper system, binding can be done via the Houseper app.
- Page 8 Alternatively: If the device is a part of a Houseper system, you can execute this command through the app. * To execute this command, the device must be part of a ZigBee network. When leaving a ZigBee network, the PIN code does not return to its original value, but the last one entered is saved.
- Page 9 Change PIN code 1. Submit change PIN code command by touching a button and wait for 11 blinks. 2. All blue LED indicators will remain off, waiting for a new PIN code to be entered. 3. Enter the 4 digits of the new PIN code 2 times consecutively (For example: If the new PIN code is 1234, you must enter 12341234) by holding a button until the device blinks blue, as many times as the corresponding digit.
Need help?
Do you have a question about the GMB-HAR-WS1-M02 and is the answer not in the manual?
Questions and answers