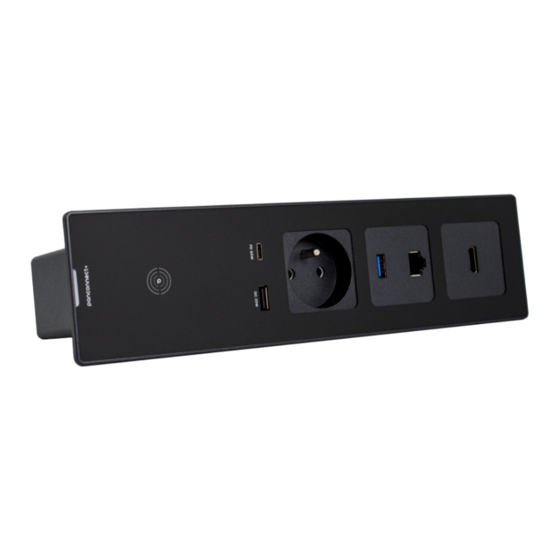
Advertisement
Quick Links
1 |
Choose one option
that is possible
for installation
of your panel
A
Suitable for size BASIC
and M only
A | 1
Mark four centres
according to the cutout
A | 2
Take a hole saw (ø 68 mm)
and cut the holes
Clean the edge
with a rasp
Installation
manual
FLAT
A
A
B
B
C C
Technical
parameters
A
number of
holes
FLAT BASIC
A
B
number of
holes
FLAT M
A
B
number of
holes
FLAT L
A
B
number of
holes
FLAT XL
A
B
number of
holes
FLAT PLUS
A
B
B
B | 1
Mark two side centres
according to the cutout
B | 2
Take a hole saw (ø68 mm)
and cut the holes
B | 3
Take a jig saw and cut
the bridge between
the holes
A
A
A
A
×
4
2
51,5
154,5
222,5
×
×
62
×
4
2
51,5
154,5
222,5
×
×
62
×
×
2
×
206
265
×
×
62
×
×
2
×
257,5
316,5
×
×
62
×
×
×
×
×
352
×
×
64
B
Advertisement

Related Manuals for PANCONNECT FLAT

Summary of Contents for PANCONNECT FLAT
- Page 1 Technical parameters Installation manual number of × holes FLAT BASIC 51,5 154,5 222,5 × × number of × holes FLAT M 51,5 154,5 222,5 × × number of × × holes × FLAT L × × number of × ×...
- Page 2 Take the jig saw and cut the holes For FLAT PLUS sharp corners are needed Insert the frame and tighten the screws Length of a screw for FLAT's installation to a table desk LENGTH OF A SCREW M4 ISO 7380 A2 DESK MOUNTING 10–14 15–19 20–24...
- Page 3 to assemble Clip the plastic fastener pullout on the cable to the metal head Firstly pass a cable through a metal piece Put the plastic piece on the second one so that the cable gets in the middle Insert the plastic pieces into the metal head Put the cable into Follow direction of arrow no.
- Page 4 Put the bag on the cable with weight Place the bag on the metal head. The are tunnels on the bag that should be passed through the metal head and hooked. More details: FLAT...