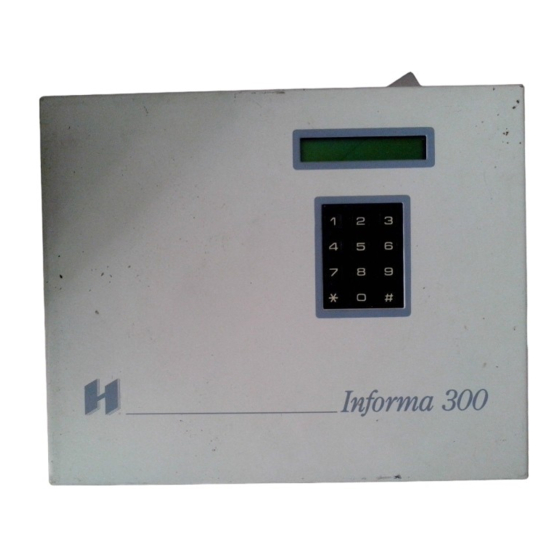

Summary of Contents for HESA Informa 300
- Page 1 Informa 300 Voice Message Communicator Installation and Operating Instructions DT00020...
-
Page 2: Table Of Contents
Tamper Switch Insertion ........24 HESA S.p.A. - Informa 300 Voice Message Communicator Instructions - Issue 02 1195 - DT00020... -
Page 3: Introduction
Introduction The Informa 300 Voice Message Communicator from HESA reports alarms using recorded voice messages. A special integrated circuit (IC) is used to record, store, and play back the voice messages. The messages are stored in a non-volatile memory within this IC so they are not lost if the system is turned off. -
Page 4: Features
If tone detection is disabled, it ignores the ringing and busy signals. After the phone is dialed, it starts generating the alerting beeps. After 5 seconds, it sends the message. The number of times the message repeats can be programmed by the installer. Informa 300 Voice Message Communicator... -
Page 5: Messages
The programmed number of rings is less than the number which would cause the answering or fax machine to answer the phone. The second call is made within 30 seconds after hanging up from the first call. The Informa 300 answers the phone on the first ring of the second call. -
Page 6: Telephone Line Monitoring
This feature requires the installation of the 2 way voice board (optional). It allows the person who is called to both listen and talk to people near the Informa 300. After the messages have played, it goes into the 2-Way voice mode. It keeps the line if speech is detected from either end. -
Page 7: Activation
When the contact opens, the voltage at the input drops and triggers the system. Armed status input The armed status of the control panel which is used with the Informa 300 can be determined when the system is remotely interrogated. The armed status output from the control panel is connected to the ARM IN terminal of the Informa 300. -
Page 8: 2-Way Voice Board (Optional)
The microphone is used to record the messages. When the 2-Way Voice hoard is installed, it is also used with the speaker to allow the called party to converse with a person near the Informa 300. Informa 300 Voice Message Communicator... -
Page 9: Installer Programming And Control
Installer Programming and Control Displaying Alarms and Programming the Informa 300 Voice Message System When the system is powered up, SET TIME/DATE flashes to remind the installer that the internal clock must be set. The clock is used to record the time and date for each event in the alarm history. -
Page 10: Alarm History Menu
Otherwise, those warnings will be displayed instead of “Informa 300". In general, the arrow keys are used to display menu items, the [#] button selects the displayed item and moves into further menus. - Page 11 All phone numbers were successfully reached. It is the 5th new alarm: 2 0436 0811 +05 Press [#] again for more details: 2 5678U +05 To return to the time and date display, press [ ]. Informa 300 Voice Message Communicator...
-
Page 12: Viewing New Alarms
2 0608 1312 +01 first new alarm 1 1156 1312 +02 1 1204 1312 +03 1 1214 1312 +04 most recent new alarm New alarms become old alarms after displaying the alarm history! Informa 300 Voice Message Communicator... -
Page 13: Message Menu
[#] button and the length in seconds is displayed. For example, 3 seconds is displayed as “03 SEC”. Press [ ] to return to the MESGx LENGTH display (x = A, 1 or 2). Informa 300 Voice Message Communicator... -
Page 14: Time Menu
While the current time is displayed, enter the new time. Enter 4 digits for the time, 24 hour clock format. To confirm the entry press [#]. To cancel the entry and start over Press [ ]. To return to the installer’s main menu press [ ] again. Informa 300 Voice Message Communicator... -
Page 15: Date Menu
Numbers 5 to 8 are called when input #2 is triggered. The phone number menu is as follows: TEL #1 TEL #2 TEL #3 TEL #4 Numbers 1 to 4 are assigned to input #1 Informa 300 Voice Message Communicator... - Page 16 5 second character. Hold down the “2" button. At first, the ”2" appears in the display. After 2 seconds, the letter “E” (extended) replaces the “2". This is the 15 second extended delay character. Informa 300 Voice Message Communicator...
-
Page 17: Installer Code Menu
Press [ ]. To return to the main menu without changing the code press [ ] again. NOTE: The installer and user codes should be different. If they are both the same, it will be accepted as the installer code putting it into the installer programming mode. Informa 300 Voice Message Communicator... -
Page 18: Options Menu
Each time it fails to detect a dial tone, it waits on hook a progressively longer time until the maximum wait is reached, 48 seconds. It will not attempt to dial until a valid dial tone is detected. Informa 300 Voice Message Communicator... - Page 19 ARMING POLARITY: As for the selection of the polarity of inputs 1 and 2, use the up (2) or down (8) arrow keys to toggle between + and -. If + is selected, the Informa 300 plays message A when the system is remotely interrogated while the voltage at ARM IN is +2 volts or more.
- Page 20 – Turn the system on. When “SET TIME/DATE” is displayed, release the buttons. On systems where ITALIAN is the default language “PROGAMMARE DATA” is displayed. To change to ENGLISH get into the installer program mode and advance to the COUNTRY (NAZIONE) programming step then select “USA”. Informa 300 Voice Message Communicator...
-
Page 21: User Programming
To select the displayed item from the main menu, press the [#] button. If PHONE NUMBERS is displayed when the [#] button is pressed, the first item on the phone numbers menu is displayed: “TEL #1". Informa 300 Voice Message Communicator... -
Page 22: Operating The Remote Interrogation Feature
2) Answering / fax machine override: This feature is used when an answering or fax machine is connected to the same phone line as the Informa 300. If just the rings are counted, either the Informa 300 or the other device will answer the phone; the other will never be able to answer the phone. -
Page 23: Remote Activation Of The Programmable Outputs
– Press [#] to confirm the entry. Or, press [ ] to cancel. – The change in the status tones indicated the changed output states. – When a momentary output is activated, the status tones sound for the 5 seconds it is active. Informa 300 Voice Message Communicator... -
Page 24: 2-Way Voice (Optional)
2-Way Voice (optional) This feature requires the installation of the 2-Way Voice board. It allows the person who is called to both listen and talk to people near the Informa 300 or one of its remote speaker/microphone units. After the messages have played when reporting an alarm, it goes into the 2-Way Voice mode. -
Page 25: Called Party Ends Calling Sequence
When the option TONE DETECTION OFF is selected, it is possible to program how may calls the dialler will perform to each programmed phone number. When the option BLIND CALLS is displayed enter a value from 01 to 03 then press the [#] key. Informa 300 Voice Message Communicator... -
Page 26: Tamper Switch Insertion
Tamper Switch Insertion Place the tamper switch holder plate on a side of the box, then press downward to have the plate inserted on the side. Perform the connections to the panel tamper input. Tamper switch insertion Informa 300 Voice Message Communicator... - Page 27 Note Informa 300 Voice Message Communicator...
- Page 28 DT00020-HE1195...
Need help?
Do you have a question about the Informa 300 and is the answer not in the manual?
Questions and answers