Advertisement
Quick Links
Advertisement

Summary of Contents for Remootio 3
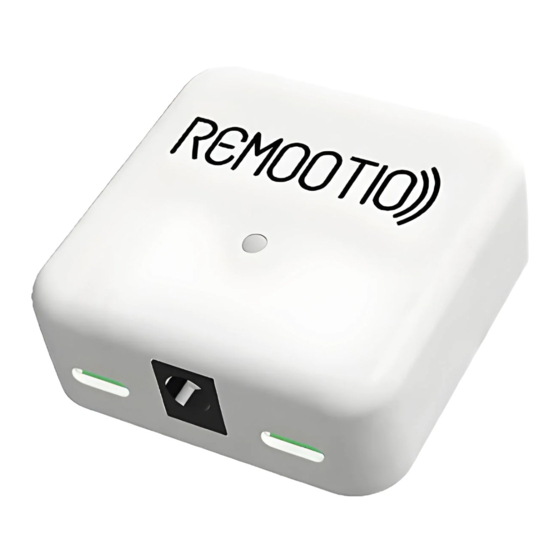
- Page 1 Thank you for choosing Remootio 3! Step 0 - Unboxing Open the box and remove the Remootio device. The wires, double-sided adhesives and the sensor can be found under the removable paper insert. Your Remootio 3 kit contains the following items:...
- Page 2 E - 1 x Double-sided adhesives for mounting the Remootio unit • F - 1 x Power cord (USB A to barrel jack | 1 m / 3.28 feet) • G - 1 x Control wire (1 m / 3.28 feet) •...
- Page 3 Step 2 - Wiring the control output Connect the control output of the Remootio unit to the appropriate input terminals of your gate or garage door. In some cases, there is only one input pair (single input) and in other cases there are two input pairs (dual input) on the control board that has to be triggered to open or close the gate or garage door.
- Page 4 Single input type: Use the included pair of wires to connect Remootio's control output to the appropriate input terminal of your garage door / gate control board. One of the leads need to be wired to the "0V", "GND" or "COM" terminal and the other lead to "CYC", "IMPULSE", "IMP", "KBUTT", "OPERATE", "OSC", "PB", "PP", "SBS", "SS", "START", "STRT", "SW", "TRG", "WALL BUTTON"...
- Page 5 Note: The color of the wires may be black or white.
- Page 6 Dual input type (separate input for opening and closing): Connect Remootio's output #1 to the "open" input terminal of your gate or garage door control unit and connect Remootio's output #2 to the "close" input terminal of your gate or garage door control unit.
- Page 7 (The outputs are polarity independent, which means that within the same output terminal, the order of the wires does not matter).
-
Page 8: Step 5 - Sensor Installation
Step 5 - Sensor installation Connect the sensor to terminal 4 of the Remootio 3 unit and use the included adhesives to mount the wireless part of the sensor on the moving part of the gate or garage door in such a way that it is not further than 30mm from the wired part of the sensor when the gate or garage door is closed. -
Page 9: Step 3 - Connecting An Accessory
(in this example "input 1"). Step 3 - Connecting an accessory You can connect a manual control button or a doorbell button to terminal 5 of the Remootio board. (The inputs are polarity independent, which means that within the same input terminal,... - Page 10 Step 4 - Assemble the Remootio unit back together Use a screwdriver to assemble the Remootio unit. Make sure that you do not damage the wires during the assembly. Apply the double-sided tape on the back side of Remootio as shown below:...
- Page 11 Step 5 (optional) - Attach Remootio to a surface You can use the double-sided adhesives to attach Remootio to the wall of your garage or you can simply place the unit with or without using the provided adhesive inside the weatherproof plastic enclosure of your electric gate opener.
- Page 12 There are four ways you can power your Remootio 3 unit: Use the included USB charger to power the Remootio 3 device The correct type of USB charger will be included in your kit depending on where you order from.
- Page 13 Remootio 3 has a wide operating voltage range, so you can use the dedicated terminals of your gate control board to power the Remootio 3 unit. The operating voltage range of Remootio 3 is: 5-32V DC | 12-24 VAC...
- Page 14 Solar / battery powered operation You can connect Remootio's power cord to the battery of a solar powered gate system as long as the voltage of the battery is within Remootio's operating voltage range 5-32V DC | 12-24 VAC. (note: Most batteries used in solar powered gates are 12V)
- Page 16 At 12 Volts, the average current consumption of Remootio 3 is ~30mA in normal mode and ~15mA in low power mode. (If needed, you can turn on low power mode in the Remootio app / settings / low power mode).
- Page 17 Step 6 - Set up the Remootio unit Launch the Remootio app and make sure your smartphone's Bluetooth is enabled. Tap on "Set up new device" and wait until the Remootio app finds the Remootio unit and sets it up.
- Page 18 When Remootio is not set up yet, it will blink approximately twice per second: After the Remootio unit is set up successfully, Remootio will blink once every 5 seconds. After setting up Wi-Fi as well, the LED on Remootio will be illuminated continuously.
-
Page 19: Safety Instructions
Your new Remootio 3 is now ready to use. Please make sure to read the safety instructions below. If you have any questions, please visit our FAQ page: or let us know via e-mail at support@remootio.com Safety instructions Always keep the gate or garage door in sight and far away from people and objects until it is completely closed. - Page 20 The product must only be used with gate or door openers that use photoelectric sensors.
Need help?
Do you have a question about the 3 and is the answer not in the manual?
Questions and answers