Table of Contents
Advertisement
Quick Links
Manufacturer:
Terazidere Mah.60.Yil Cad.No:5/3
34035 Bayrampasa/ISTANBUL/TURKEY
TEL: 0 212 501 48 63
FAX: 0 212 501 48 83
Email:
opkoninfo@opkon.com.tr
Ver 2.0E
USER GUIDE
WARNING!
READ CAREFULLY BEFORE POWER ON
1.
Complete electrical connections according to the
schematic at the third page.
2.
Check Supply Voltage 220V (or 24V optional) AC, or DC, due to
Specifications on the equipment.
3.
Use only shielded cable for sensors.
Keep away the equipment from direct heat source.
4.
5.
MODEL OP-MD3 is not suitable for outdoor use.
6.
Keep away the equipment from water or other liquid
drains.
7.
Do not open, modify or replace any component in the
equipment, If any problem occurs please contact an authorised
OPKON technical service or OPKON directly.
ELECTRICAL SPECIFICATIONS:
Microcontroller based
10 bit Analog/Digital converter
Up to 200 kSPS
Two point calibration
Power supply
:220V ± % 20 (or 24V optional) ,50 Hz
Power consumption
:<4 VA(protected by fuse 50mA)
Sensor supply voltage
:+5V or +12VDC(selectable by jumper)
Sensor supply current
:Max.100mA(no fuse)
Input
:Potentiometric or 0-5V DC
MECHANICAL SPECIFICATIONS:
Dimensions
:48x48x100 mm
Panel cut dimensions
:45x45mm
Body
:ABS plastic
Working temperature
:0-60 ºC
Storage temperature
:-10ºC ...+80ºC
:<%90 RH
Humidity
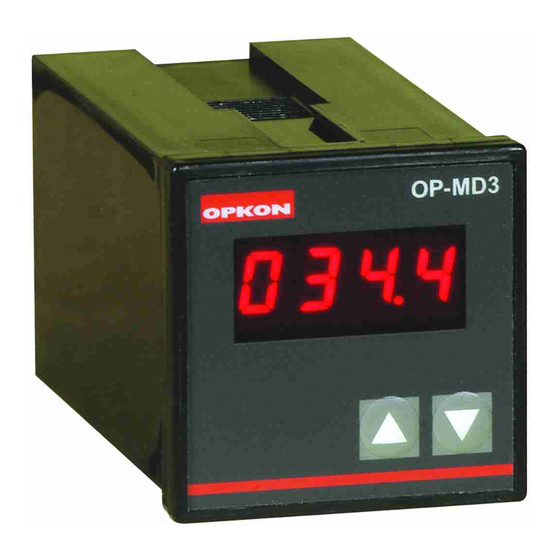
MODEL OP-MD3
DIGITAL DISPLAY
FOR POTENTIOMETRIC
SENSORS OR 0-5V INPUT
Advertisement
Table of Contents

Summary of Contents for Opkon OP-MD3
- Page 1 Specifications on the equipment. Use only shielded cable for sensors. Keep away the equipment from direct heat source. MODEL OP-MD3 is not suitable for outdoor use. Keep away the equipment from water or other liquid drains. Do not open, modify or replace any component in the equipment, If any problem occurs please contact an authorised OPKON technical service or OPKON directly.
- Page 2 PROGRAMMING MODEL-MD3 1 ) TWO POINT CALIBRATION Lower Calibration Point : 2 ) SETTING THE DECIMAL POINT •Move the Sensor mechanically to the zero position. 1. Press DOWN button continuously, until the word CALL appears on the screen. 2. Press UP / DOWN to set the value on the screen zero or any value desired. 3.
Need help?
Do you have a question about the OP-MD3 and is the answer not in the manual?
Questions and answers