Advertisement
Table of Contents
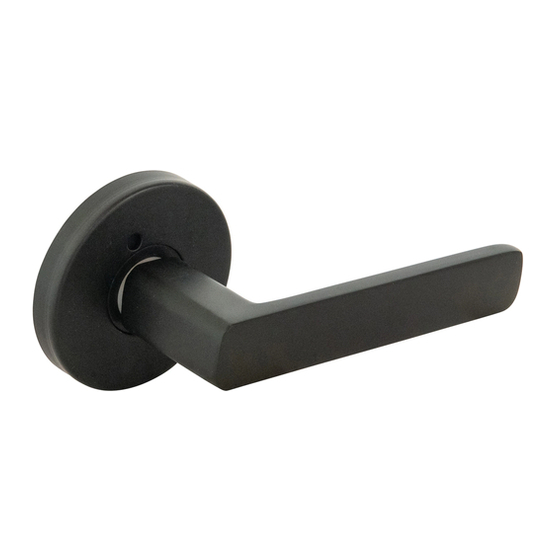
Sienna Lever Set
Very Important!
Please fasten all screws by hand and not an electric screwdriver or drill, as over tightening is not recommended.
Instructions to install the Sienna Privacy or Passage Set.
If installing this lever set into a new door you will need the following tools: 25mm spade bit, 2mm drill bit, 54mm hole saw, corded or cordless drill, hammer, wood chisel, Phillips
head screwdriver, tape and pencil.
If you are replacing an existing door handle you shouldn't require the drill, hole saw or spade bit as it will replace most standard door knobs and lever sets.
Step 1: Preparation
Cut template on line (A) & fold on line (B) as shown.
Place on door at your preferred height and mark both
Line A
the latch height (C) and centre of handle hole (D) with
a pencil.
Remove template, and measure the thickness of door
Line A
to mark the centre point of the door edge.
Use a 25mm spade bit to drill an accurate hole through
the door edge, and using a hole saw, drill a 54mm hole
through the door front.
Accuracy is vital so mark and measure carefully and
Line B
drill holes level.
Line B
Step 3: How to insert Spindle into
Latch on Privacy Set
Insert Spindle (F) into Latch from
outside facing side of latch. Then from
the opposite side, insert the ring (O)
onto the groove of the spindle.
INSIDE
FACING
OUTSIDE
FACING
WARRANTY CONDITIONS
Any claim under this warranty must be made within 3 years of the date of purchase of the product. To make a claim under the warranty, take the product (with proof of purchase) to any Bunnings store (see www.bunnings.com.au for store locations). Romak
Hardware Distributors Pty Ltd bears reasonable, direct, expenses of claiming under the warranty. You may submit details and proof to our store for consideration. The warranty covers manufacturer defects in materials, workmanship and finish under normal
use. This warranty is provided in addition to other rights and remedies you may have under law: our goods come with guarantees which cannot be excluded under the Australian Consumer Law. You are entitled to replacement or refund for a major failure and
compensation for other reasonably foreseeable loss or damage. You are also entitled to have the goods repaired or replaced if the goods fail to be of acceptable quality and the failure does not amount to a major failure. The warranty excludes damage resulting
from product misuse or product neglect. The warranty covers domestic use only and does not apply to commercial applications. This warranty is given by Romak Hardware Distributors Pty Ltd, ABN 15489950457, 177-181 Atlantic Drive, Keysborough Vic 3173,
(03) 9795-6789, e-mail: sales@romak.com.au
Suits models 164510, 164520.
Line A
Line B
Step 4: Attaching the Levers to door
Start by removing the door plate cover (M) from the inside and outside handle. Make sure
Spindle (F) is inserted into Latch. Loosen set screw (I) on bottom of both handles. Insert the
Lever (L) into the Spindle (F) by guiding the Lever onto the spindle, ensuring the two screw
holes align.
Now insert the two screws (K) and tighten. Tighten the two set screws (I) to secure the handles
firmly to the spindle on each side of the door with the hex key (J) included.
Step 2: Installing the Latch
Place Latch (E) into 25mm hole
on side of the door and using
sharp pencil mark door around
the square plate, using hammer
and chisel check out the timber
so that the latch fits into the
newly created recess and finishes
flush with door.
Once completed push latch into
place and drill 2mm pilot holes
into edge of door, simply use
screwdriver to insert the timber
screws included.
Place the covers (M) over the handles and onto the Lever base so
that they finish against the door and align with the holes on the door
plate. On the Privacy Lever insert the Privacy Rod through Lever and
screw into thread on Latch (E).
Line A
Latch Height
00171
Advertisement
Table of Contents

Related Manuals for ikonic Sienna 164510


Summary of Contents for ikonic Sienna 164510
- Page 1 Sienna Lever Set Very Important! Please fasten all screws by hand and not an electric screwdriver or drill, as over tightening is not recommended. Instructions to install the Sienna Privacy or Passage Set. If installing this lever set into a new door you will need the following tools: 25mm spade bit, 2mm drill bit, 54mm hole saw, corded or cordless drill, hammer, wood chisel, Phillips head screwdriver, tape and pencil.
- Page 2 Sienna Lever Set Drilling template - 60mm Latch Line A Latch Height Fold to Door Edge Line B 60 mm Template for new doors using 54 mm hole saw.
Need help?
Do you have a question about the Sienna 164510 and is the answer not in the manual?
Questions and answers