Advertisement
Quick Links
Advertisement

Summary of Contents for BAS-IP AA-14FB
- Page 1 USER MANUAL AA-14FB ENTRANCE PANEL...
-
Page 2: Main Features
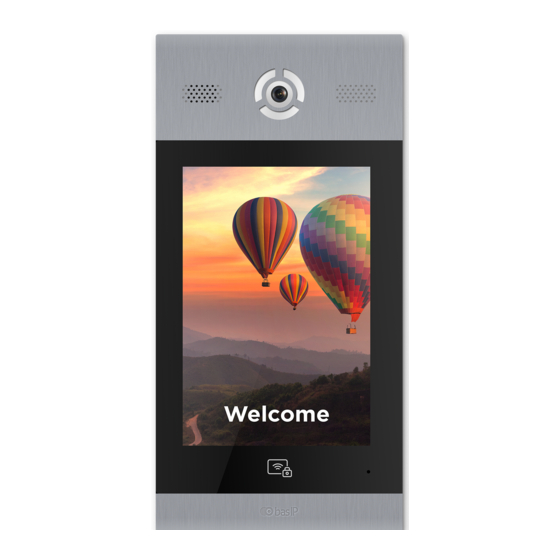
BAS-IP UKEY. The panel has a unique feature – face recognition. This identifying technology is integrated into the BAS-IP panels and uses the camera of the outdoor panel and infrared sensors for its operation. -
Page 3: Electrical Connection
EAN: 5060514912850 (BLACK) EAN: 5060514912867 (SILVER) EAN: 5060514912874 (GOLD) Completeness check of the product Before installation of the outdoor panel, it is necessary to check that it is complete and all components are available. Outdoor panel kit includes: Outdoor panel 1 pc Flush mount bracket 1 pc... - Page 4 Electromagnetic Lock +12V Less Opening N.C. +12V GND Lock lock time Contact adjustment N.O. Power Relay outputs to lock 1. +12V More Switching Fire alarm contact type: input normally open 2. Ground or normally closed Wiegand output RS485 3. Lock 4.
- Page 5 EAN: 5060514912850 (BLACK) EAN: 5060514912867 (SILVER) EAN: 5060514912874 (GOLD) Flush mounting using complete brachet Check the availability of all components required for installation, connection and fastening. panel fastening bolts fastening flush anchor mount fastening dowels bracket screws connection cords Measure the bracket dimensions required for carving out a niche for further bracket mounting.
- Page 6 Attention: the hole at the bottom is designed to drain the water. Do not intentionally close it. Also it is necessary to make a drain for water at the bottom of the niche which will serve to divert water out. Place flush mount bracket in the niche and outline places for anchor dowels mount opposite...
- Page 7 EAN: 5060514912850 (BLACK) EAN: 5060514912867 (SILVER) EAN: 5060514912874 (GOLD) Wire all the necessary cables Place the flush mount bracket for panel connection and in the hollowed-out niche and switching (for Ethernet, an exit fasten it with screws through button, a lock, panel power, the mounting holes.
- Page 8 Switch and connect the Join all the resulting connectors protruding from the wall at the ends of the wires to their and passing through the corresponding response parts insulating rectangle wires to the on the panel rear side. necessary connection cords from the panel kit.
- Page 9 EAN: 5060514912850 (BLACK) EAN: 5060514912867 (SILVER) EAN: 5060514912874 (GOLD) Apply a 3-4 mm layer of silicone sealant around all wires coming out of the slots in the insulating rectangle. The sealant must be applied to the top of the joint between the wire and the insulating rectangle.
- Page 10 Install the entrance panel inside the flush mount bracket. Important! Hold the wiring bundle on the bottom of the bracket so that some wires do not fall on the sharp edges and are not pressed by the panel. Fasten the entrance panel to the bracket with the fastening bolts from the kit.
-
Page 11: Warranty Conditions
EAN: 5060514912850 (BLACK) EAN: 5060514912867 (SILVER) EAN: 5060514912874 (GOLD) Warranty The warranty card number Model name Serial number Seller name With following stated terms of warranty is familiar, functional test was performed in my presence: Customer signature Warranty conditions The warranty period of the product — 36 (thirty-six) months from the date of sale. - Page 12 www.bas-ip.com...


Need help?
Do you have a question about the AA-14FB and is the answer not in the manual?
Questions and answers