Advertisement
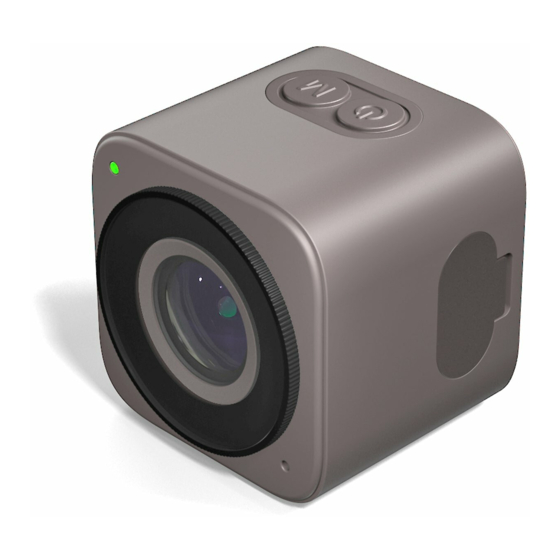
Introduction of product
Status indicator
Detachable
ND filter
Microphone
Power button
Introduction of Buttons
Wiring
Buck module
Power supply and remote control
The walnut camera uses two power supply modes: built-in
battery and 5~25.2V external power supply. Supports remote
control of the camera's power on/off, start recording/stop
recording. Take the commonly used flight controller Betaflight
F405 as an example to illustrate how to configure the remote
control to turn on/off the recording function.The wiring
diagram is shown in the figure below, and the TX1 pin on the
flight controller is used to control the recording on/off.
Enter the following blue fonts to configure the PINIO function
of the TX1 pin.
resource SERIAL_TX 1 NONE
resource PINIO 1
set pinio_box = 40,255,255,255
save
Next, configure the PINIO function mapping between the remote
controller and flight controller. In Betaflight Configuration, map
the No. 1 PINIO function (ie USER1 in the figure below) to the
AUX channel of the remote control
USER1
最大: 1300
添加范围
The trigger mode is a low level trigger, the cursor from the
yellow area to the white area and then to the yellow area is a
trigger, the camera performs recording or stops recording.
USB Magnetic Connector
The USB connector can be connected by attaching it to the back
cover of the walnut body. Pay attention to avoid sundries on the
surface of the magnet that will affect the contact effect.
Data transmission
Method 1: Directly insert the memory card into the card reader to
read data
Method 2: Insert the Type-C cable into the USB port on the side
of the walnut to read the camera data
Method 3: Insert the Type-C cable into the USB magnetic
connector to read the camera data
APP download
Step 1: Scan the QR code below with your mobile phone or go to
the APP Store to search for "CaddxFPV" to download and install
the CaddxFPV app.
Step 2: Turn on the phone WIFI. Short press the camera power
button to turn on the camera and wait for the camera buzzer to
sound, then long press the M button to turn on the camera WIFI.
Step 3: Open the CaddxFPV app and click the "Connect Now"
button. Connect to the WIFI whose name is "Caddx_*****", and
the WIFI password is "12345678". After
the connection is complete, click back
and click to enter the camera.
Step 4: Click the gear in the lower right
corner of the app to set the camera
parameters.
APP view content
After shooting, connect to the app, enter the app album page,
and view the shooting content. You can also take photos and
videos directly through the app.
Mounting case
The camera mounting adapter can prevent the camera from
being damaged from falling, and you need to choose a suitable
base for installation when using it.
Precautions
Regarding the use of accessories, please note:
1: The product or accessories contain small objects, be careful
to prevent children from swallowing.
2: All accessories are not recommended to be used during
high-intensity exercise, otherwise the camera or accessories
may fall off.
3: Keep the magnetic surface clean to prevent poor connection.
Regarding firmware upgrade, please note:
1. For the first time to use, please upgrade the firmware first
2. Before upgrading, please ensure that the camera is fully
charged
3. Card swipe upgrade steps
(1) First delete the old firmware in the tf card (if any)
(2) Import the latest firmware into the tf card
(3) Insert the TF card into the camera TF card slot
(4) Short press the power button to turn on
(5) The blue light of the camera flashes quickly and enters the
firmware flashing state
(6) When the indicator light turns green, the firmware flashing
is completed.
Indicator status
Camera status
Camera is power on
The camera is flashing
the firmware
camera is charging
4K recording mode
2.7k recording mode
1440P recording mode
1080P recording mode
Charging while recording
Battery indicator
*The effective distance of the camera WIFI transmission (no
interference and no obstruction) is 10 meters, and the effective
transmission distance will vary due to different usage scenarios.
*The KEY signal line can remotely control the camera through
the flight control, please read the relevant precautions
A09
自动
最小: 900
900 1000
Yellow: KEY (FC UART TX)*
Black: GND
Red: Vbat+ (5~25.2V)
//Disable the serial port
function of the TX1 pin
//Configure the TX1 pin
example is A09 pin, different
flight control pins are different,
please fill in according to the
actual)
as PINIO function No. 1
//Set the PINIO function range
//save configuration
1200
1400
1500
Indicator status
Steady green light(the default is
green light, the color of the light
is different in different modes)
Blue light flashes quickly
Steady red light
Steady green light
Steady blue light
Steady Cyan light
Steady Cyan light
Steady red light, Indicator light
flashes slowly
When the battery is above 70%,
the flashing frequency of the light
is once every 2s in the recording
state
When the battery is 20~70%, the
flashing frequency of the light is
once every 1s in the recording
state
When the battery is below 20%,
the flashing frequency of the light
is once every 0.5s in the recording
state
Type-C
Memory card slot
M button
USB Magnetic
Connector
Buzzer
(The
1600
1800
2100
Advertisement
Table of Contents

Summary of Contents for CADDX WALNUT CAMERA
- Page 1 *The KEY signal line can remotely control the camera through the flight control, please read the relevant precautions Power supply and remote control The walnut camera uses two power supply modes: built-in battery and 5~25.2V external power supply. Supports remote control of the camera's power on/off, start recording/stop recording.
- Page 2 产品介绍 状态指示灯 可拆卸镜片 Type-C接口 SD卡槽 麦克风 M键 电源键 USB磁吸连接器 蜂鸣器 按键基本操作 接线 降压模块 黄:KEY (接飞控TX)* 黑:GND 红:Vbat+ (5~25.2V) *KEY信号线可以通过飞控远程控制相机,请阅读相关注意事项 供电与远程控制配置 核桃相机使用内置电池与5~25.2V外置电源两种供电方式,支持通 过遥控器远程控制相机开机/关机、开始录像/停止录像。以常用的 穿越机Betaflight F405飞控为例,说明如何配置远程控制开启/关 闭录像功能。接线图如下图所示,使用飞控上的TX1引脚来控制开 启/关闭录像。 通过下面Betaflight CLI命令行,输入以下蓝色字体,配置TX1引脚 的PINIO功能。 resource SERIAL_TX 1 NONE //关闭TX1引脚的串口功能 resource PINIO 1 //将TX1引脚(示例为A09引脚, 不同飞控引脚不同请按实际填写) 配置为1号PINIO功能 set pinio_box = 40,255,255,255 //设置PINIO功能区间...
Need help?
Do you have a question about the WALNUT CAMERA and is the answer not in the manual?
Questions and answers