Table of Contents
Advertisement
Quick Links
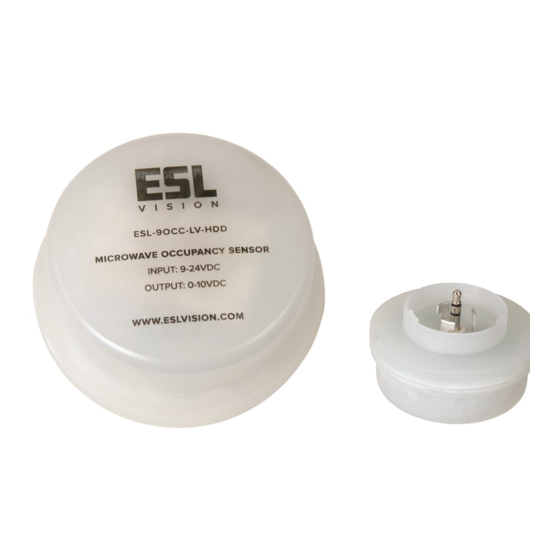
OCCUPANCY SENSOR
9OCC-LV
Key Features & Benefits:
• Fully Adjustable High and Low Dimmed Light Levels
• Provides On/O Switching
• 0–10V Dimming Control
• Works with LHB or RHB Series Fixtures
• Programmable via Remote Control
• Adjustable Hold Time and Stand-by Time
• Set Hold Time from 10 seconds to 60 minutes
Technical Specifications:
Power Supply: 12VDC
Dimming Control Output: 0–10V Max, 25mA Sinking Current
Detection Radius/Angle: 26ft/360°
Mounting Height: 50ft Max
Remote Range: up to 50ft, indoor, no backlight
Humidity: Max 95% RH
Temperature: -4°F ~ 140°F (-20°C ~ 70°C)
Catalog Data:
ITEM#
ESL-9OCC-LV
ESL-REM-100
Project:
Catalog #:
Notes:
ESL-REM-100*
*ESL-REM-100 Sold Seperately
COLOR
WHITE
360° lens, maximum coverage of 48' in diameter. From 8' to 20' in height
BLACK
Remote control for 2OCC, 4OCC, 5OCC and 1DHOC
DES C R IP TIO N
Copyright © 2020 ESL Vision, LLC. All rights reserved. Rev: 12/11/2020
PAGE 1 OF 3
Date:
Advertisement
Table of Contents

Subscribe to Our Youtube Channel
Summary of Contents for ESL 9OCC-LV
- Page 1 DES C R IP TIO N ESL-9OCC-LV WHITE 360° lens, maximum coverage of 48' in diameter. From 8' to 20' in height ESL-REM-100 BLACK Remote control for 2OCC, 4OCC, 5OCC and 1DHOC Copyright © 2020 ESL Vision, LLC. All rights reserved. Rev: 12/11/2020...
- Page 2 PAGE 2 OF 3 Remote Control Programming: The ESL-REM-100 (Sold Separately) can be use to program the 9OCC remotely. With a range of 50ft this allows for the flexibility to re-program for any reason, at any time. Please see REM-100 spec sheet and/or instruction guide for more detailed information.
- Page 3 Dimensions: Coverage: INSTALLATION: The ESL-9OCC-LV is easily installed with a simple twist lock. To prevent electric shock, ensure that the fixture is powered OFF prior to removing the shorting cap and installation. Remove the shorting cap from the fixture Plug in the sensor and twist clockwise to Program the desired settings using the by turning counter-clockwise to unlock.
Need help?
Do you have a question about the 9OCC-LV and is the answer not in the manual?
Questions and answers