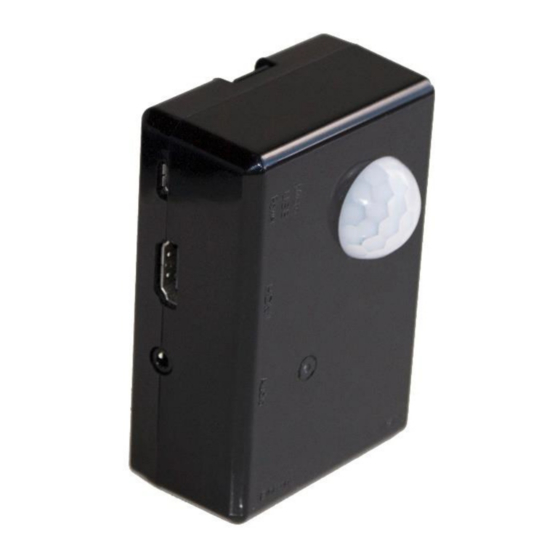
Summary of Contents for SB Components SPi-BOX
- Page 1 SPi-BOX MANUAL Motion Activated Security Camera Motion Alarm Camera WWW. S B - CO M P O N E N TS .CO.U K...
-
Page 2: Safety Information
Welcome Congratulations on buying an SB Components SPi-Box. We hope you find it to be the perfect complement to your Raspberry Pi PIR and camera projects. The case is designed to mount the Raspberry Pi 2&3 along with a Raspberry Pi camera module and a PIR module;... -
Page 3: What's In The Box
1 x microSD card pre-loaded with SPi-Box scripts Putting the SPi-Box Together Install your Raspberry Pi Both B+ and Pi 2/3/3B+ boards will fit the SPi-Box case. Please be aware that the bottom half of the case of the SPi-Box is shallower than other SB Components'... - Page 4 Press the other side of the board down into place gently but firmly until the mounting posts on the GPIO side of the board click into place in the board's screw-mounting holes. Mounting Camera & PIR Attach the camera module to the top half of the case using the screws provided to secure it into place (note: the camera ribbon cable should point toward the USB holes in the case).
- Page 5 Pi GPI Snap the two case sections together Getting the SPi-Box Started To get up and running with the SPi-Box scripts (pre-installed on the microSD card) you will first need to connect your Pi to a monitor, keyboard and mouse.
- Page 6 Raspbian install: Login = pi Password = raspberry Note: After the initial configuration you should be able to run the SPi-Box "headless" without connecting to a monitor, keyboard and mouse Spi Box Software: The SPi-Box software has been installed under...
- Page 7 Description File Name This python script runs at startup (via cron: enter crontab –l in a command prompt to see the details) and spiboxmessenger.py if the spibox.conf file has the send email flag set to YES it will attempt to email all jpg files sitting in the capture directory to the email address specified in the spibox.conf file (see above).
- Page 8 Spi-box Setup Firstly, download the 'spibox.tar.gz' file and extract to '/home/pi' directory Cut 'SPi-Box' and 'SPi-Box Config' icon from Spi-Box folder and paste it on desktop If 'SSMTP' and 'MPACK' is not installed (SSMTP is for mail configuration and MPACK is used for sending...
- Page 9 Add the following configuration & save it root=postmaster mailhub=smtp.gmail.com:465 hostname=raspberrypi AuthUser=user_name@gmail.com AuthPass=user_password FromLineOverride=YES UseTLS=YES Send a test mail mpack –s “subject” file_path recipient@gmail.com For Example : mpack –s “test mail” /home/pi/image.png abc@gmail.com Google will block your sign-in attempts. Check your Mail Inbox and allow to less securing apps so that Raspberry Pi can send emails...
- Page 10 Repeat process 6 for sending a test mail x x x Click 'SPi-Box Config' icon placed on desktop and configure it Tick on “turn on email” Enter the subject Enter the email recipient address Click on “Test Email” for checking configuration is correct...
- Page 11 Enable Camera in raspberry pi configuration and restart the Pi. Click on “SPi-Box” icon placed on Desktop, to run the script and if motion is detected it will click an image and mail it. Spi-box Video For capturing video, download the 'spibox_v.tar.gz' file and extract to '/home/pi' directory and follow the...
-
Page 12: Warranty
Warranty This SB Components product is warranted for the period of twelve (12) months from the original date of purchase, against defective materials and workmanship. In the event that warranty service is required you should return the product to the retailer from whom it...

Need help?
Do you have a question about the SPi-BOX and is the answer not in the manual?
Questions and answers