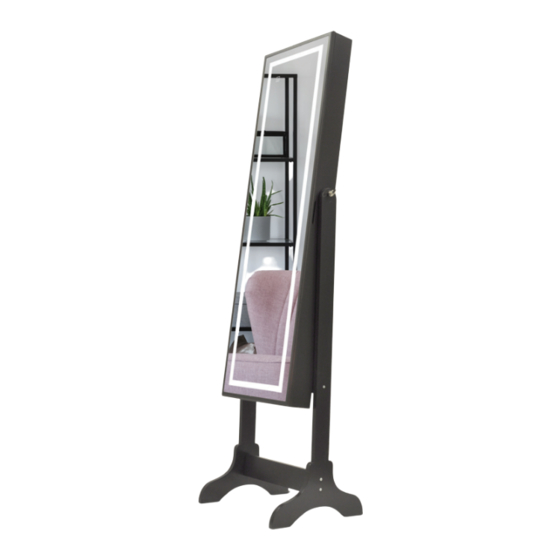
Summary of Contents for Renin Fanciful 200221
- Page 1 Fanciful LED Jewellery Armoire Armoire à bijoux à DEL Armario para joyas con luz LED MODEL / MODÈLE / MODELO 200221/200219 INSTALLATION INSTRUCTIONS / INSTRUCTIONS D’INSTALLATION / INSTRUCCIONES DE INSTALACIÓN MKTD 3607...
- Page 2 PLEASE READ CAREFULLY / LISEZ ATTENTIVEMENT S’IL VOUS PLAÎT / POR FAVOR LEA CUIDADOSAMENTE General safety rules follow / Consignes de sécurité générales à respecter / Normas Generales de Seguridad que deben cumplirse • Read all instructions carefully • Protect your eyes when handling metal parts, wear safety goggles •...
-
Page 3: Package Contents / Contenu De L'emballage / Contenido Del Paquete
IMPORTANT / IMPORTANTE! VERIFY THAT ALL PARTS ARE INCLUDED IN THE PACKAGING. IF ANY PARTS ARE MISSING, DO NOT RETURN THIS PRODUCT TO THE STORE. FOR ANY PARTS ASSISTANCE, PLEASE CALL 1-800-493-5263 BETWEEN 8:30 AM - 4:30 PM, MONDAY TO FRIDAY VÉRIFIEZ QUE TOUTES LES PIÈCES SONT INCLUSES DANS L’EMBALLAGE. - Page 4 FINISHED INSTALLATIONS / INSTALLATIONS TERMINÉES / INSTALACIONES TERMINADAS Installation Instructions / Instructions d’installation / Instrucciones de instalación...
- Page 5 Assembly / Assemblage / Asamblea Step 1 / Étape 1 / Paso 1 EN Insert x2 dowel nuts inside the top brace bracket. Using a Philips Screwdriver, ensure Insert x2 dowel nuts inside the top brace bracket. EN Insert x2 dowel nuts inside the top each dowel faces outwards to align brace bracket.
- Page 6 Assembly / Assemblage / Asamblea Step 2 / Étape 2 / Paso 2 EN Insert each securing bolt to the outside of the stand leg, securing the top and bottom brace brackets in place using the Allen Key. Repeat for the second stand leg to fully assemble the support stand.
- Page 7 Assembly / Assemblage / Asamblea Step 3 / Étape 3 / Paso 3 Insert and begin to thread both decorative securing bolts to each of the stand legs. Place a washer between each bolt and leg stand. Lift and position the cabinet to align with both decorative securing bolts. Tighten to secure in place.
- Page 8 Assembly / Assemblage / Asamblea Step 4 / Étape 4 / Paso 4 EN Determine the preferred angle to position the cabinet so that the reflection is ideal. Insert wooden dowels into each leg stand. Rest the cabinet against the dowels to complete your assembly.
- Page 9 Operation / Utilisation / Funcionamiento Step 1 / Étape 1 / Paso1 EN The battery compartment is located inside the cabinet door. Open the compartment cover and inset x3 AA batteries (not included). To operate the back lit mirror, touch the sensor on the front top corner of the mirror.
-
Page 10: Year Limited Warranty
The warranty applies only to the original purchaser of the product from Renin Corp. If a product is determined to be defective due to a manufacturers defect, Renin Corp will supply a replacement product. The scope of the warranty is limited to replacing the product and does not include labor to install, repair, deliver, or to remove the existing illuminated mirror.

Need help?
Do you have a question about the Fanciful 200221 and is the answer not in the manual?
Questions and answers