Table of Contents
Advertisement
Quick Links
Advertisement
Table of Contents

Summary of Contents for Erdman Video Systems MakoTL
- Page 1 MakoTL Hardware Reference Manual and Installation Guide Version 1.3 ...
-
Page 2: Table Of Contents
Installing the camera mount - pg7 Mounting the camera housing - pg7 Powering the Camera System - pg7 Finalizing the Installation - pg11 © 2019 Erdman Video Systems, Inc. Toll Free: 888-495-6057 Pg. 1 ... -
Page 3: Hardware Overview
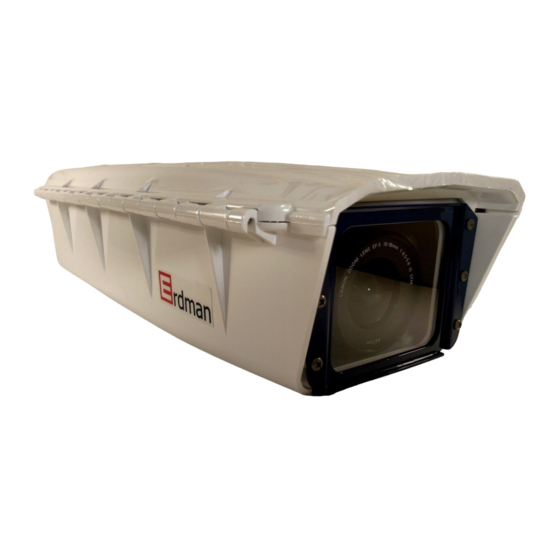
System Summary The MakoTL System is an internet connected appliance which uses a Windows Embedded computer and embedded support circuitry to create a reliable image capturing system that can run unattended for months to years, while continuously taking images, archiving them and uploading them to the Internet. The main components of a complete ... -
Page 4: Power Requirements
The MakoTL System has a wide range voltage input. It is designed to accept 10v to 30v DC. Switching power supplies throughout the system ensure low power consumption of about 10 watts under full load (without heating elements). A wide ... -
Page 5: Internal Connections
Internal Connections There are a number of internal connections that the user will encounter while setting up the MakoTL system. The user should familiarize themselves with the connections prior to system deployment. This will help keep stress and confusion in ... -
Page 6: Switches
7.0VDC Camera fuse - F1 3A 14.7VDC Fig 1.8 Transient voltage protection ratings Contact EVS to receive replacement fuses. © 2019 Erdman Video Systems, Inc. Toll Free: 888-495-6057 Pg. 5 ... -
Page 7: Installation
Inspect the pole for rotting or other deterioration. Small diameter vertical poles with a minimum diameter of 2” will also work. Camera mount parts required: Adjustable pole mount (EM2000). © 2019 Erdman Video Systems, Inc. Toll Free: 888-495-6057 Pg. 6 ... -
Page 8: Installing The Camera Mount
GFCI protected outlet. If installing in a long term or permanent location, consider wiring directly to a 10A. This requires the removal or alteration of the power cord supplied. Ensure that the outlet is properly grounded. © 2019 Erdman Video Systems, Inc. Toll Free: 888-495-6057 Pg. 7 ... - Page 9 Option #2 Solar Kit assembly and installation Lay solar panel face down and attach to panel rails with ¼-20” bolts and washers using 7/16” wrench © 2019 Erdman Video Systems, Inc. Toll Free: 888-495-6057 Pg. 8 ...
- Page 10 8. Strain relief the wires to the pole or mounting arm using ty-wraps. © 2019 Erdman Video Systems, Inc. Toll Free: 888-495-6057 Pg. 9 ...
- Page 11 14. Next, check the charge controller for functionality. It should indicate the overall status and battery condition with LED status indicators. Here is a table with the different statuses: © 2019 Erdman Video Systems, Inc. Toll Free: 888-495-6057 Pg. 10 ...
-
Page 12: Finalizing The Installation
Please allow 20-30 min for programming and activation. If you have a smartphone available, your Erdman account representative will direct you to the proper URL to view the webpage for your camera. © 2019 Erdman Video Systems, Inc. Toll Free: 888-495-6057 Pg. 11 ...
Need help?
Do you have a question about the MakoTL and is the answer not in the manual?
Questions and answers