Advertisement
Quick Links
Advertisement

Summary of Contents for Noha 3
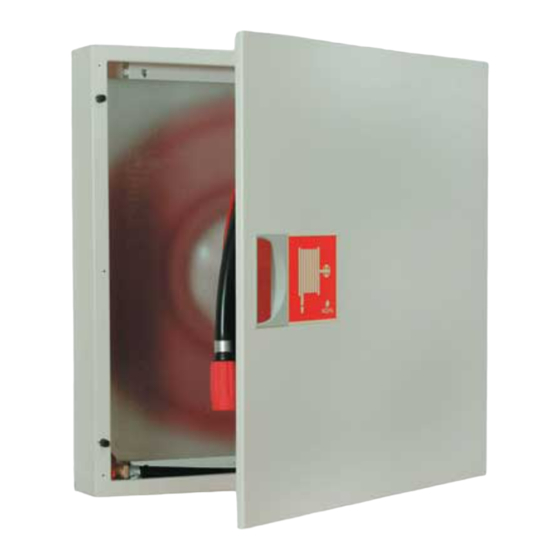
- Page 1 INSTALLATION Wall-mounted or recessed cabinet...
- Page 2 Take care when lifting the arm and releas- ing the hose reel. Important : Always function test reel after installation (page 14). Automatic Valve: Automatic valve inside reel. NOHA recommends a service valve upstream. Record the location of the nearest service valve. NOHA NORWAY AS...
- Page 3 Wall-mount Recessed Page 4 Page 6 Left hinged cabinet? Wall-mount/ Recessed + Page 10 NOHA NORWAY AS www.noha.no support@noha.no +47 51816000...
- Page 4 Wall-mount ≈ 120 cm Screws for fixing to wall not included. To complete installation: Pre-drill holes for easier installation. Page NOHA NORWAY AS...
- Page 5 NOHA NORWAY AS...
- Page 6 Recessed N.B! H+5 mm ≈ 120 cm For easier installation, use the guide holes for knock-out punch, and pre-drill holes for fastening. NOHA NORWAY AS...
- Page 7 Screws for fixing to wall not included. Use guide holes in cabinet and pre-drill holes. NOHA NORWAY AS...
- Page 8 Make sure the door is parallel with frame. To adjust, remove fixing screws on top and bottom of the side with handle. Adjust frame up or down accordingly. Make sure door opens freely before fixing screws again. NOHA NORWAY AS...
- Page 9 Frame sold seperatly. Make sure the door can be be completely opened and To complete installation: closed. Page NOHA NORWAY AS...
-
Page 10: Before Mounting
Left hinged BEFORE MOUNTING: NOHA label for swingarm After turning cabinet, label on swingarm will be upsidedown. Fit new label included in the box. AFTER MOUNTING: Automatic valve Do not turn hose direction. Make sure nozzle is visible. NOHA NORWAY AS... - Page 11 AFTER MOUNTING: Manual valve Turn hose direction: Important : Always function test reel after completing installation (page 14). NOHA NORWAY AS...
- Page 12 Completion NOHA NORWAY AS...
- Page 13 Attach cable tie to secure supply hose to swingarm. Make sure the supply hose runs freely without kinks or/and wear. 70-110 mm NOHA NORWAY AS...
-
Page 14: Function Test
Function test 1-4 ok: Sign label Run out entire *Manual valve hose only NOHA NORWAY AS www.noha.no support@noha.no +47 51816000... - Page 15 Sulje suutin ja uudelleenkelaa letku. Avaa suutin ja Wartungsaufkleber underschreiben. vapauta paine letkusta. Allekirjoita tarkastusmerkki. NEDERLANDS Beproeving. Open de afsluiter en loop de gehele slangelengte uit. Overtuig u ervan dat de installatie NOHA NORWAY AS www.noha.no support@noha.no +47 51816000...
- Page 16 Avaa suutin ja vapauta paine letkusta. Allekirjoita tarkastusmerkki. NEDERLANDS Beproeving. Open de afsluiter en loop de gehele slangelengte uit. Overtuig u ervan dat de installatie niet lekt. Open de straalpijp en sluit daarna de afslu- NOHA NORWAY AS www.noha.no support@noha.no +47 51816000...