Advertisement
Advertisement
Table of Contents

Summary of Contents for SURJUNY W01
- Page 1 INSTRUCTION MANUAL INFRARED HEATER MODEL: W01...
- Page 2 Installation There are 4 brackets and fasteners used with the heater. Furthermore, in the canal of back side of the heater there are 4 square fastener washers 25×25mm. Relieve square washers(Figure 7.1)and fasten 2 brackets to the canal of the backside of the heater by the help of screws(Figure 7.2.) Fasten the brackets at the appropriate distance of each other(45-55cm) (Figure 8).
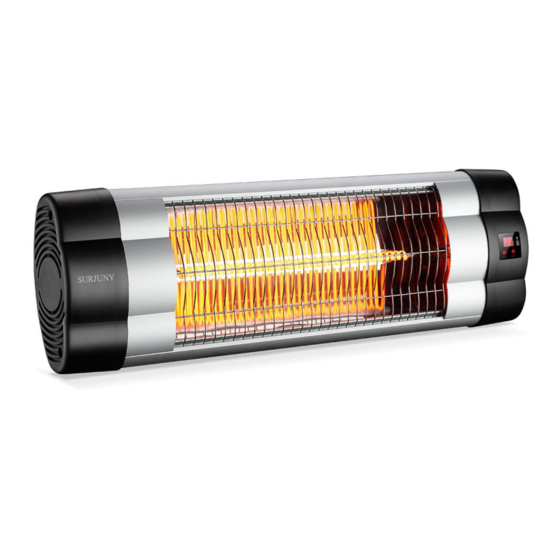
- Page 3 Electric wiring for the heater has to be done by the qualified specialist. Operation Step 1:Connect the power line and the power strip Step 2:Press Open/Close once, the digital screen shows P.0 Step 3:Press Open/Close second, the digital screen shows P.1, the function of a file connected Step 4:Press Open/Close third, the digital screen shows P.2, the function of two file connected...
- Page 4 Step 5: Press Open/Close forth, the digital screen shows P.3, the function of three file connected Step 6 : After the function is on, 1-24 hours timing shutdown can be adjusted arbitrarily, the digital screen showing 0.1 indicates timing one hour, showing 0.2 indicates timing two hour Application Fields Install the heater strict in horizontal position i.e.
- Page 5 The functions of the heater may be controlled via the buttons on your remote control and LED screen. You may also control some of the functions of your heater through the buttons on the front side of the heater. Operation of the Remote Control 1.
- Page 6 1- Check the filthiness of the Reflector and IR-Filament at least once a month. If necessary, apply cleaning and maintenance instructions. 2- The number of checks may be increased considering the amount of the dust in the environment. 3- Check the deformation of the Reflector, Wire and Frame visually while cleaning the appliance.
Need help?
Do you have a question about the W01 and is the answer not in the manual?
Questions and answers