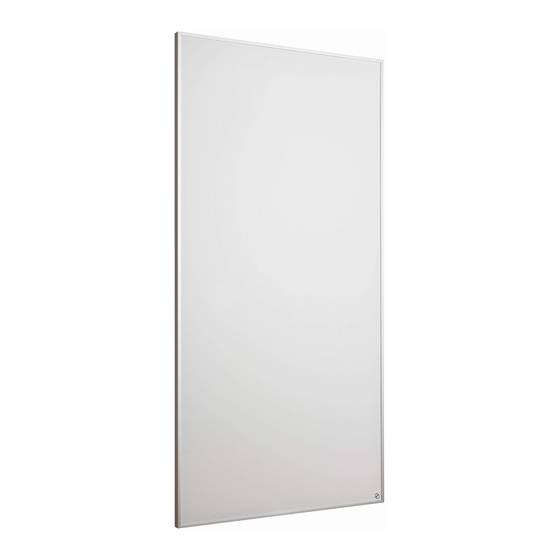
Summary of Contents for Spacio Innovations WEXSTAR WS-4W
- Page 1 INFRARED PANEL HEATER INSTALLATION INSTRUCTIONS Models: WS-4W WS-6W WS-8W WS-4WP WS-6WP WS-6WGB By: Spacio Innovations Inc. PLEASE READ AND SAVE THESE USE AND CARE INSTRUCTIONS...
- Page 2 Congratulations on purchasing WEXSTAR Infrared Heater. Developed by German and Austrian techni- cians, WEXSTAR focuses on reaching the highest quality standards and optimal heating performance with the lowest possible energy consumption. With the WEXSTAR infrared heater you will witness the heat being distributed uniformly in the room and absorbed by objects and walls that release the warmth back into the room.
-
Page 3: Safety Instructions
SAFETY INSTRUCTIONS • The heating element must not be installed directly below a wall socket. • The installation of an infrared heating element in special rooms (rooms with shower, bathtub or swimming pool) as well as in public places may only be done by a specialized installation company taking into account the appropriate standards and norms of the country concerned. -
Page 4: Electrical Connection
BEFORE INITIAL START-UP Read the safety instructions and the manual before use! Check the infrared heating element for visible damage and whether the main voltage is in accordance with the voltage information on the type plate (verso). If you notice damages on the element, do not use it –... - Page 5 INSTALLATION KIT INCLUDED: 4 self adhesive 4 drywall 4 masonry 4 phillips head feltpads wall anchors wall anchors screws TO INSTALL YOUR HEATER YOU’LL NEED: an electric drill a medium sized Phillips screwdriver 1. Use the template provided to mark the position of the four holes on your wall.
- Page 6 2. Your heater unit includes mounting hardware for either masonry or drywall installations. Use a 7/32” (6 mm) drill bit to drill pilot holes for the drywall or masonry anchors; however, if you drill into a stud use a 1/8” (3 mm) and do not use and anchor.
- Page 7 WEXSTAR Service center. Within the limitations of this warranty and the discretion of Spacio Innovations Inc., we will repair or replace the heater.
- Page 8 ¡ ¡ Reset ¡ ¡ Contact Us: Spacio Innovations Inc. Email: info@spacioinnovations.com www.spacioinnovations.com If any items are missing or damaged when opening the box, please: DO NOT RETURN THE HEATER TO YOUR RETAIL STORE! Please direct all inquiries to: info@spacioinnovations.com...
- Page 9 PANNEAU DE CHAUFFAGE INFRAROUGE INSTRUCTIONS D'INSTALLATION Modèles: WS-4W WS-6W WS-8W WS-4WP WS-6WP WS-6WGB De: Spacio Innovations Inc. VEUILLEZ LIRE ET CONSERVER CES INSTRUCTIONS D'UTILISATION ET D'ENTRETIEN...
- Page 10 Félicitations pour l'achat du chauffage infrarouge de WEXSTAR. Développé par des techniciens Allemands et Autrichiens, WEXSTAR se concentre sur l'atteinte des standards de qualité les plus élevés et des performances de chauffage optimales avec la consommation d'énergie la plus basse possible.
- Page 11 INDICATIONS DE SECURITE • Ne pas brancher l’élément chauffant directement en dessous d’une prise de courant murale. • L’installation d’un radiateur infrarouge dans des locaux spéciaux (locaux avec douche, baignoire ou pi- scine) ainsi que dans des lieux publics doit impérativement être faite par un installateur qualifié selon les normes et règlementations correspondantes du pays respectif.
-
Page 12: Montage
chauffant pendant plusieurs heures ou même, si nécessaire, pendant plusieurs jours jusqu’à ce qu’une ambiance ag- réable s’établisse dans la pièce. Dès le moment où les corps solides sont réchauffés, la chaleur agréable se répartira dans la pièce et vous pourrez réduire au minimum le temps de marche du radiateur. Pour que vous puissiez vous réjouir pleinement de la chaleur agréable, nous vous recommandons d’installer une technique de réglage de haute qualité... - Page 13 KIT D'INSTALLATION INCLUS: 4 feutres 4 chevilles pour 4 chevilles de 4 vis à tête auto-adhésifs cloisons sèches maçonnerie cruciform POUR INSTALLER VOTRE CHAUFFAGE, VOUS DEVEZ AVOIR: une perceuse électrique un tournevis Phillips de taille moyenne 1. Utilisez le modèle fourni pour marquer la pos- ition des quatre trous sur votre mur.
- Page 14 2. Votre unité de chauffage comprend le matériel de montage pour les installations de maçonnerie ou de cloison sèche. Utilisez une mèche de 7/32 "(6 mm) ou percer des trous pilotes pour les ancrages de cloison sèche; cependant, si vous percez dans un poteau, utilisez un 3 mm (1/8 po) et n'utilisez pas d'an- crage.
- Page 15 WEXSTAR. Dans les limites de cette garantie et à la discrétion de Spacio Innovations Inc., nous réparerons ou remplacerons l'appareil de chauffage. Vous serez responsable des frais d'expédition et de manutention pour le retour de votre unité...
- Page 16 Reset ¡ ¡ Contactez nous: Spacio Innovations Inc. Email: info@spacioinnovations.com www.spacioinnovations.com Si des éléments sont manquants ou endommagés lors de l'ouverture de la boîte, veuillez: NE PAS RETOURNER LE RADIATEUR DANS VOTRE MAGASIN DE DÉTAIL! S'il vous plaît diriger toutes les...


Need help?
Do you have a question about the WEXSTAR WS-4W and is the answer not in the manual?
Questions and answers