Advertisement
Quick Links
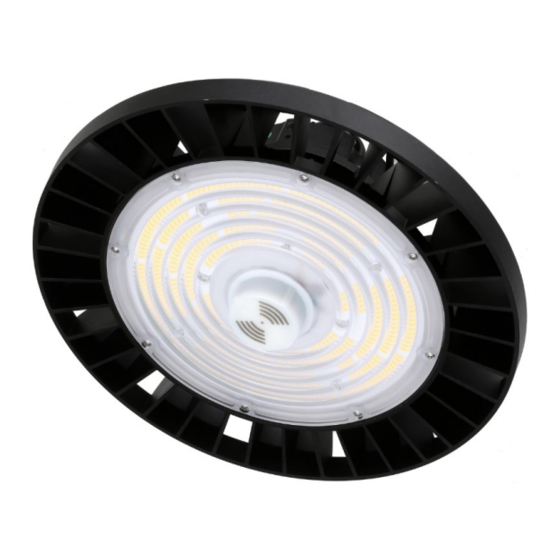
THE JUPITER HIGH-BAY MICRO-WAVE SENSOR (NJP/PLUG-IN/MW/SENSOR)
THE JUPITER HIGH-BAY INFRA-RED PROGRAMMING HANDSET (NJP/MW/PROG/HS)
These instructions are in addition to the standard luminaire instructions that were also supplied with the product
you have purchased. They should be read carefully & luminaire installed as per both sets of instructions, then pass
on to the appropriate person for retention for future reference & maintenance.
DESCRIPTION
The micro-wave sensor provides occupancy detection, a 1-10V dimming control signal that is compatible with
the driver in the fitting and several other features, all of which are programmable via the infra-red programming
handset, ordered separately.
To order additional sensors or handsets, please use the following part numbers:
Sensor: NJP/PLUG-IN/MW/SENSOR
Handset: NJP/MW/PROG/HS
Installation
The sensor is installed by removing the centre front cover of the high-bay fitting and plugging in the sensor with
a quarter turn to lock it in place. This does not affect the IP rating of the fitting. The MW sensor is programmed
by use of the infra-red handset pictured overleaf.
Ceiling mounted height : m
Wall mounted height: m Detection Range: 100%
Issue 2 on 22
Detection Range:100%
&
nd
December 2021
The diagram is based on a ceiling mounting height.
Note that the lower the sensor is installed, the
smaller the detection range will be.
If wall mounted, the detection zone will vary
depending on the surroundings but perpendicular
reach will be at least 12m
The area closest to the sensor & also the area more
perpendicular to the sensor will have higher
sensitivity.
The distances quoted are approximate & may vary
depending on surroundings
Avoid direct sunlight entering the sensor.
Do not site within 1m of forced air heating or
ventilation.
Do not fix to a vibrating surface.
Avoid metallic objects directly in front of the sensor
head.
Page 1 of 2
Advertisement

Summary of Contents for NVC Jupiter NJP/PLUG-IN/MW/SENSOR
- Page 1 THE JUPITER HIGH-BAY MICRO-WAVE SENSOR (NJP/PLUG-IN/MW/SENSOR) & THE JUPITER HIGH-BAY INFRA-RED PROGRAMMING HANDSET (NJP/MW/PROG/HS) Issue 2 on 22 December 2021 These instructions are in addition to the standard luminaire instructions that were also supplied with the product you have purchased. They should be read carefully & luminaire installed as per both sets of instructions, then pass on to the appropriate person for retention for future reference &...
- Page 2 PROGRAMMING The sensor can be programmed via the infra-red handset to perform a number of lighting control functions, as follows: To operate the handset: Check it has batteries installed. These are supplied with the handset. Point the handset towards the sensor you wish to programme. Press the appropriate button on the handset.
- Page 3 Mounting height :15m ( detection range 12m x 15m) Operating Temperature: -20°C …+60°C FAULT FINDING If you are experiencing a problem please check through the following before making contact with NVC: Fault - Load does not come on Check to see if the live supply to the circuit is good.