
Related Manuals for MasterForce HV-20SS-DC-MF


Summary of Contents for MasterForce HV-20SS-DC-MF
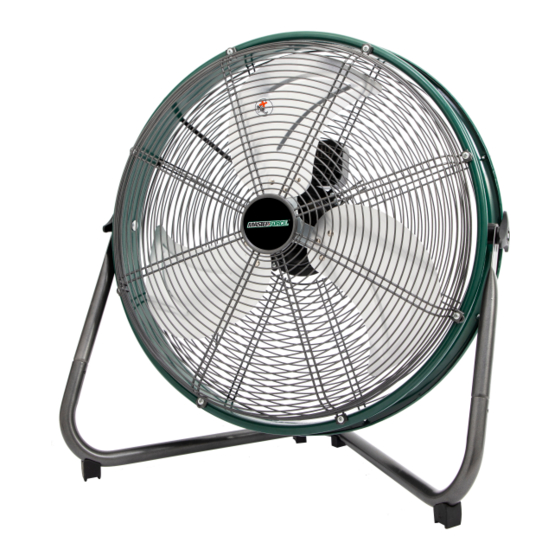
- Page 1 6211737 20 IN. INDUSTRIAL SHROUD DC FLOOR FAN (2‐IN‐1) MODEL HV‐20SS‐DC-MF OWNER’S MANUAL READ AND SAVE THESE INSTRUCTIONS.
- Page 2 ASSEMBLY AND OPERATING INSTRUCTIONS CAUTION: Read and follow all instructions before operating fan. DO NOT use fan if any part is damaged or missing. WARNING: To reduce the risk of fire or electrical shock, do not expose to water or rain. To reduce the risk of fire or electrical shock, do not use this fan with any solid state speed control device. | This appliance has a 3‐prong plug. To reduce the risk of electrical shock, this plug is intended to fit in an outlet only one way. If this does not fit the outlet, contact a qualified electrician. Do not attempt to bypass this procedure. If the supply cord is damaged, it must be replaced by the manufacturer, its service agent or similarly qualified person in order to avoid a hazard. RULES FOR SAFE OPERATION: Never insert fingers or any other objects through the grille guard when fan is in operation. Disconnect the fan when moving from one location to another. Disconnect the fan when removing grille guards for cleaning. Be sure fan is on a stable, flat surface when in operation. DO NOT use fan in windows. Rain and moisture may create electrical hazard. CAUTION: Do not alter the fan’s assembly. WARNING: Be sure FRONT and REAR GUARD screw are completely screwed down in locking position before operation. TUBE BASE ASSEMBLY INSTRUCTIONS 1. Press spring holder, slide one end of V shape tube to the end of fan tube with smaller hole. 2. Slide another end of V shape tube to the end of fan tube with bigger hole. 3. Align these holes, and Securing with the spring holder. SPRING ...
- Page 3 How To Adjust Tilt 1. Loose knob by turning counter‐clockwise. 2. Adjust fan head to tile you want. Tightened the knob by turning clockwise KNOB SPEED CONTROL Rotate Switch Knob from LOW to HIGH speeds for respective air velocity. Speed control is variable speed regulation. It is normal for the motor to feel warm to touch after continuous operation. TO INSTALL AS WALL FAN Secure the hook through the two holes in the hook with screws (minimum size: 5/16‐18UNC) to the wall. Secure the fan on the hook. WARNING: Mount fan on a wooden wall only. To reduce the risk of electric shock and personal injury, ensure the location for all mounting is able to support this fan. Total weight of fan is 17.6 lbs (8 kg). This fan is recommended to be mounted by a qualified electrician. WARNING: Mount fan on a wooden wall only. To reduce the risk of electric shock and personal injury, ensure the location for all mounting is able to support this fan. Total weight of fan is 14.5 lbs (6.5 kg). This fan is recommended to be mounted by a qualified electrician. CLEANING INSTRUCTIONS WARNING: ...
- Page 4 WARNING: This product is not intended for use by persons (including children) with reduced physical, sensory or mental capabilities, or lack of experience and knowledge, unless they have been given supervision or instruction concerning use of the product by a person responsible for their safety. Children should be supervised to ensure that they do not play with the product. If the supply cord is damaged, it must be replaced by the manufacturer, its service agent or similarly qualified persons in order to avoid a hazard. 3‐Year Limited Warranty The manufacturer warrants this product to be free from manufacturing defects in material and workmanship under normal use for a period of three (3) years after the date of purchase by the original purchaser. To obtain warranty service, you must present a copy of the receipt as proof of purchase.
Need help?
Do you have a question about the HV-20SS-DC-MF and is the answer not in the manual?
Questions and answers