
Related Manuals for bily Retractable Safety Gate

Summary of Contents for bily Retractable Safety Gate
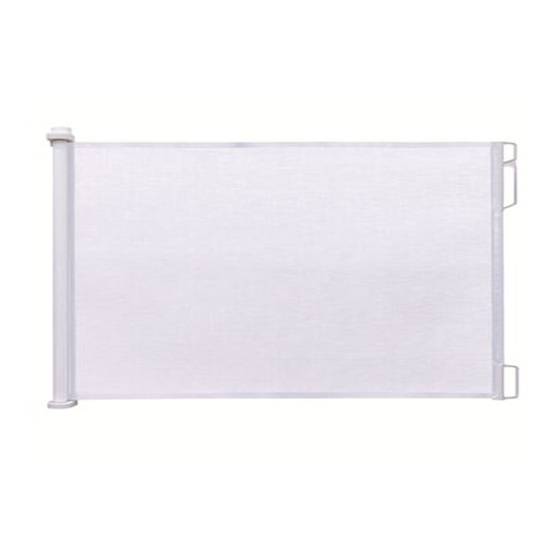
- Page 1 Retractable Safety Gate English ELFE JUVENILE PRODUCTS 2520 MARIE-CURIE SAINT-LAURENT (QC) H4S 1N1 service@elfe.ca www.elfe.com Please Note: Instructional images may vary 1-800-667-8184 in style from the product you purchased. BG37XXXX_IM_R4 (Dec 2018)
- Page 2 SOME ASSEMBLY REQUIRED Need assistance? Call our toll-free Consumer Relations help line at 1-800-667-8184 (Monday to Friday 8:30a.m. to 5:00p.m. - Eastern Time) Gate Warnings WARNING Failure to follow these warnings and the assembly instructions could result in serious injury or death. 1.
-
Page 3: Parts List
Parts List Note: Lower gate mount has a locking groove. No. Parts Name (Hardware kit) Gate Assembly Screws & Plugs Upper Gate Mount Lower Gate Mount Guide 1 template Guide 2 template Catch Mounts Wall Spacers Note: 2 sets of mounting brackets included for convenient relocation. - Page 4 When fitting the Retractable Safety Gate at the top of stairs, place the gate at the top floor level, 15 cm / 6 inches from the first step (2-3). When fitting the Retractable Safety Gate at the bottom of stairs, place the gate at the lowest stair.
- Page 5 Installation Outside of Opening or Doorway To install you will need a Phillips screwdriver, pencil, level and drill. 1. Place Guide 1 template on the surface you want the Gate Assembly to be mounted to with the bottom of the template flush with the floor, use a level to ensure the guide is straight.
- Page 6 Installation Inside Opening or Doorway To install you will need a Phillips screwdriver, pencil, level and drill. 1. Place Guide 1 template on the surface you want the Gate Assembly to be mounted to with the bottom of the template flush with the floor, use a level to ensure the guide is straight.
- Page 7 Installation (continued) Installation with skirting/baseboard To help correct for the offset of a skirting board or baseboard spacers will be required. Only use spacers for the Upper Gate mount and the Upper Catch (parts C & G). Measure the width of your skirting/baseboard and use the closest number of spacers to fit this width.
- Page 8 Installation (continued) Gate Assembly 1. Attach Gate Assembly to the Gate Mounts by aligning the gate directly above the mounts and sliding straight down over mounts. Check that the Gate assembly is flush against the wall and is locked firmly in place. 2.
-
Page 9: Operation
Operation To extend gate 1. To unlock the mechanism, simply push down and turn the button clockwise, at the same time grasp the handle and pull evenly. 2. Release the button and continue pulling the handle toward the catches. 3. Hook the handle onto the catches ensuring both the top and bottom are aligned. Note: When gate is retracting always hold the handle and guide the gate evenly back into its original position. -
Page 10: Special Instructions
Special Instructions -This unit is guaranteed to meet all federal and provincial standards and will provide many years of service provided you adhere to the guidelines provided for assembly, maintenance and operation. -For parts or assistance, do not return to retailer where unit was purchased. Call or write Elfe Juvenile Products. Limited Warranty 1 Year Limited Warranty Elfe Juvenile Products will supply the original owner, without charge, any part discovered to be missing at... - Page 11 ELFE JUVENILE PRODUCTS 2520 MARIE-CURIE SAINT-LAURENT (QC) H4S 1N1 service@elfe.ca www.elfe.com 1-800-667-8184...
Need help?
Do you have a question about the Retractable Safety Gate and is the answer not in the manual?
Questions and answers