Table of Contents
Advertisement
Quick Links
Life Gets Better With
USE AND CARE GUIDE
THD7-305-116
h
Questions, problems, missing parts? Before returning to the store,
please contact our Customer Service
service@alphamarts.com
THANK YOU
We appreciate the trust and confidence you have placed in PHI VILLA through the purchase of our product. We strive to continually create quality
products designed to enhance your home. Visit us online to see our full line of products available for your home improvement needs.
Thank you for choosing PHI VILLA!
Advertisement
Table of Contents

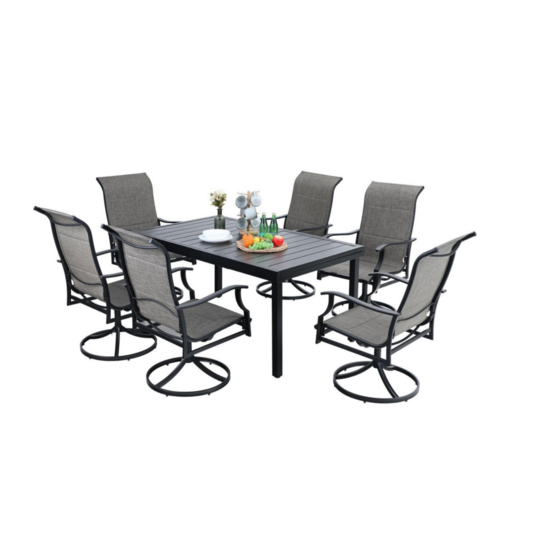
Summary of Contents for PHI VILLA THD7-305-116
- Page 1 THANK YOU We appreciate the trust and confidence you have placed in PHI VILLA through the purchase of our product. We strive to continually create quality products designed to enhance your home. Visit us online to see our full line of products available for your home improvement needs.
-
Page 2: Table Of Contents
Table of Contents Pre-assembly (Table) Table of Contents Assembly (Table) Safety Information Pre-assembly (Chair) Warranty 8-10 Assembly (Chair) What is Covered 11-13 Care And Maintenance What is Not Covered Safety Information • Tighten each bolt firmly and properly. Do not completely tighten screws until all screws are started. •... -
Page 3: Pre-Assembly (Table)
Pre-assembly (continued) Assemble the item on a soft, non-abrasive surface, such as carpet or cardboard to avoid damaging the item. Seek assistance to assemble bulky or heavy items. Identify all parts packed in the carton against the parts list. NOTE: Remove all the protective material carefully and DO NOT use a knife to prevent scratching the furniture. -
Page 4: Assembly (Table)
Assembly Once all connections are made, use F to tighten C, Dand E. Unlock latch under the table top. -
Page 5: Assembly (Chair)
Assembly Pull the table top from both sides to open. Push the table top inward from both side and secure with latch. - Page 6 Assembly Unlock the latch under the table top. Pull out the table top, turn down the middle top.
- Page 7 Assembly Push both sides of the table top inward. Secure with latch under the table top.
-
Page 8: Pre-Assembly (Chair)
Pre-assembly (continued) Assemble the item on a soft, non-abrasive surface, such as carpet or cardboard to avoid damaging the item. Seek assistance to assemble bulky or heavy items. Identify all parts packed in the carton against the parts list. NOTE: Remove all the protective material carefully and DO NOT use a knife to prevent scratching the furniture. - Page 9 Pre-assembly (continued) Assemble the item on a soft, non-abrasive surface, such as carpet or cardboard to avoid damaging the item. Seek assistance to assemble bulky or heavy items. Identify all parts packed in the carton against the parts list. NOTE: Remove all the protective material carefully and DO NOT use a knife to prevent scratching the furniture.
- Page 10 Pre-assembly (continued) Assemble the item on a soft, non-abrasive surface, such as carpet or cardboard to avoid damaging the item. Seek assistance to assemble bulky or heavy items. Identify all parts packed in the carton against the parts list. NOTE: Remove all the protective material carefully and DO NOT use a knife to prevent scratching the furniture.
- Page 11 Assembly...
- Page 12 Assembly...
- Page 13 Assembly...
-
Page 14: Care And Maintenance
Cleaning and Maintenance Clean the furniture with damp cloth, rinse thoroughly. Dry frame parts completely. Do not use bleach, acid or ● other solvents on the wicker or metal parts. We recommend the use of furniture covers to protect the table when not in use. ●...


Need help?
Do you have a question about the THD7-305-116 and is the answer not in the manual?
Questions and answers