Advertisement
Quick Links
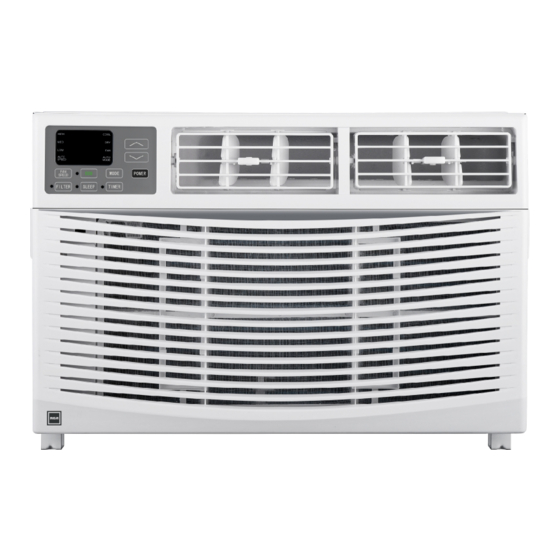
RACE1011-6COM
This product has been manufactured and sold under the responsibility of Curtis International Ltd.
RCA, the RCA logo, the two dogs (Nipper and Chipper) logo, are registered trademarks or
trademarks of Technicolor (S.A.) or its affiliates and are used under license by Curtis International Ltd.
Any other product, service, company, trade or product name and logo referenced herein are neither
endorsed nor sponsored by Technicolor (S.A.) or its Affiliates.
Advertisement

Related Manuals for RCA RACE1011-6COM


Summary of Contents for RCA RACE1011-6COM
- Page 1 This product has been manufactured and sold under the responsibility of Curtis International Ltd. RCA, the RCA logo, the two dogs (Nipper and Chipper) logo, are registered trademarks or trademarks of Technicolor (S.A.) or its affiliates and are used under license by Curtis International Ltd.
- Page 2 INTRODUCTION IMPORTANT SAFETY INSTRUCTION ..................ELECTRICAL REQUIREMENTS ....................PACKING LIST ..........................INSTALLATION & ASSEMBLY INSTRUCTIONS ............... USING YOUR AIR CONDITIONER ..................... OPERATING YOUR AIR CONDITIONER .................. CARE AND CLEANING ....................... TROUBLESHOOTING ......................... SPECIFICATION .......................... WARRANTY CARD........................19...
- Page 4 INTRODUCTION TO REFRIGERANTS R32 The refrigerants used for air conditioners are environmentally friendly hydrocarbons R32. This kind of erant is combustible and odorless. Moreover, it can burn and explode under certain condition. However, there will be no risk of burning and explosion if you comply with the following table to install your air conditioner in a room with an appropriate area and use it correctly.
- Page 5 (6K-8K) 0-8 amps (6K-8K) 10-amp...
- Page 6 (Only for E-star model)
- Page 7 FIG. 1 EXTERIOR STOOL WALL OFFSET SILL INTERIOR WALL...
- Page 9 REWORD: Top Rail and Sliding Panels at each side are offset to provide the proper pitch of 5/16" to the rear of the air conditioner. FIG. 3 FIG. 4 FIG. 5...
- Page 10 Keeping (It is suggested to keep a downward FIG. 10 angle so accumulated rain water can drain out from the backside of the unit.) FIG. 6 FIG. 11 FIG. 7 FIG. 12 FIG. 8 FIG. 13 FIG. 9...
- Page 11 FIG. 14...
- Page 12 INSTALLATION & ASSEMBLY INSTRUCTIONS Introduction to Refrigerants R32 Before installing the appliance, you must read the manual carefully to get the safety information and notes. When filling the combustible refrigerant, any of your rude operations may cause serious injury or injuries to human body or bodies and object or objects. A leak test must be done after the installation is completed.
- Page 13 INSTALLATION & ASSEMBLY INSTRUCTIONS Introduction to Refrigerants R32 1. Site Safety Open Flames Prohibited Ventilation Necessary 2. Operation Safety Open Flames Prohibited Mind Static Electricity Must Wear Protective Clothing and anti-static gloves Don't use mobile phone 3. Installation Safety Refrigerant Leak Detector Appropriate Installation Location The left picture is the schematic diagram of a refrigerant leak detector.
- Page 14 Cool Mode: The cooling function allows the air conditioner to cool the room and at the same time reduces air . Press the MODE button to humidity activate the cooling function. To optimize the function of the air conditioner, adjust the temperature and the speed by pressing the button indicated.
- Page 15 Directional Louvers: To direct the airflow, use the horizontal wheel to control the horizontal direction and use the air deflectors to control the vertical 6. Eco Button: When the unit is in ECO mode, the direction. light will turn on. In ECO mode, the unit will turn off once the room is cooled to the user set temperature.
-
Page 16: Auto Mode
5. Timer: Use these buttons on the control panel and remote to set the Timer. Timer Off: The timed stop is programmed by pressing TIMER button. Set the rest time by pressing the button until the rest time displayed is to your demand then press TIMER button again. - Page 17 FIG. 15...
-
Page 20: Specification
SPECIFICATION RCA Model RACE1011-6COM Power supply Ph-V-Hz 1Ph, 115V-, 60Hz Btu/h 10,000 RATED Capacity RATED Input Cooling RATED Current A Standby power Max. input consumption 1050 Max. current 10.8 Starting current Refrigerant type (R32) Refrigerant type (R32) R32/12.35 Design pressure(145psi=1MPa )(L/H) 360/915(2.5/6.3MPa) - Page 22 For service assistance and product information, please call: 1-800-968-9853. Curtis International Ltd. 7045 BECKETT DRIVE, UNIT 15, MISSISSAUGA, ON, L5S 2A3 www.curtisint.com...
Need help?
Do you have a question about the RACE1011-6COM and is the answer not in the manual?
Questions and answers