Table of Contents
Advertisement
Quick Links
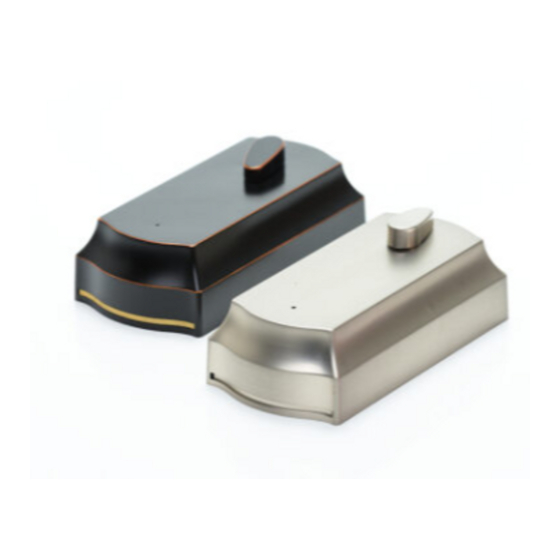
Congratulations on purchasing the Instalock remote control unit for your existing thumb-turn deadbolt lock.
The Instalock unit works on existing deadbolts by transforming your existing lock into a remote-controlled door lock. Installation is
simple with NO TOOLS REQUIRED.
BOTH YOUR DOOR KEY AND YOUR THUMB-TURN WILL OPERATE YOUR DOOR LOCK MANUALLY. WE RECOMMEND THAT YOU
ALWAYS CARRY YOUR KEY WITH YOU WHEN LEAVING YOUR HOME. ALWAYS MAKE SURE TO CHECK YOUR DOOR IS LOCKED
WHEN USING YOUR INSTALOCK REMOTE CONTROL UNIT TO LOCK YOUR DOOR.
THE INSTALOCK UNIT WILL NOT FUNCTION CORRECTLY IF YOU HAVE TO PUSH OR PULL YOUR DOOR WHEN USING YOUR KEY
TO OPEN OR LOCK YOUR DOOR. PLEASE CONSULT A PROFESSIONAL TO ADJUST YOUR EXISTING LOCK MECHANISM SO THAT
YOUR EXISTING DOOR LOCK OPERATES SMOOTHLY. FOR VIDEO INSTRUCTIONS GO TO WWW.INSTALOCK.COM
CONTENTS:
1 Instalock unit
1 Metal Plate with adhesive strips (attached to unit)
1 Remote control
4 AA Batteries
4 Adhesive Strips
2 Sticky tabs
METAL DOOR SURFACES
To determine if you have a metal door, hold the Instalock unit against the doors surface. If you feel a magnetic pull towards the door,
then you may proceed to install the Instalock unit as follows:
STEP 1. Remove the metal plate from the back of the unit. (FIG.1)
STEP 2. Turn the thumb-turn to its most horizontal position (FIG.2a. FIG.2b)
STEP 3. Align the thumb-turn with the corresponding C channel (FIG.3)
STEP 4. Attach the unit over your existing dead bolt thumb turn. Adjust the unit so that it aligns squarely with your doors surface,
making sure the C channel fits over the thumb- turn.(FIG. 4)
STEP 5. Remove the Instalock unit from the metal door by turning the unit at an angle to release the magnetic attachment.
DO NOT pull the unit directly from the door. Slide the unit clockwise, or counter clockwise to release it easily from the doors
surface.
FIG.1
NON-METAL DOOR SURFACES
STEP 1. Turn the thumb-turn to its most horizontal position. (FIG.2a. FIG.2b)
Practice aligning the C channel over the thumb-turn prior to removing the adhesive strips. It is important to make sure the C
channel fits over the thumb turn and is horizontal to your doors surface prior to installing.
STEP 2. Remove the adhesive backing from the metal plate. (FIG.5)
STEP 3. Align the thumb-turn with the corresponding C channel. (FIG.6)
STEP 4. Make sure the C channel is aligned over the thumb- turn and the unit is aligned squarely to your doors surface. Press the unit
firmly against the door surface for 10 seconds. (Fig.7) The metal plate should now be secured to your doors surface.
Step 5. Remove the Instalock unit from the metal plate by turning the unit at an angle to release the magnetic attachment. DO NOT
pull the unit directly from the door. Slide the unit clockwise, or counterclockwise to release it easily from the doors surface.
The metal plate should now be secured to your doors surface. (FIG. 10)
FIG.5
INSTALOCK
FIG.2a
FIG.2b
FIG.6
Instalock/Lock Adapter
Model:1001
FIG.3
FIG.7
FIG.4
FIG.8
Advertisement
Table of Contents

Summary of Contents for Instalock 1001
- Page 1 2 Sticky tabs METAL DOOR SURFACES To determine if you have a metal door, hold the Instalock unit against the doors surface. If you feel a magnetic pull towards the door, then you may proceed to install the Instalock unit as follows: STEP 1.
- Page 2 If your unit should move slightly during operation, apply the enclosed sticky pads as follows: Apply a sticky pad to the two upper magnets of the Instalock unit. Once you have applied the sticky pad to each magnet remove the top liner.
Need help?
Do you have a question about the 1001 and is the answer not in the manual?
Questions and answers