
Summary of Contents for Power Max TDM-97
- Page 1 TDM-97 TREADMILL USER’S MANUAL OWNER’S MANUAL Read all instructions carefully before using this product. Retain this owner's manual for the future's reference. Product may be slightly different with photos, it is subject to actual product.
-
Page 2: Table Of Contents
TABLE OF CONTENTS WARRANTY PRODUCT BRIEF INTRODUCTION SECURITY PRECAUTIONS AND WARNINGS INSTALLING STEPS USING INSTRUCTIONS ROUTINE MAINTENANCE 1 YEAR LIMITED WARRANTY PowerMax Fitness warrants to the original purchaser that this product is free from defects in material and workmanship when used for the purpose intended, under the conditions that it has been installed and operated in accordance with PowerMax Fitness's Owner's Manual. -
Page 3: Product Brief Introduction
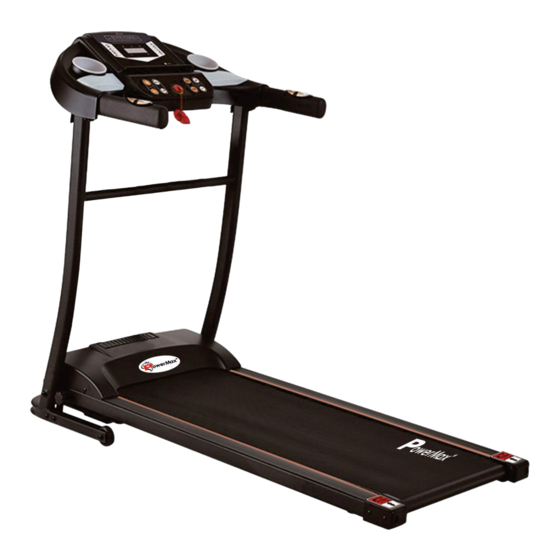
1. PRODUCT BRIEF A. Multifunctional home use treadmill: Main parameters and parts list Main technical parameters Parameters Names Description Input power voltage AC 220-240V(50/60Hz) Speed 1.0-10 Km/h Running surface 400*1100 mm Expand dimensions 1330*615*1025mm Functions (Option) Running(massager) www.powermaxfitness.net... - Page 4 Packing list Name units Complete machine Massager (Option) Accessory Bag Base supporting frame Accessory bag list Name Name Inner hexagon spanner 5mm MP3 cable Combination wrench ScrewM8*25 Safety key Screw M6*12 Silicone oil Manual Multi-function model accessory Name Name Massager Massager fixing plate www.powermaxfitness.net...
-
Page 5: Security Precautions And Warnings
2. Security Precautions and Warnings Tips: Before folding the treadmill, make sure that the gradient is "zero". Notice: Please read the instructions carefully before use. Indoor using and storing the treadmill, avoid dampness, and cannot be spilled by water. ... - Page 6 ----Otherwise will cause fire or get an electric shock. Don't use machine for more than 2 people at the same time, and don't get close to the machine when it is in use. ---- Or it may be an accident or injury due to falls. ...
-
Page 7: Installing Steps
This appliance can be used by children aged from 8 years and above and persons with reduced physical, sensory or mental capabilities or lack of experience and knowledge if they have been given supervision or instruction concerning use of the appliance in a safe way and understand the hazards involved, children shall not play with the appliance, cleaning and user maintenance shall not be made by children without supervision. - Page 8 3. Hold left& right columns, use 6# hexagon wrench and screw M8*25 to lock the console frame on the columns (Tighten all screws in above steps, and please notice not to clamp the cable by column). M8*2 5 4. Use the knob in step one to lock the main base and columns (Rotate clockwise, please refer to the arrow point direction).
- Page 9 5. Put the massager supporting frame on the rail, and the tighten with screw M8*35 and nuts (Please notice the direction). M 8 * 35 6. Remove the three M8*15 screws, spring pads and flat washers from the massager, then use them to lock the massager on the massager frame.
- Page 10 Massager using instructions Dear customer, when using the massager, please step the pipe on the base as shown in the picture bellow Safety key is in red colour. Please find it in the accessory bag. Folding instructions When the treadmill is not in use, you can lift the running deck and them use knob to lock the running deck and base, as shown in the picture bellow.
-
Page 11: Using Instructions
4. Using Instructions Using treadmill Insert the power plug properly and turn on the switch (in red colour) (1). When the light is on, there will be a beep sound, and then the screen will light up. Please keep the safety key away from children when the treadmill is not in use. Please put the silicon oil bottle in places children cannot reach. - Page 12 Safety key function Disconnect the safety key, "E7" shows on the screen. The treadmill stops gradually, and a Di alarm sound is let out. Put the safety key back, all the data will be cleared in 2 seconds. Under any circumstance, the treadmill will stop when disconnect the safety key. There will be prompt information on the screen.
- Page 13 4. Volume± key When connect with mobile phone, press “+” to turn the volume up and press “-” to turn the volume down. 5. Speed ± key Use these keys to adjust the speed of the treadmill by 0.1Km/press, press “+” to increase the speed and “-”...
- Page 14 Automatic program Each program is divided into 10 segments, and the running time of each segment of the program is evenly distributed. Following is a form of time distribution of 12 programs. Time Set time / 10 = running time of each period Programs SPEED SPEED...
- Page 15 Translation of Error Codes Error Description Solution code Possible Cause: Communication The communication between the lower controller Abnormal: when the power is and console is blocked, check each joints between on, the connection between the controller and console, ensure that each core is lower controller and the fully plugged in.
-
Page 16: Routine Maintenance
5. Routine Maintenance Warning: Before cleaning or maintaining products, please be sure the power plug of the treadmill is pulled out. Cleaning: Comprehensive cleaning will extend the using life of the electric treadmill. Remove dust periodically in order to keep the parts clean. Be sure to clean running belt with both sides of the exposed portion, which will reduce the accumulation of impurities. - Page 17 Running Belt alignment ⚫ Put electric treadmill flat on the ground. ⚫ Make the electric treadmill run at a speed of about 6-8km/hour. ⚫ If the running belt is closer to the right, rotate the right adjusting bolt with 1/2 turn clockwise, then rotate the left adjusting bolt with 1/2 turn counter-clockwise.
- Page 18 Step 2: Use a wrench to adjust the screws on the motor base according the condition. Meanwhile, gently flip the multi-wedge belt between the motor shaft and the front roller, if it is too loose, you can flip the multi-wedge belt by 100%; if it is too tight, the degree for you to flip the belt is very limited. It is appropriate to flip the multi-wedge belt by 80% after adjustment.
Need help?
Do you have a question about the TDM-97 and is the answer not in the manual?
Questions and answers
It is showing an error and after showing that then it suddenly stops working and this blink again and again?
The Power Max TDM-97 treadmill may stop working and blink repeatedly due to an error code. Common error codes and their causes include:
- E1: Communication issue between the lower controller and console. Check and ensure all connections are fully plugged in.
- E6: Abnormal voltage or motor issue. Verify power supply voltage, check for burnt smell in the controller, and inspect motor cable connections.
- E7: Missing safety key. Place the safety key in the correct position.
If the treadmill is blinking, check the error code displayed and follow the corresponding troubleshooting steps.
This answer is automatically generated