Advertisement
Steps 1 & 2 only apply if your Halo is being fitted to an existing car operating
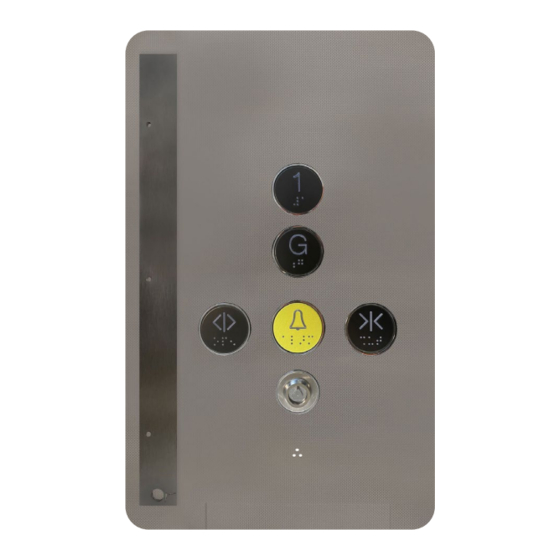
Step 1: sensor location
Decide where to place Halo sensor, line up positioning
guide on faceplate and use it to drill the fixing holes.
Note: the Halo sensor has a maximum range of 320mm in
the X axis - do not mount sensor further than 320mm from
pushbuttons.
The metal positioning guide is the same footprint as the Halo
unit. It can be used for left and right fitment, allowing for
easy placement.
If the customer requires a symmetrical layout, we offer the
option of installing two Halo units. The second unit will not
contain a sensor and can be sold with the same print on the
side, or without print.
www.dewhurst.co.uk
Halo Touchless Car Operating System
Installation guide
panel (COP) faceplate. Otherwise, please proceed to step 3.
Diagram (right):
(a) Three drill guide holes
for fixing (4mm).
(b) Drill guide for 10.5mm
hole, which is required
to pass the sensor
connector through.
(c) Small laser-cut arrow:
indicates where to begin
your measurements.
This will be known as
the '0 point' of the
X and Y axes.
orders@dewhurst.co.uk
(a)
(b)
+44 (0)2087 448 200
(c)
Advertisement
Table of Contents

Summary of Contents for dewhurst Halo
- Page 1 +44 (0)2087 448 200 Halo Touchless Car Operating System Installation guide Steps 1 & 2 only apply if your Halo is being fitted to an existing car operating panel (COP) faceplate. Otherwise, please proceed to step 3. Step 1: sensor location Decide where to place Halo sensor, line up positioning guide on faceplate and use it to drill the fixing holes.
- Page 2 Y axis You will not be able to proceed with the following steps until steps 1 & 2 have been completed and you have received your programmed Halo sensor. Step 3: Halo attachment Attach Halo sensor to the faceplate, with connector...
- Page 3 All information within this document is for guidance only and does not form the basis for contract. The product images shown are for illustration purposes only and may not be an exact representation of the latest version of the product. ©2021 Dewhurst. All Rights Reserved.
Need help?
Do you have a question about the Halo and is the answer not in the manual?
Questions and answers