Advertisement
Quick Links
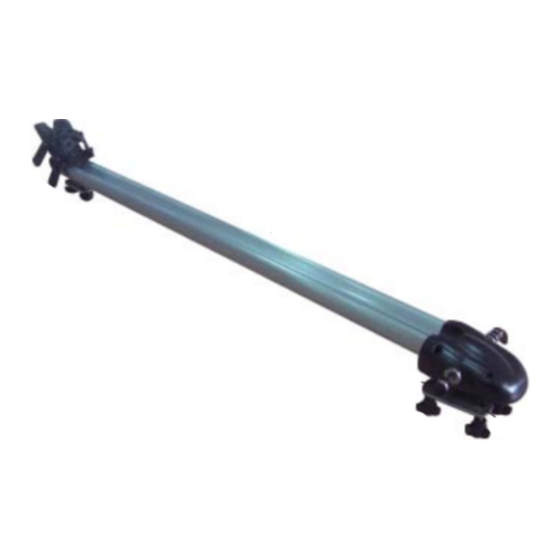
3
8
Wheel tray
1
Front housing
2
Wheel holder
3
9mm skewer
4
5
Lever
6
Anti-skid plates
7
Knob
8
Wheel stabilzing rubber straps
1
First please check all items in the
box, bike carrier, two wheel
stabilizing rubber straps, and 9mm
skewer.
4
Before mounting bike carrier to the
roof bars, please prepare the six
knobs and three anti-skid plates.
1
2
Insert the 9mm skewer into the
hole located on the side of front
housing.
5
At front side, make sure front roof
bar is between four screws
underneath front housing.
5
2
4
7
6
3
Secure the nut to the other side of
the 9mm skewer.
6
According to distance of rear cross
bar, move the two screws
accordingly so that rear roof bar is
within the two screws. (Caution: it is
required to have the minimum
distance between two roof bar at 40
cm / 15.75 inch which gives bike
carrier the best support)
Advertisement

Summary of Contents for RAGE POWERSPORT PRODUCTS BC-219
- Page 1 Wheel tray Front housing Wheel holder 9mm skewer Lever Anti-skid plates Knob Wheel stabilzing rubber straps First please check all items in the Insert the 9mm skewer into the Secure the nut to the other side of box, bike carrier, two wheel hole located on the side of front the 9mm skewer.
- Page 2 ITEM:BC-219 NAME:Roof mounted bike carrier Eventually, the rail is fully secured Install the knobs then tighten This diagram illustrated correct within the inner and outer brace. them in an anti-clockwise way. installation of front part of bike Note that the rail should be fitted carrier on front roof bar.
- Page 3 Turn the lever of 9mm skewer Double check if the front fork is Turn the knob of wheel holder in inwardly. firmly secured on the 9mm a clockwise way until the knob is skewer. Repeat the procedure 15 tightened. and 16 if it is not secured. Secure one end of the rubber strap The diagram illustrates the final with one side of wheel holder.
- Page 4 ITEM:BC-219 NAME:Roof mounted bike carrier CAUTION 1.1 The bike carrier had been designed and manufactured to attach securely to a variety of vehicles with cross bars on the roof. The attachment of this bike carrier to a vehicle is beyond the control of the manufacture. The users must therefore ensure that the bike carrier is stuitable for use with their particular vehicles/rails and that bikes are securely and safely attached to the bike carrier.
Need help?
Do you have a question about the BC-219 and is the answer not in the manual?
Questions and answers