
Related Manuals for Zip FlushMaster 40090

Summary of Contents for Zip FlushMaster 40090
- Page 1 Installation instructions & user manual Zip FlushMaster Surface-mounted sensor Water-saver urinal flushing system Product code: 40090 87100 v1.12 09.22 FlushMaster Page 1 of 12...
-
Page 2: Table Of Contents
Contents Warnings ..................2 Key features .................3 Parts & accessories ...............3 1. Set up water discharge ............. 4 2. Install sensor ................6 3. Connect latching valve to sensor ..........7 4. Connect power pack (optional) ..........8 5. Set timing using switches ............8 6. -
Page 3: Key Features
99022 - Zip FlushMaster Cistern Autosyphon 1.25 inch BSP/ 32 mm 99023 - Zip FlushMaster Cistern Autosyphon 1.50 inch BSP/ 38 mm 99024 - Zip FlushMaster Direct Injection Airbreak 1.00 inch BSP / 25 mm 99025 - Zip FlushMaster Direct Injection Airbreak 1.25 inch BSP/ 32 mm 99026 - Zip FlushMaster Direct Injection Airbreak 1.50 inch BSP/ 38 mm... -
Page 4: Set Up Water Discharge
Installation 1. Set up water discharge Typical Installation with Cistern Single stall Twin stall Triple stall 1.5 to 2.5 Litre 3.0 to 5.0 Litre 4.0 to 7.5 Litre Discharge Capacity Discharge Capacity Discharge Capacity Single trough Single trough Single trough 1.5 to 2.5 litre 3.0 to 5.0 litre 4.0 to 7.5 litre... - Page 5 Installation Latching valve (solenoid) Turn off the mains water supply. An isolating valve must be Latching supplied and installed in accordance with AS/NZS3500. valve Position the latching valve as near to the cistern as possible, and preferably upright, as shown in the diagram. Cut the supply pipe and purge any debris or swarf.
-
Page 6: Install Sensor
Installation • Fit the air break to the top of the urinal sparge pipe (in place of a cistern), as shown in the diagram. • Do not use sealing tape in the joints. Both the air break and the latching valve use compression connections fittings. -
Page 7: Connect Latching Valve To Sensor
Installation 3. Connect latching valve to sensor Run the latching valve cable to the sensor in conduit or within the building wall and ceiling. Do not extend the cable as this will affect correct operation. To fasten the latching valve cable to the circuit board, first remove the valve output connector on the circuit board by lifting it directly upwards. -
Page 8: Connect Power Pack (Optional)
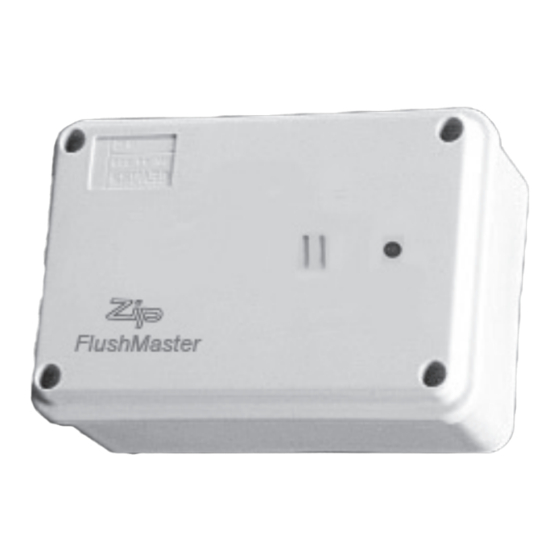
Installation Surface Mounted Sensor Drill a 12 mm hole in the side of the box, fit cable gland and thread cable through the cable gland into the sensor as shown. Connect to 4. Connect power pack (optional) circuit board Locate battery holder and battery supplied with the system. If connected, remove the battery cable plug from the circuit board. -
Page 9: Set Fill Timing Using Fill Time Button
Installation 6. Set fill timing using Fill Time Button (alternatively, set the timing using switches as detailed in step 5) Fill Time Fill LED Button To establish the time, start with an empty cistern. The board will run Test Mode defaults (approximately 35 seconds delay, 5 seconds flush) until the time values have been set up. -
Page 10: Maintenance
Wipe with a soft cloth, warm water and dish washing liquid. Never hose or spray any part of the flushing system. Where the Zip FlushMaster is powered by a long life lithium battery a life of up to three years can be anticipated depending on frequency of activation. -
Page 11: Troubleshooting
Troubleshooting Symptom Possible Cause Recommended action Cistern does not fill or direct Cistern does not fill or direct Check water supply, turn on tap. inject does not flush. inject does not flush. Back off regulator screw. Reinstall latching valve correctly. Check cable and replug into sensor circuit board. - Page 12 | Ph +61 2 9796 3100 | Free Call 1800 947 827 The terms “Zip” and “FlushMaster” are registered trade marks of Zip Heaters (Aust) Pty Ltd. Zip products described in this publication are manufactured under one or more patents and further patent applications are pending.
Need help?
Do you have a question about the FlushMaster 40090 and is the answer not in the manual?
Questions and answers