Sign In
Upload
Download
Table of Contents
Contents
Add to my manuals
Delete from my manuals
Share
URL of this page:
HTML Link:
Bookmark this page
Add
Manual will be automatically added to "My Manuals"
Print this page
×
Bookmark added
×
Added to my manuals
Manuals
Brands
K2 Manuals
Inverter
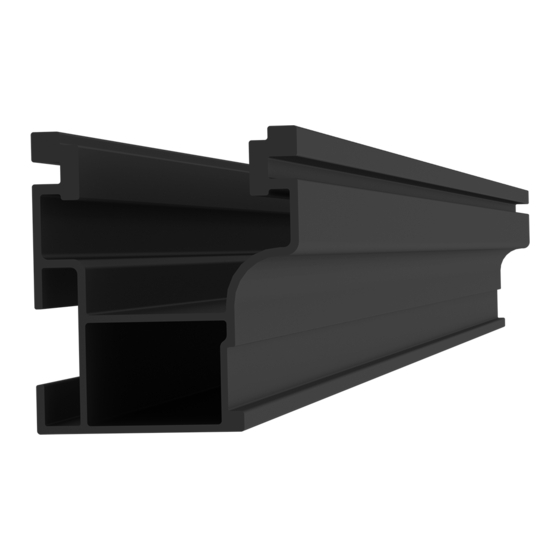
CrossRail 44-X
Assembly instructions manual
K2 CrossRail 44-X Assembly Instructions Manual
Hide thumbs
1
Table Of Contents
2
3
4
5
6
7
8
9
10
11
12
13
14
15
16
17
18
19
20
21
22
23
24
25
page
of
25
Go
/
25
Contents
Table of Contents
Bookmarks
Table of Contents
Table of Contents
General Safety Information
Roof Requirements
Structural Requirements
Bonding and Grounding
Fire Rating
Compatible Modules
Tools Overview
T Components
Roof Attachments
Accessories
T Assembly
T Notes
Advertisement
Quick Links
1
Compatible Modules
Download this manual
We support PV systems
Formerly Everest Solar Systems
CrossRail System
ASSEMBLY INSTRUCTIONS
k2-systems.com
Table of
Contents
Previous
Page
Next
Page
1
2
3
4
5
Advertisement
Table of Contents
Need help?
Do you have a question about the CrossRail 44-X and is the answer not in the manual?
Ask a question
Questions and answers
Subscribe to Our Youtube Channel
Related Manuals for K2 CrossRail 44-X
Inverter K2 CrossRail 48-X Assembly Instructions Manual
(25 pages)
Inverter K2 CrossRail Shared Rail System Assembly Instructions Manual
(26 pages)
This manual is also suitable for:
Crossrail 48-x
Crossrail 48-xl
Table of Contents
Print
Rename the bookmark
Delete bookmark?
Delete from my manuals?
Login
Sign In
OR
Sign in with Facebook
Sign in with Google
Upload manual
Upload from disk
Upload from URL


Need help?
Do you have a question about the CrossRail 44-X and is the answer not in the manual?
Questions and answers