
Summary of Contents for LeadSolar LS600-208
- Page 1 LeadSolar Monitoring System Installer Manual Oct 10, 2016 Ver 2.2 Monitoring System Installer Manual www.leadsolarenergy.com ...
-
Page 2: Table Of Contents
Contents 1. Quick Installation ............................. 3 1.1. How it works? ............................ 3 1.2. Finding the right number for registrations .................... 3 1.3. Installing the gateway .......................... 4 2. Registration .............................. 5 2.1. Register new account .......................... 5 2.2. -
Page 3: Quick Installation
Quick Installation 1.1. How it works? Go to www.leadsolarenergy.com and login the monitoring platform by fast link: SMART GRID MONITORING: Register gateway Collect SN of Create a with SN and Monitoring gateway and ID user microinverters with online of microinverters account After registration is completed, the gateway will be permanently associated with the registered microinverters. -
Page 4: Installing The Gateway
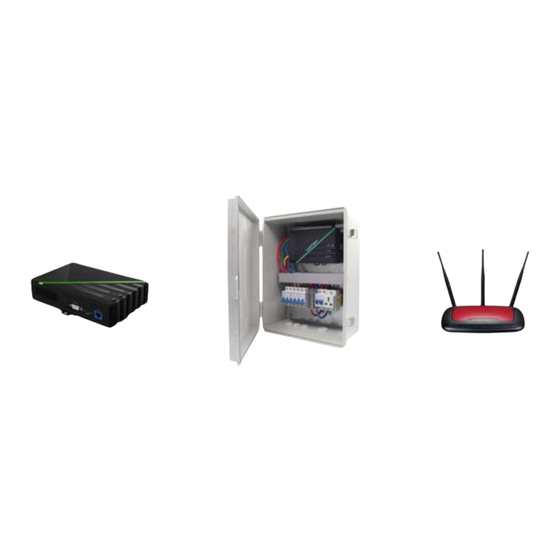
Please try to install LeadSolar Link to the junction box where you make the solar system connection. Connect the LeadSolar Link and your router using an Ethernet cable. Or you can login in the built-in webpages of LeadSolar Link and configure it to connect to your router by WiFi. ... -
Page 5: Registration
Registration 2.1. Register new account Before activating a solar panel that contains a LeadSolar Microinverter, please register the microinverter on the online monitoring platform first. Go to www.leadsolarenergy.com and login the monitoring platform by fast link: SMART GRID • MONITORING: ... - Page 6 Fill in all required fields (indicated by a green asterisk). Please note, you should choose “Installer” • as your role. Then click the “Create Account” button. • Monitoring System Installer Manual www.leadsolarenergy.com ...
-
Page 7: Forget Password
You will receive an email after registering. You cannot active your account by yourself. Our • engineer will active it for you. 2.2. Forget Password This feature can help you to retrieve your password. Password will be send to your email address during registration. -
Page 8: Forgot Password
3.2. Forgot Password: This feature can help you to retrieve the password if you forgot your password. Password will be send to your email. Overview 4.1. Installer Details: As an installer user, you can see your account details on home page. Google map shows all your PV sites have been installed. -
Page 9: Customer Details
4.2. Customer Details: In Management manual, you can get your Customer Details. You can search your customer details with provided search criteria. For example, when you input account ID and press “Search” button. The table lists details of the system. The page will be redirect to dashboard by clicking on Gateway Image. -
Page 10: Dashboard
4.3. Dashboard: Dashboard displays complete details of user account. 4.4. Power Details: This part displays the complete power details of a user account. It consists of Total inverters current power, Todays power, Month power, Year power and total power. Dashboard contains three views: 1. - Page 11 4.6. Power View: This section displays the power graph for Today. Each node is recorded in 20 minutes. When you put your month pointer on the node, you will get power generation information at that time. 4.7. Energy View This section displays the power generation for Month, Year and All mode. 11 Monitoring System Installer Manual www.leadsolarenergy.com ...
- Page 12 12 Monitoring System Installer Manual www.leadsolarenergy.com ...
-
Page 13: Monitor
In the Management manual, you can choose Monitor to get information of each inverter independently. You can select User Account, LeadSolar Link SN and LeadSolar Inverter ID, then you need to select the exact date and press Search button. You will download the inverter data in excel format. -
Page 14: My Account
4.10. My Account: On this screen, you can update your personal details. 14 Monitoring System Installer Manual www.leadsolarenergy.com ... -
Page 15: Change Password
4.11. Change Password: You can change the current password. 15 Monitoring System Installer Manual www.leadsolarenergy.com ...