Advertisement
Quick Links
This guide is designed for ROCK Pi 4 enthusiast. The purpose is to learn about the
ROCK Pi 4 board as well as how to prepare and set up for basic use. The ROCK Pi 4
has two models, one called ROCK Pi 4 Model A and the other called ROCK Pi 4 Model
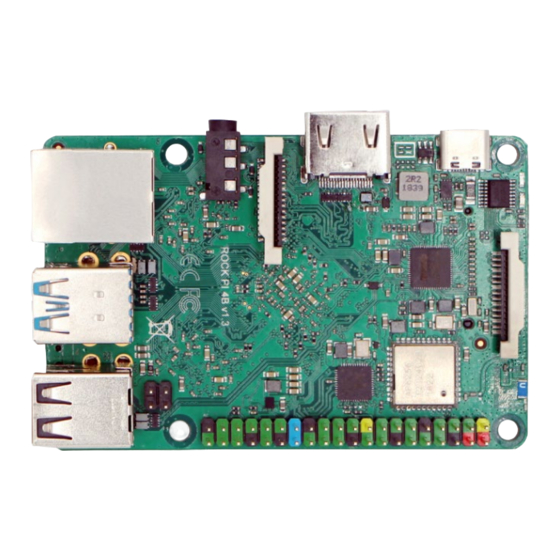
B. When you get a board, you need to know what Pi model it is and which hardware
version it is. The information is printed in the top side of the board. We will introduce the
board information as much as possible.
What you need
Necessary
ROCK Pi 4 main board
•
ROCK Pi 4 Model A or Model B
o
One of the Storage media below:
•
μSD card, larger than 8GB.
o
eMMC Module
o
Power supply
•
The ROCK Pi 4 is powered by USB Type C port and supports a wide range of input
o
voltage, from 9V to 20V. The power adapter can be USB Type-C PD 2.0 with 9V/2A,
12V/2A, 15V/2A and 20V/2A protocol compatible, or Quick Charge 2.0 9V/2A, 12V/2A
compatible. A dummy 9V or 12V power adapter with USB C tail will also work.
Warning: 9V/12V USB C dummy power adapter is dangerous to other 5V only
devices, don't mix them.
If the power adapter is PD/QC compatible, the USB power cable must support USB data
o
communication(USB 2.0 or 3.0) between the board and the power adapter, or the power
adapter will not output desired voltage wanted by the board.
Note: We don't suggest using a 5V only USB C power adapter. The board may boot
o
but it will cause stability issue once the system load rises.
USB Keyboard and Mouse
•
With four USB-A connectors, ROCK Pi 4 can be equipped with a full sized keyboard and
o
mouse.
Monitor and HDMI Cable
•
ROCK Pi 4 is equipped with a full sized HDMI connector. HDMI capable monitor is
o
recommended.
HDMI EDID display data is used to determine the best display resolution. On monitors
o
and TVs that support 1080p (or 4K) this resolution will be selected. If 1080p is not
supported the next available resolution reported by EDID will be used. This selected
mode will work with MOST but not all monitors/TVs.
USB to TTL serial cable
•
ROCK Pi 4 exports a dedicated serial console, which can access the low level debug
o
message.
USB Male A to Male A cable
•
If you want write image on ROCK Pi 4 from USB OTG port or use fastboot/adb
o
commands you need an USB Male A to Male A cable to connect ROCK Pi 4 and PC.
, larger than 8GB with eMMC to μSD converter board.
Advertisement


Need help?
Do you have a question about the ROCK Pi 4 A and is the answer not in the manual?
Questions and answers