Table of Contents
Advertisement
Quick Links
USE AND CARE GUIDE
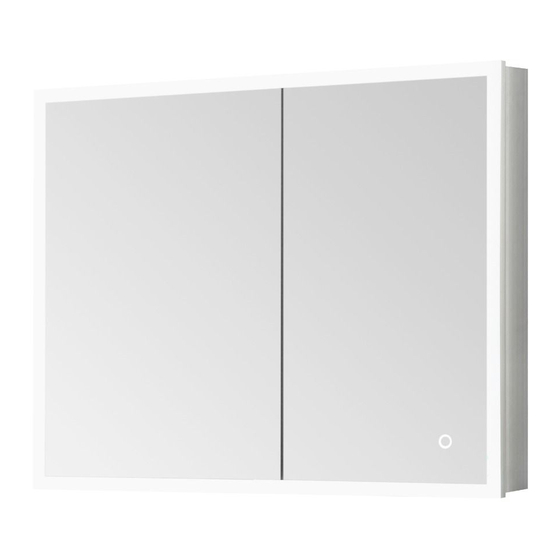
NEVA MEDECINE CABINET
THANK YOU
We appreciate the trust and confidence you have placed in us through the purchase of this medecine cabinet. We strive to continually create
quality products designed to enhance your home. Visit us online to see our full line of products available for your home improvement needs. Thank
you for choosing us !
Advertisement
Table of Contents

Subscribe to Our Youtube Channel
Related Manuals for OVE NEVA MEDECINE CABINET


Summary of Contents for OVE NEVA MEDECINE CABINET
- Page 1 USE AND CARE GUIDE NEVA MEDECINE CABINET THANK YOU We appreciate the trust and confidence you have placed in us through the purchase of this medecine cabinet. We strive to continually create quality products designed to enhance your home. Visit us online to see our full line of products available for your home improvement needs. Thank...
-
Page 2: Table Of Contents
Table of Contents Table of Contents ............2 Tools Required .................5 Safety information ............2 Installation guidelines ..............5 Storage instuctions ............3 Package Contents ..............6 Safety information ............3 Assembly ..............7 Warranty ................ 4 Consumer Responsibilities ........13 Limited Lifetime Warranty ............4 Maintenance .............. -
Page 3: Storage Instuctions
Storage instuctions □ The cord should be rolled up and securely fastened to the unit using tape or similar material which will not damage the finish of the product. □ The product should be stored safely in a box of adequate size and a piece of Styrofoam covering the entirety of the product should be placed on top and underneath the product. -
Page 4: Warranty
Warranty LIMITED LIFETIME WARRANTY WHAT IS COVERED Products are manufactured with superior quality standards and workmanship and are backed by our limited lifetime warranty. Products are warranted to the original consumer purchaser to be free of defects in materials or workmanship. We will replace FREE OF CHARGE any product or parts that proves defective. -
Page 5: Pre-Assembly
Pre-assembly PLANNING ASSEMBLY Check the medecine cabinet for damage before installation. If any part of the medecine cabinet is missing or damaged, contact us. Ensure that the medecine cabinet location is accessible to water supply and drain lines. It is suggested that you rough-in the water lines and drain before installing the medecine cabinet. -
Page 6: Package Contents
Pre-assembly (continued) PACKAGE CONTENTS ON/OFF Touch Sensor DIMMER SWITCH Part Description Quantity Screw Screw Twist-cap connectors Shelf holder 16+1... -
Page 7: Assembly
Assembly (Option#1) Positioning Positioning □ Measure and mark the positions of the holes for the □ Insert the wall anchors (AA) using a rubber mallet until hanging screws of the medecine cabinet. the wall anchors are flush with the wall. □... - Page 8 Assembly (Option#1) (continued) Connecting wires Positioning □ Install the screws (BB) with screwdrawer. □ For a standard size junction box, a standard 4.9 in x 1 in round junction box cover can be used (Not Supplied) □ Connect the neutral (N) and live (L) wires to your own, using the twist-cap connectors (CC).
- Page 9 Assembly (Option#1) (continued) Installing medecine cabinet □ Hang the medecine cabinet onto the screws (BB).
- Page 10 Assembly (Option#2) Positioning Positioning □ Mesure and built the studs where to install the □ Place the medecine cabinet into the wall, drill pilot medecine cabinet into on the wall. holes through the cabinet and the studs.
- Page 11 Assembly (Option#2) (continued) Installing medecine cabinet Connecting wires □ For a standard size junction box, a standard 4.9 in □ Fix the medecine cabinet into the wall using the x 1 in round junction box cover can be used (Not screws (BB).
- Page 12 Assembly (continued) WARNING Installing shelves □ Insert the shelves into the cabinet on the shelf holder. □ Install the caps (EE & FF) into the sides of the cabinet. WARNING: Maximum load: 1.4 kg (3 lbs) on each glass shelf. WARNING: Maximum load: 4.5 kg (10 lbs) on bottom metal frame.
-
Page 13: Consumer Responsibilities
Consumer Responsibilities □ The DISTRIBUTOR’s mirrors products will remain beautiful for many years if you properly care for them. □ The DISTRIBUTOR does not recommend the use of harsh abrasive cleansers on any of its products. Harsh cleansers will damage the finish of your mirror.
Need help?
Do you have a question about the NEVA MEDECINE CABINET and is the answer not in the manual?
Questions and answers