
Related Manuals for Grid PORSCHE 911 RSR

Summary of Contents for Grid PORSCHE 911 RSR
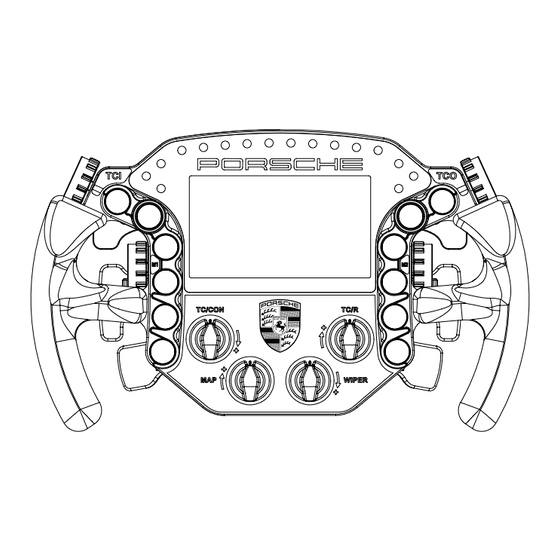
- Page 1 INSTRUCTION MANUAL PORSCHE 911 RSR SIM RACING STEERING WHEEL VERSION 1.2 Last updated: 05-10-2022...
-
Page 2: Before You Start
BEFORE YOU START: Thank you for your purchase. In this manual we will provide you with the means to get started using your new steering wheel! Porsche 911 RSR Sim Racing Steering Wheel Features: Full billet anodized aluminium construction 80 telemetry controllable RGB LEDs Motorsports grade electronics High resolution 5”... -
Page 3: Installing Drivers
Installing drivers Display drivers To enable the display part of the steering wheel, specific drivers are needed. These drivers can be downloaded from the product page. Vocore drivers download: Installation To install the display drivers, run the downloaded package and specify the location where to install the drivers: Press ‘Next’. - Page 4 Specify the name of the start menu folder: Press ‘Next’. Review the settings before installation: Press ‘Install’. 4 22...
- Page 5 The drivers will install now. Sometimes this can take longer than expected. This usually means a system restore point is being made and should not hinder installation. If it does, unplug the USB cable to the wheel in case it is connected and try again. Make sure you have administrator rights on your system.
- Page 6 SimHub installation To control the LEDs on the wheel, Simhub can be used. Download the lastest version of Simhub from https://simhubdash.com Some changes on the side of SimHub mean this manual needs a version newer or equal to 8.1.0 to match instructions. Installation Unzip the downloaded file and run the setup file.
- Page 7 Specify the location where to install the software: Press ‘Next’. Make sure all options are checked: Press ‘Next’. 7 22...
- Page 8 Press ‘Install’. After installation press ‘Finish’. 8 22...
-
Page 9: Initial Calibration
The quickest way to do this is to press the windows-key, type ‘Game Controller’ and hit ‘enter’ on your keyboard. This will open the Windows Game Controller program. Select ‘GRID 911 RSR’ from the list and press ‘Properties’ to access the properties window. - Page 10 Calibration Mode The calibration is a very straightforward process, but first we need to enter the Calibration Mode on the wheel itself. To activate the wheels’ calibration mode, Press and Hold the ADJUST (A) button and CALIBRATION MODE (CM) button at the same time.
- Page 11 Clutch modes and bite-point adjustment To make the most out of the dual clutches installed, they need to be set-up to your liking and intended use. Mode selection We offer multiple modes for different uses. This can be changed on the fly on the wheel itself.
- Page 12 Bite-point adjustment Bite-point adjustment is available only in the DUAL-CLUTCH mode. If you are not in this mode, please see the previous page how to switch to this mode. Also, it is important that both paddles are calibrated before adjusting their behavior. Please see Page 10 before following the steps on this page, if you have not calibrated your clutch paddles already.
- Page 13 SimHub configuration If you haven’t connected the wheel with the supplied USB cable to your computer, this is required from this point forward. Activation To use the display with SimHub, it needs to be added as a device: Press ‘Devices’ (1) and ‘ A dd device’ (2) when you see are adding a device for the first time.
- Page 14 Press ‘Generic Vocore Screen’ (1). Confirm by pressing ‘Ok’ (2). 14 22...
- Page 15 In the top-right part of the screen, check ‘Enable display’ (1). The icon should show up in green and the ‘Connected’ indicator will appear just below it. When more devices with a Vocore screen are connected to your PC, it doesn’t hurt to rename them according to their product name in SimHub.
- Page 16 Controlling the LEDs A sample LED profile can be downloaded from the product page. LED profile download: While on the ‘Devices’ (1) page, press ‘ A dd a new device’ (2) to choose the LED controller for your wheel. 16 22...
- Page 17 Press ‘Grid by SimLab’ (3). Confirm by pressing ‘Ok’ (4). 17 22...
- Page 18 Now there are two devices on the screen. Make sure the current one is enabled (1). The default LED profile has been loaded by default. Press ‘Profiles manager’ (2) to open the profiles manager. Press the import profile icon (3). 18 22...
- Page 19 Browse to the location where you stored the LED profile, select it and press ‘Open’. The load the profile, make sure it is selected (PORSCHE x GRID 911 RSR WHEEL) and press ‘Load’ (4). The LED profile now has been loaded, it’s free to be adjusted to your liking. Simply press ‘Edit profile’...
- Page 20 Changing the LEDs’ functions. To change the LED effects you need to know their numbering to identify them on the wheel. The following schematic shows the LED numbering for the available inputs and RPM LEDs. The buttons and encoder knob LEDs consist of four very small but powerful LEDs.
- Page 21 Secure all cables in such a way they can’t be tripped on or accidentally pulled from their sockets. When experiencing intermittent signal loss, we recommend using a powered USB hub. ONLY connect approved ‘GRID’ sim racing steering wheels or risk DAMAGE to your steering wheel or PC! 21 22...
-
Page 22: Bill Of Materials
Bill of materials IN THE BOX Part QTY Note Porsche 911 RSR Sim Racing Steering Wheel A2 Power Injector Box Interface between wheel and PC. A3 USB-A Cable A4 USB Coiled Cable A5 DC power adapter A6 Label package Bolt M5 X 16 DIN 7380...
Need help?
Do you have a question about the PORSCHE 911 RSR and is the answer not in the manual?
Questions and answers