Advertisement
Quick Links
Advertisement

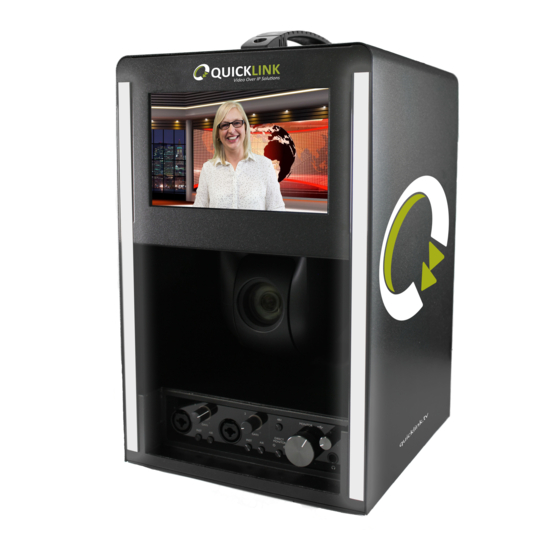
Summary of Contents for QuickLink Studio-in-a-box
- Page 1 Fitting a PTZ camera into the Studio-in-a-box Instructions Rev 2...
- Page 2 Remove the 6 screws on the rear panel using a Torx Tamperproof T10H S2 screwdriver head. Then remove the panel. Unplug the 4-pin fan connector. quicklink.tv...
- Page 3 Bit screwdriver head. IMPORTANT: When completing this step, please ensure that the four screws provided by Quicklink are used. Failure to do so may result in permanent damage to the motherboard. Lift the PTZ camera onto the camera mounting plate inside the Studio-in-a-box, aligning the holes on the camera to the mounting plate and then rotating the camera roughly 15 degrees.
- Page 4 Screw the camera to the mounting plate to lock the camera in place. Connect the HDMI cable to the camera. quicklink.tv...
- Page 5 Connect the Ethernet cable into the RJ45 socket. Connect the 12v red/black power cable to the camera. quicklink.tv...
- Page 6 Secure the cables together using the cable clamp. Re-connect the 4-pin fan connector. quicklink.tv...
-
Page 7: Configuring The Camera
Place the back panel onto the Studio-in-a-box, screwing in the 6 screws with a Torx Tamperproof T10H S2 screwdriver head. Configuring the camera To finish setting up the camera, please contact the Quicklink Support team who will complete configuration. How to contact Quicklink Support Email: support@quicklink.tv...
Need help?
Do you have a question about the Studio-in-a-box and is the answer not in the manual?
Questions and answers