Advertisement
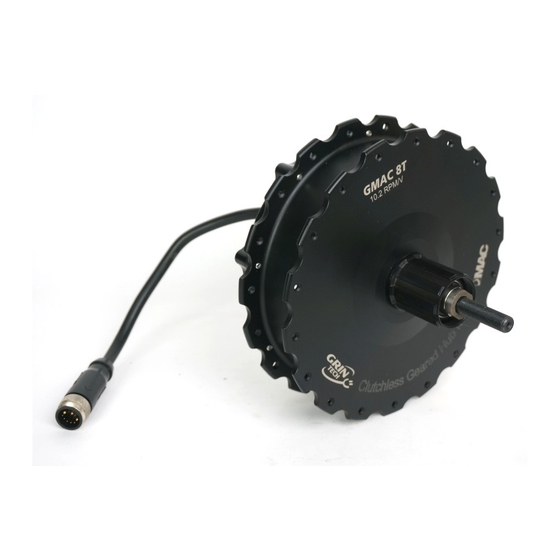
Thanks for your purchase of a GMAC motor kit! This motor has a number of
unique features that set it aside from other direct drive and geared motor kits
available on the market.
Locked Clutch: Allows for effective and efficient regenerative braking
•
down to very low wheel RPMs. When used with a Phaserunner
controller for virtual freewheeling, the drag torque present when pedaling
without assist can also be eliminated as well.
Round 10mm Axle: By using a round 10mm axle, the hub fits properly
•
inside the bicycle dropout slot and the disk rotor aligns properly with
industry standard
Integrated Torque Arm: An integrated torque arm on the splined portion
•
of the motor axle allows for zero play installations to handle forwards
and regen torques without any slop. It also eliminates torque
transmission and spreading forces on the dropout slot and transfers this
force to a securely to the chainstays with a pair of hose clamps.
Side Cable Exit: Better protects electrical wire from damage and
•
provides flexibility for axle hardware changes.
GMAC Installation Guide
Rev 1.0
Advertisement
Table of Contents

Summary of Contents for Grin Technologies GMAC
- Page 1 GMAC Installation Guide Rev 1.0 Thanks for your purchase of a GMAC motor kit! This motor has a number of unique features that set it aside from other direct drive and geared motor kits available on the market. Locked Clutch: Allows for effective and efficient regenerative braking •...
- Page 2 GMAC Installation Guide Rev 1.0 Tools needed: Adjustable Wrench (10mm-17mm) - T20 torx screwdriver - M4 Allen Key Machined Torque Arm Components: Torque Plate Installation: If the motor requires a disk rotor, remove the installed torque plate to • access disk rotor bolts. This may require prying with a screwdriver.
- Page 3 GMAC Installation Guide Rev 1.0 Torque Arm Installation: Once the torque plate is installed, the torque arm should be installed into the neutral position as shown in the photo below. The system is meant to be installed such that the wire exit passes through the dropout slot on the bicycle frame, following the arrow in the diagram below.
- Page 4 The M10 washers and axle nuts must also be installed and thoroughly tightened on the GMAC motor axle. We recommend tightening to at least 40 Nm (30 ft-lb).
Need help?
Do you have a question about the GMAC and is the answer not in the manual?
Questions and answers