
Summary of Contents for BIG EASY MODELLING SOLUTIONS 1701-E SOVERIGN COMMANDER Series
- Page 1 Big Easy Modeling Solutions Presents: THE 1701-E SOVERIGN COMMANDER SERIES BOARD ™...
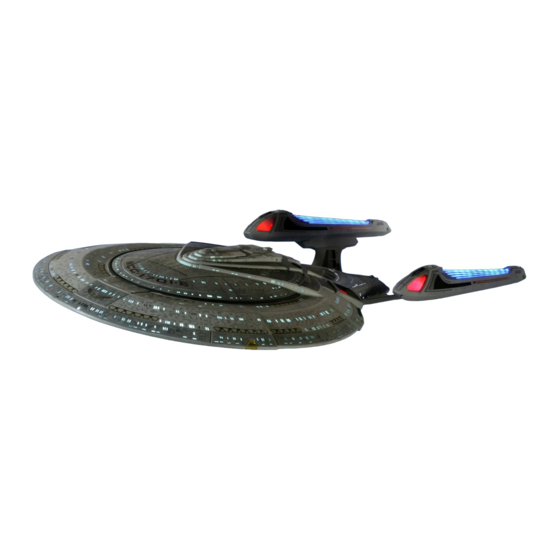
- Page 2 INTRODUCTION Welcome to Big Easy Modeling’s lighting kit for the Sovereign 1:1400 Scale Starship model kit! In purchasing this kit and the effects board it is designed for, it can be assumed you’re building a very serious model requiring countless hours of work and planning and building and, most of all, FUN! And you’re likely looking for a very accurate representation of the beautiful Enterprise as she appeared on the original television show or, in some cases, your own version of the Grand Lady! We’re here to help you in...
-
Page 3: How To Use This Guide
HOW TO USE THIS GUIDE This guide is presented in a format intended to be easy to decipher for the intermediate to advanced model builder who is passably familiar, at least, with lighting diagrams and electrical current flow. For the beginner, this kit is certainly usable! But you might want to take some time to gather some information and familiarize yourself with basic terminology and knowledge on electrical diagrams and current. -
Page 4: Getting Started
Getting Started So you’re ready to embark on your mission? Ok, the first step is to check the contents of the kit to make sure you have all included parts. There may be some modifications necessary to the model kit to accommodate lighting and wires you will need to make before completing installation. - Page 5 Soldering an LED We realize not everyone has experience with electronics and, in particular, using a soldering iron. So the Big Easy team thought it would be a good idea to include a little basic tutorial here to make this process simple for you. With just a little bit of practice, you can solder an LED like the pros! Let’s check it out…...
- Page 6 Soldering an LED (pg2) Next, slide the coiled resistor up the LED leg a bit and apply the solder by touching the iron and the tip of the solder coil to the wrapped resistor. For most LED’s, you should keep your soldering iron from 335˚C to 400˚C. Leave just enough solder to secure the two wire leads together.
- Page 7 Soldering an LED STRIP LED strips are convenient for several lighting needs! They are prewired with resistors to operate at 9V – 12V and may be cut every third LED into smaller strips. However, when cutting the LED strip, you must add solder to the connection points on the strip.
- Page 8 Wiring tips and tricks “How do those pro and advanced builders get such tidy wires without a rat’s nest?” We hear this question a lot. The trick is learning to be efficient with your wiring. It’s also important to understand current, voltage, and terms such as “common ground,” “common positive (hot),”...
- Page 9 A “pigtail” is similar to a splice except, in this case, we’ll twist multiple (common positive, for example) wires together from several LED’s with one additional wire attached to go back to the terminal. That way, instead of trying to fit 10 wires into one terminal, you can simply have one.
-
Page 10: Board Layout
Board Layout To begin, let’s have a look at the board layout. The diagram below should line up with your BEMS Commander Series Sovereign Effects Board. The terminals each have an effect assigned to them and your LED’s will and switches will connect using the screw terminals by simply inserting the stripped wire into the terminal and then tightening the screw down in place to secure the wire in the terminal. -
Page 11: Board Layout Description
Board Layout Description 2 - SWITCH INTERIOR DIMMER DOWN – This terminal controls the switch for the interior strip brightness down. If you are using a double rocker switch, connect the down arrow pole to this terminal and the ground (center) pole to the GR terminal. If you are using a single switch, connect one pole on the switch to this terminal and the other to GR. - Page 12 9 - BUSSARD 3 - This terminal (along with terminals 5 and 6) controls one of the three LED’s used in the bussards for the “lava” effect. All three LED’s work in conjunction to make the effect work. Just arrange them in a triangle inside the front of the nacelle, adjusting them until you are satisfied with the look.
- Page 13 For any questions, contact us anytime through our Facebook page or at: www.bigeasymodelingsolutions.com Thank you and happy modeling!!!
Need help?
Do you have a question about the 1701-E SOVERIGN COMMANDER Series and is the answer not in the manual?
Questions and answers