Table of Contents
Advertisement
Quick Links
Advertisement
Table of Contents

Summary of Contents for Clarity Node-C
- Page 1 Node-C | WiFi Deployment Guide Revision 1.2...
-
Page 2: Table Of Contents
TABLE OF CONTENTS 1. Components ..........................3 2. Choosing a Deployment Site ....................4 3. Device Configuration ........................ 4 4. WiFi Configuration ........................6 5. Assembly ............................ 7 6. Deployment ..........................8 7. Checking Device Status ......................8 8. Viewing Data ..........................10 9. -
Page 3: Components
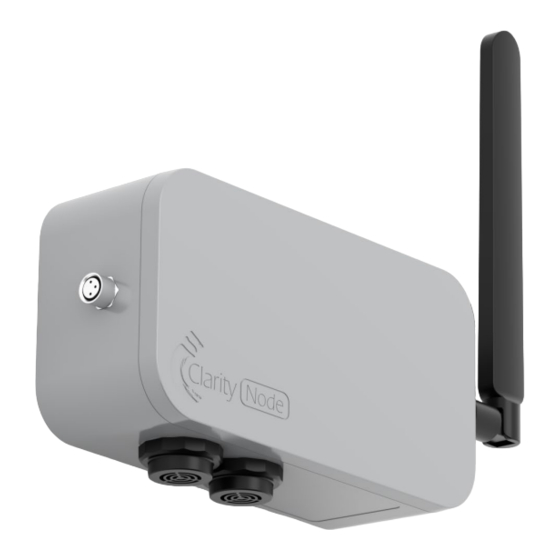
COMPONENTS Thank you for purchasing a Clarity Node! You’ll find the following components in the box: Figure 1. Components of Clarity WiFi Node Please note that hardware and tools required for mounting the device on a pole, wall or panel (e.g., Phillips screwdriver, zip ties, or additional screws) are not included as they depend on the requirements of the deployment site. -
Page 4: Choosing A Deployment Site
Clarity Deployment Tool. Alternatively, you may access it at https://deploy.clarity.io. 2. Log in with the credentials provided on the Quick Start Guide in the box. Please save these credentials. - Page 5 A0000001 Enter location latitude (e.g., “38.0704608”) and longitude (e.g., “-120.1429285”) or select location on the map Enter height above ground level (m) e.g., “5” Enter distance from nearest road (m) e.g., “35” Optional Upload image of deployed device Figure 1. Deployment Tool Interface Click “Submit”...
-
Page 6: Wifi Configuration
WIFI CONFIGURATION 1. Plug the device into a power outlet with the provided power adapter. A Power On sound (See Appendix B for details on sounds), indicating that it is powered on. 2. On a phone or computer, select “Clarity_AP” from available WiFi networks (Figure 3). 3. -
Page 7: Assembly
ASSEMBLY 1. Use a Philips head screwdriver to attach the back-mounting plate to the device with the provided screws. The plate can be attached horizontally or vertically depending on the infrastructure. See Figures 6-8 to determine the best orientation. If securing onto a wall Figure 6. -
Page 8: Deployment
Figure 10. Deployment scenarios: (a) Securing onto a wall (b) Hanging onto a wall (c) Attaching to a pole (Solar powered version shown) CHECKING DEVICE STATUS Log in to https://deploy.clarity.io on your computer or phone to check device status. 1. Tap the hamburger menu on the top left and click on the Devices tab... - Page 9 No readings Follow instructions in Sections 4, 5, and 6 to have been uploaded from deploy the device. the device to the Clarity Cloud. Device is functioning and uploading data to the No further action needed.
-
Page 10: Viewing Data
VIEWING DATA Air quality data from your devices can be viewed on Clarity’s OpenMap at https://openmap.clarity.io/. Please click on a circle to see the device information. GENERAL MAINTENANCE Regular inspection of the deployed devices is recommended to ensure continued functioning in the field. Please inspect for the following: Power Adapter is securely inserted in to the protected outlet •... -
Page 11: Appendices
(Section 3). c. Return to Section 5 to redeploy the device. Figure 11. Deployment Tool menu options 3. If the problem persists after troubleshooting, please contact Clarity Support at support@clarity.io. -
Page 12: Sounds Legend
Time powered. Connection Plays when the device Successful connects to WiFi and (2 beeps, data uploading to increasing in Clarity Cloud pitch) successfully. Time Indicates correct configuration. Connection Fail Plays when the device (6 short beeps) fails to connect to WiFi. -
Page 13: Revision History
2. Ensure there is Time internet connection. Note that the data upload fail usually happens if Clarity Cloud does not recognize the node or does not respond back. This will happen when the user has not configured the device.
Need help?
Do you have a question about the Node-C and is the answer not in the manual?
Questions and answers