Table of Contents
Advertisement
Quick Links
Advertisement
Table of Contents

Related Manuals for Strauss water bubbleX

Summary of Contents for Strauss water bubbleX
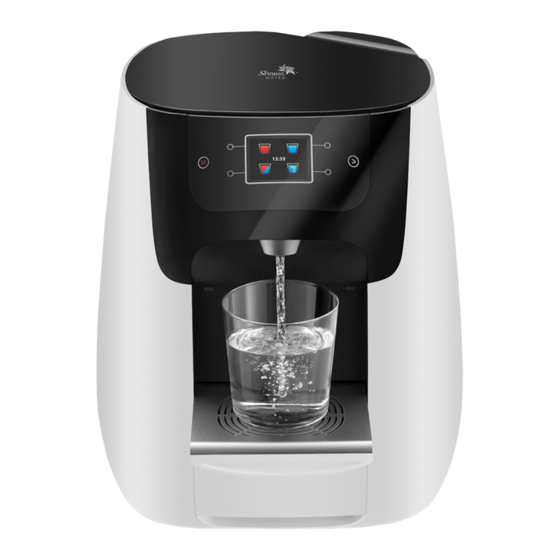
- Page 1 User Guide...
- Page 2 Cylinder The CO2 cylinder is given to you in accordance with the user license for the bubbleX The cylinder is property of the Strauss Water Company, thus it is important to return it after use. • Do not expose the...
- Page 3 If you have an issue or a question to which you have not found an answer in the guide, you are welcome to visit our website at www.strauss-water.com from a computer or mobile Strauss Water Co. Israel and its quality system have been certified according to device. The website will provide quick response using our chat service, on-site technician international standard ISO9001:2008.
-
Page 4: Table Of Contents
Table of Contents Table of Contents 1. Overview ............................. 5. Actions in the Settings Menu ..................2. Operation/Control Panel....................a. Clock ....................................23 3. Water Bar Operation ......................a.1. Time & Day Adjustment ..........................23 a.2. Setting Clock Format ............................23 a. -
Page 5: Overview
1. Overview 1 CO cylinder cover 2 Top cover 3 Operation panel with digital display 4 Dispensing spout 5 Folding tray bars 6 Folding tray 7 Drip tray 8 Ventilation vents 9 Electricity cable and heating switch 10 Water entry 11 CO cylinder housing... - Page 6 2. Operation/Control Panel 3. Water Bar Operation a. Dispensing Cold Water To dispense cold water, press the marked top right button. Dispensing will continue while the button is pressed. Please note that continuous dispensing is limited to 4 minutes. b. Dispensing a Measured Quantity of Cold Water To dispense a measured quantity of cold water, briefly press the marked top right button.
- Page 7 f. Dispensing Water with Child Lock To dispense hot water with child lock it is necessary to simultaneously press marked top left button and also briefly press the marked top right button. dispensing will continue as long as the top left button is pressed. There is no *Please note! Due to variations in the water flow rate, the set quantity may vary.
- Page 8 i. Dispensing a Cup of Sparkling Water l. Dispensing a Jug of Sparkling Water To dispense a cup of sparkling water, press the marked right bottom button. To dispense a jug of sparkling water, briefly press the menu button. After Pressing any button during dispensing will stop the action.
- Page 9 4. Preferences Menu Actions COLD CUP COLD CUP Place a cup on the tray. Press and hold the The menu enables changing general water bar settings and customizing OK button to Recording... start Recording Release OK to Stop settings. To enter the menu press button no.
- Page 10 Notes: (1) You can set a water quantity of 0-300 ml. a.5. Setting the Quantity for Dispensing a Jug of Sparkling Water (2) It is not possible to dispense a measured amount of hot water This option enables setting the quantity of a jug of sparkling water that will be when child lock is on.
- Page 11 To select the preferred sparkling level for display on the home screen, enter the b.2. Setting Mixed Water Temperature SPARKLING LEVELS sub menu: The option enables setting the required mixed water temperature. To set the MENU PREFERENCES SPARKLING LEVELS temperature, enter the DEFINE TEMPERATURE sub menu: Select the preferred sparkling level and press the button to confirm.
-
Page 12: Actions In The Settings Menu
5. Actions in the Settings Menu d.2. Wakeup This option enables predefining two times for waking the heating system, for example: Morning and evening. a. Clock To turn on the automatic wakeup, enter the WAKEUP sub menu: A clock will appear on the display when the water bar is connected to the WAKE UP 1/ electricity supply. -
Page 13: Clock Display
a.3. Clock Display c. Keypad Sound The option enables a permanent time display on screen. When this option is on, a short beep will sound whenever a button is pressed. To turn on the option, enter the KEYPAD SOUND sub menu: The select the clock display, enter the CLOCK DISPLAY sub menu: MENU SETTINGS... -
Page 14: Water Bar Maintenance & Periodic Care
6. Water Bar Maintenance & Periodic Care d. Displaying and Resetting the Filter Replacement Timer a. Emptying the Drip Tray This option enables showing the time till the next filter replacement on the display; It is important to empty the drip tray on time (before it fills up). Order of operations for emptying the drip tray. -
Page 15: Displaying And Resetting The Uv Lamp Replacement Timer
f. Displaying and Resetting the UV Lamp Replacement Timer h. CO cylinder content It is possible to show the time till the next lamp replacement on the display; This option enables checking the CO cylinder content. and reset it if necessary. To display or reset the UV lamp replacement timer, To check the contents of the CO cylinder enter the CO CYLINDER STATUS... -
Page 16: Initialization
k. Initialization k.2. Smart Heating Reset This option enables performing 2 different actions. The first is initializing all This option enables deleting of all the boiling habits learned by the water bar. the water bar settings and restoring them to the factory defaults. The second To reset the smart heating data, enter the SMART HEATING RESET sub menu. -
Page 17: Turn Off Mode
7. Replacing the CO2 cylinder When the CO cylinder is completely empty, an empty CO2 icon will appear on m. Turn Off Mode the main screen and the sparkling water cup icon on the display will This option enables turning off the water bar’s display as well as it’s heating and be dimmed. -
Page 18: Cylinder
8. Replacing the CO Cylinder When the CO cylinder empties and the empty cylinder icon appears on the 6. Remove the protective cover and the blue cap from the new CO2 display, it will be possible to replace the CO cylinder using the following steps: cylinder. -
Page 19: Cleaning The Water Bar
UV radiation dangerous to the eyes and skin. Do not turn on a damaged water bar. Runs on 230 . Connect the water bar to an electricity socket with a bubbleX • 10A fuse. • When using the water bar and performing maintenance, use all the precautions applying to electrical appliances. -
Page 20: Technical Specifications
11. Technical Specifications 12. Troubleshooting Electricity Supply Sparkling Water Output Before calling for a technician, if the water bar is not working, use the following table to check whether the problem is with the water bar and not with the electricity or water Voltage (single phase) 230 V cylinder 380 grams... -
Page 21: Service And Warranty Options
Non-sparkling water flow when Contact the company. • The manufacturer, Strauss Water, will not be held liable for any malfunction and/or requesting sparkling water fault and/or damage arising from using non-original parts. The quantity of sparkling water... - Page 22 With Bubble water bars the family drinks more water Manufacturer: Strauss Water Yoni Netanyahu Street 1c, Or Yehuda 603761, Israel | Manufactured in: Israel...
Need help?
Do you have a question about the bubbleX and is the answer not in the manual?
Questions and answers