Advertisement
Quick Links
Advertisement

Summary of Contents for DATREND Systems Multipurpose
- Page 1 Multipurpose Backpack User Guide 1/19 MN-144a Accuracy Matters • www.datrend.com...
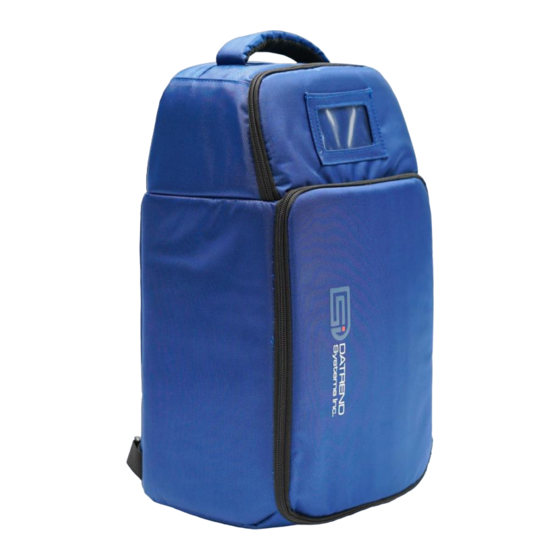
- Page 2 Introduction The purpose of this User Guide is to demonstrate both functionality and flexibility of the Datrend Multipurpose Backpack (P/N 7006-065), which can be used with vPad-A1, venTest, vPad-ES 2, vPad-ES, vPad-353 and Phase 3. Furthermore, this document includes instructions on how to configure a modified version of the Backpack (P/N 7006-068) to suit a one- or two-channel vPad-IV analyzer.
-
Page 3: Table Of Contents
Table of Content Introduction ...........................2 Backpack Overview (P/N: 7006-065) ............4 Configuration Instructions for vPad-A1 ..............5 Configuration Instructions for venTest ..............8 Configuration Instructions for vPad-ES 2/vPad-ES/vPad-353 ..10 Configuration Instructions for Phase 3 ............. 13 vPad-IV Backpack Overview (P/N: 7006-068) ......... 15 Configuration Instructions for vPad-IV ............... -
Page 4: Backpack Overview (P/N: 7006-065)
Backpack Overview (P/N: 7006-065) When you open the Datrend Multipurpose Backpack, there will be five dividers inside the Main Compartment. The compartments are individually labeled below so that they can be referenced later in this document. The Top Compartment also has a divider labeled below as item (6). - Page 5 Configuration Instructions for vPad-A1 Figure 3: Attach the Main Divider (1). Figure 4: Insert Support Block (2), and adjust Main Divider (1) if necessary so that it is resting against the Support Block (2). 5/19 Accuracy Matters • www.datrend.com...
- Page 6 Figure 5: Push the Support Block (2) to the bottom of the Backpack. Figure 6: vPad-A1 should now fit snugly into the space provided. Note: during transport, the smartphone should be oriented so that the screen faces downward. 6/19 Looking to the Future • www.datrend.com...
- Page 7 Figure 7: Next, install 1 or 2 Standard Dividers (4, 5). In the image above, only one Standard Divider has been used to create a space for vPad-O2. Figure 8: Finally, the power supply and power cord are stored in the Backpack.
- Page 8 Configuration Instructions for venTest Figure 9: Attach the Main Divider (1). Figure 10: If necessary, use the Support Block (2) to set proper spacing for the Main Divider (1). Remove the Support Block afterward. 8/19 Looking to the Future • www.datrend.com...
- Page 9 Figure 11: Place venTest base unit as shown. Install a Standard Divider (4), and also the venTest Protector (3). Note: If done properly, the venTest Protector will rest next to the differential pressure inputs and the optional 10 bar pressure input (if present). Try avoid having the venTest Protector covering the power button (green) to reduce the chance of accidentally turning on the device during transport.
-
Page 10: Configuration Instructions For
Configuration Instructions for vPad-ES 2 / vPad-ES / vPad-353 Figure 13: Remove all dividers from the Main Compartment. Figure 14: The most efficient way to load the unit is to slide it in from one end as shown above. 10/19 Looking to the Future •... - Page 11 Figure 15: The entire unit should fit snugly in the backpack. Figure 16: With the tablet facing down, place it on top of the base. 11/19 Accuracy Matters • www.datrend.com...
- Page 12 Figure 17: The power cord can be placed on top of the tablet. The Kelvin cables and other accessories can be placed in the Backpack's Top Compartment. The Main Divider (1) can be attached to the backpack as shown. This will allow the power cord to be held more tightly in place.
-
Page 13: Phase
Configuration Instructions for Phase 3 Figure 19: Insert the Support Block (2) and attach the Standard Divider (4). A gap (identified by an arrow in the photo) which lies between the Standard Divider and top of the Main Compartment should be less than 2 cm. Figure 20: Insert the paddle plate for the Phase 3 as shown. - Page 14 Figure 21: The Phase 3 can now be placed face down inside the Main Compartment where the Support Block (2) will protect the LCD display. Power supply, cables, and accessories can be placed in the Top Compartment. Figure 22: An alternative setup, shown above, is to place the paddle plate on top of the Phase 3.
-
Page 15: Vpad-Iv
vPad-IV Backpack Overview (P/N: 7006-068) The vPad-IV Backpack (7006-068) comprises a Standard Backpack (7006-065) and a Divider Foam set for vPad-IV (7006-443). This bag is capable of transporting either one- or two-channel vPad-IV systems. Customers with unused Standard Backpacks may order the additional inserts to convert the Standard Backpack to P/N 7006-068. - Page 16 Configuration Instructions for vPad-IV Figure 24: Place the vPad-IV Spacer Block (7) as shown. Figure 25: Attach the vPad-IV Bag Divider (10) next to the vPad-IV Spacer Block (7). For a one-channel vPad-IV analyzer, leave the Spacer Block in the Backpack. For a two-channel vPad-IV analyzer, remove the Spacer Block.
- Page 17 Figure 26: Place the vPad-IV Cover Protector (8) into the Backpack. Note the rectangular gap, indicated by the arrow above, which is created by the Cover Protector. Note: Whether you are using the Spacer Block or not, placement of the Cover Protector is identical for both one- and two-channel systems.
- Page 18 Figure 28: Fit the second vPad-IV Cover Spacer (9) into the Backpack. Figure 29: The tablet, power supply, input/output tubing kit, and remaining accessories can be placed inside the Backpack. Try keep the tablet away from the vPad-IV handle by leaving a gap, identified by an arrow in the above photo, in the mesh pocket.
- Page 19 Figure 30: An alternative way to pack the vPad-IV is shown above, where the handle is closer to the zipper side. 19/19 Accuracy Matters • www.datrend.com...
Need help?
Do you have a question about the Multipurpose and is the answer not in the manual?
Questions and answers