Advertisement
Quick Links
AC 100-120 Vac, 50/60, 12A
AC 220-240 Vac, 50/60, 10A
AC 100-120 Vac, 50/60, 11A
AC 220-240 Vac, 50/60, 9A
Max. Current 8A
DUKANE CORP AV SERVICE DEPT
2900 Dukane Drive St Charles, IL 60174
800-676-2487
Fax 630-584-5156
avservice@dukane.com
http://www.dukane.com/av/service/
975mm
MCC3A
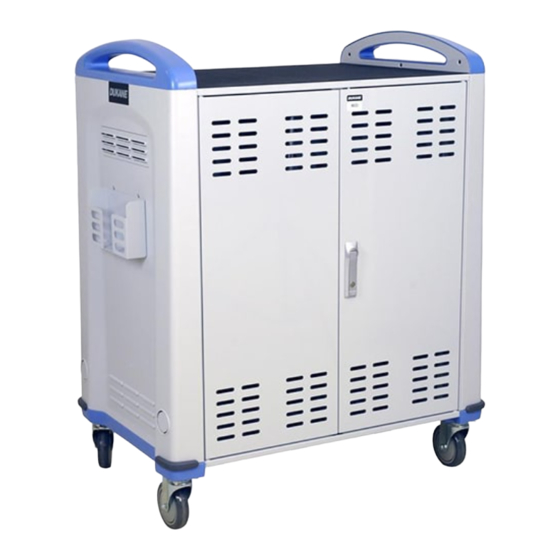
Charging Cart
User Guide
430-MCC3A-00
Advertisement

Summary of Contents for Dukane MCC3A
- Page 1 AC 100-120 Vac, 50/60, 12A AC 220-240 Vac, 50/60, 10A AC 100-120 Vac, 50/60, 11A AC 220-240 Vac, 50/60, 9A Max. Current 8A DUKANE CORP AV SERVICE DEPT 2900 Dukane Drive St Charles, IL 60174 800-676-2487 Fax 630-584-5156 avservice@dukane.com 430-MCC3A-00 http://www.dukane.com/av/service/...
- Page 2 Step 1 This assembly can require 2 people. Attach the wheels by using 4 screws, nuts, and lock washers on each...
- Page 3 Step 2 Open cart rear doors. Use key if locked. Then push on lower region of the handle to release the door lock handle.
- Page 4 Step 3 Install the supplied power cables which have a C14 plug for the power outlet strip and a female plug for the power adapter device. Open the rear door Device adapter and load the Chromebook power Power adapter adapters and the power adapter cables.
- Page 5 Step 4 Two "U" fastener locations for security of the cart and devices placed on the top surface.
- Page 6 Step 5 4 accessory outlets 4 Outlet power strip on side of cart Power switch for 4 outlet Push button above the breaker to turn on the power on for the 4 outlet module. Tips! When cart is plugged into the wall all 4 outlets can operate unless the charging program is running.
- Page 7 Step 6 Arrange the cables...
- Page 8 Setup of Control - On Screen Display (OSD) 2 Hour fast charge for each channel * Press “ESC” to halt charging and press “Enter” to continue charging when operating the charging program. * Press “ESC” and hold on for 4 sec to escape the present screen. * The OSD will jump to the present time if the setting action is paused for over 60 sec.
- Page 9 CHARGING TIMER isplay. 1 3 : 50 : 43 wed 2013/ 0 7 / 2 4 harging Ext. isplay. Enter ontrol anel. Buttons; ESC - + ENTER Charging Control unit The cursor indicating the active line of the display is a flashing black box or a character. The white lighted LED shows the status of the charging system.
- Page 10 MCC3A CHARGING CONTROL UNIT Timer Ver 0.11B MENU (OSD) Press “ESC” button to get menu 1. “2 Hr Charging” Default Charging The default is a 2 hr charge to each channel (Outlet Strip). Each outlet strip has a channel number.
- Page 11 QUICK CHARGING OPERATION Push Button LED solid Blue ON, chargeing LED not ON, not charging Push button is located inside the front door on the left panel by the hinge Quickl chargeing operation 1.Connect main OSD operation 2.When the chargeing cart is powered On, press the button and LED will turn a solid Blue 3.When the LED turns a solid Blue , the cart will charge 2 Hrs per channel (the same as 2 HR Charge) 4.Press the button again to stop the charging...
- Page 12 OR USED. The following are not covered by the limited warranty and Dukane Corporation shall not be liable for: 1. Any product which is not distributed in the U.S.A. or Canada by Dukane Corporation or an authorized dealer. 2. Damage, deterioration or malfunction resulting from: water, lightning or other acts of nature, unauthorized product modification, or failure to follow instructions supplied with the product.
- Page 13 Feature Can hold up to a screen size of 15.6" for some models. Swiveling 5" casters ( 2 with brake locks ). complete with all the necessary parts. 4 Power outlets on outside for external use. They operate when the inner charging system is not in use.
Need help?
Do you have a question about the MCC3A and is the answer not in the manual?
Questions and answers