Table of Contents
Advertisement
Quick Links
Quick Start Guide
Home Alarm System
Model: AL-HUB1
Motion
Smart Home
Sensor
DIY
Alerts
Installation
We'd Love to Hear from You!
We wanted to personally reach out and thank you for
purchasing from our Amazon store. Selling on Amazon
is what we do to support our family, and product
reviews are the lifeblood of our business. It would mean
the world to us if you could take one minute of your time
to help share the love by leaving us an honest review
using the link below:
www.amazon.com/ryp
Thank you again for being one of our amazing
customers!
Sincerely,
Amcrest Team
2
Advertisement
Table of Contents

Related Manuals for Amcrest AL-HUB1


Summary of Contents for Amcrest AL-HUB1
- Page 1 It would mean Model: AL-HUB1 the world to us if you could take one minute of your time to help share the love by leaving us an honest review using the link below: www.amazon.com/ryp...
-
Page 2: What's Included
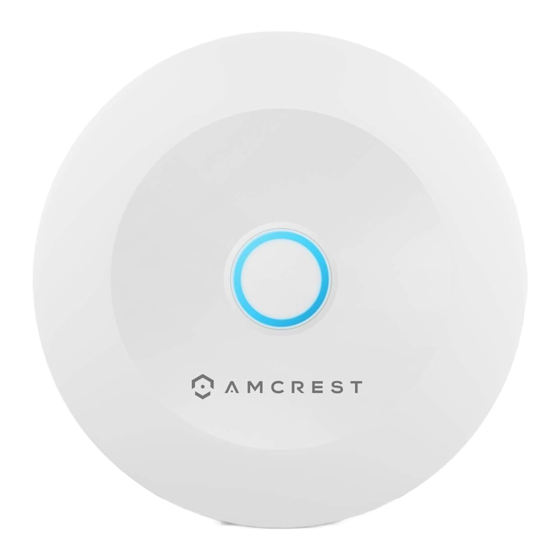
What’s Included? LED Indicator Product Overview Sensor Hub Power Accressories Pair/Siren Button LED Behavior Please refer to the table below for details regarding the LED behavior of the device. Behavior Description Home/Away/Disarm mode is Solid activated. Bracket Ready for network connection. Flashing Ready to pair. -
Page 3: Setting Up The Hub
Initial Physical Setup The Amcrest Smart Home app connects your device to your Android or iOS mobile device, ensuring you are Connect the power cable always connected to what matters to the included USB most. Setting Up adapter and plug it into a nearby wall outlet. - Page 4 Connecting to the Smart Home App Scan the QR Code or Manually Enter the S/N Open the Amcrest Smart Home app and tap Scan the QR code located “Register” to register an on the hub. account. After registering an account, log into the If you are unable to scan app and tap “Add Device”.
-
Page 5: Connecting The Hub
Adhesive 3. Follow the on-screen prompts to finish pairing the hub to your account. *Sensors sold separately. To purchase additional sensors, visit us at amcrest.com Overview Battery Slot Sensor Magnet After the hub has been Note: Indicator added to the account it is now Pin Insert time to begin pairing sensors. -
Page 6: Specifications
Specifications Pairing the Sensor Environment Indoor 1. Locate the Alarm Hub on Max Detection Distance Less than 3/4” the main menu. Operating 14°F ~ 113°F 2. Tap on the “+” icon to pair Operating Humidity 0-95% RH the sensor to the hub. Battery CR1632 3. -
Page 7: Installing The Sensor
To purchase is steady to the hub before mounting. additional sensors, visit us at amcrest.com 3. Peel the mounting adhesive and stick it to the back of the sensor. Peel Overview the other portion of the adhesive and Battery Slot stick it to the mounting surface. - Page 8 Flashing Rapidly Alarm has been triggered. (after pairing) Firmware upgrade. Steady Flash Note: An Amcrest Smart Home camera can be linked to either sensor if needed. For more information, please visit CHOKING HAZARD WARNING: amcrest.com/support KEEP OUT OF REACH OF CHILDREN.
-
Page 9: Installing The Motion Sensor
flat surface. For more information on how The sensor can be placed on Note: Note: a table or at a 45° angle using the to change a battery, please visit included bracket. amcrest.com/support... -
Page 10: Need Help
4. Peel the other side of the Online Quick Start Guide adhesive and place the hub amcrest.com/support to the desired surface area. Need help? support@amcrest.com Install the hub Note: close to an electrical...
Need help?
Do you have a question about the AL-HUB1 and is the answer not in the manual?
Questions and answers