Advertisement
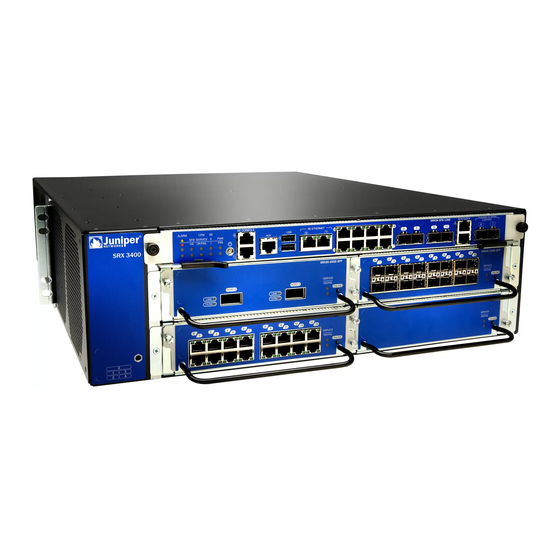
Replacing an AC Power Supply on the SRX3400 Services Gateway
To replace an AC power supply:
Attach an electrostatic discharge (ESD) grounding strap to your bare wrist and
1.
connect the strap to one of the ESD points on the chassis. For more information
about ESD, see Preventing Electrostatic Discharge Damage to the SRX3400
Services Gateway.
Remove the power cord from the power supply.
2.
Push the tab on the left edge of the power supply to the right.
3.
Pull the power supply straight out of the chassis using the provided handle. Use
4.
one hand to support underneath the supply as you remove it.
Figure 1: Removing an AC Power Supply
Orient the replacement power supply so that the tab is on the left side, as shown
5.
in Figure 2.
Replacing an AC Power Supply on the SRX3400 Services Gateway
1
Advertisement
Table of Contents

Related Manuals for Jupiter SRX3400


Summary of Contents for Jupiter SRX3400
- Page 1 Replacing an AC Power Supply on the SRX3400 Services Gateway To replace an AC power supply: Attach an electrostatic discharge (ESD) grounding strap to your bare wrist and connect the strap to one of the ESD points on the chassis. For more information about ESD, see Preventing Electrostatic Discharge Damage to the SRX3400 Services Gateway.
- Page 2 NOTE: If you were moving this power supply from one slot to another, wait at least 60 seconds before inserting it into the new slot. Required Tools and Parts for Replacing Hardware Components on the SRX3400 Related Topics Services Gateway...
Need help?
Do you have a question about the SRX3400 and is the answer not in the manual?
Questions and answers