
Related Manuals for noken CITY 100235046 N399999686


Summary of Contents for noken CITY 100235046 N399999686
- Page 1 100235046_N399999686 100235047_N399999684 CITY Carretera CV-20 km.2 · 12540 Vila-real · Castellón · Spain Tel: +34 964 50 64 50 - Fax: +34 964 50 67 93 e-mail: noken@noken.com · www.noken.com...
- Page 2 -Please read these instructions carefully before starting installation and retain for future reference.Please leave these instructions with the end user. -Remove all packaging and check the product for missing parts and damages before starting the installation. -Any alterations made to this product and its fittings may infringe the water regulations and will invalidate the guarantee. -We strongly recommend the use of a qualified and registered plumber.
- Page 3 100235046_N399999686 100235047_N399999684 100236701_N899999627 100236702_N899999626 100235102_N399999685 100264534_N377001120 100264532_N377001117 100264498_N377001119 100264542_N377001118 100235102_N399999685 100236692_N899999625...
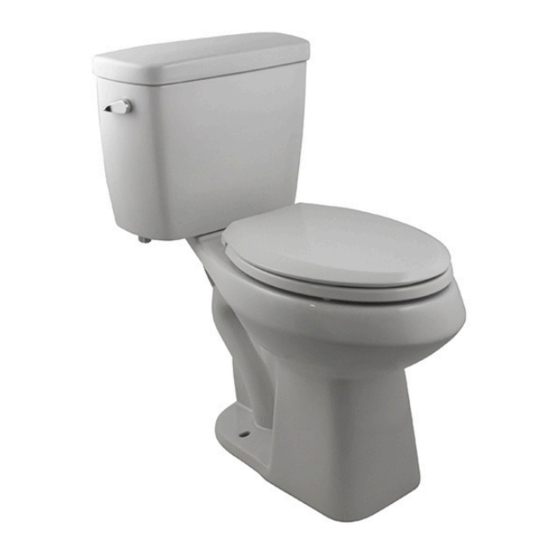
- Page 4 DIMENSIONS IN mm DIMENSIONS IN Inches DIMENSIONS IN mm DIMENSIONS IN Inches...
- Page 5 ATTENTION: INSTALLATION FITTINGS NOT INCLUDED. ATENCION: MATERIAL NECESARIO PARA LA INSTALA- CION NO INCLUIDO. ATTENTION: MATERIEL NECESSAIRE A L’INSTALLATION NON INCLUS. -Install the floor screws. -Instale los tornillos de fijacion a suelo. -Installez les vis au sol. Wax seal Sello de cera Joint en cire -If replacing a toilet, remove the old wax.
- Page 6 -Instale la junta cónica y el kit fijación cisterna como mos- trado en la figura. -Install the rubber gasket and fixing tank kit as show in RUBBER the picture. GASKET -Installez le joint en caoutchouc cône et le kit de fixation du réservoir comme montré...
- Page 7 According each State and County laws and plumbing codes, the toilet base may or may not be sealed with silicone. In any case, the back side of the toilet shall be left free from any sealant on its base. De acuerdo a las leyes y códigos de plomería de cada Estado y Condado, la base del inodoro se deberá (o no) sellar.
- Page 8 REPLACEMENT INSTRUCTIONS FOR FLUSH VALVE CARTRIDGE 130mm*190mm/ INSTRUCCIONES PARA EL REEMPLAZO DE LA VAL- VULA DE DESCARGA 130mmx190mm/ INSTRUCTIONS DE REMPLACE- MENT DE LA VALVE DE CHASSE 130mmx190mm Step 1. Shut off the water supply and flush the toilet to remove any water or air pressure before starting this procedure. Paso 1.
- Page 9 Étape 4. Pour retirer la cartouche de la soupape de décharge, utilisez l’outil FVC. Engagez le train d’outil avec les rainu- res sur le dessus du FVC et à l’aide d’une clé tournez le FVC 1/4 de tour dans le sens antihoraire, puis tirez le FVC hors du réservoir.
- Page 10 Paso 9. Conectar el suministro de agua y revisar todas las líneas para detectar cualquier posible fuga, para asegurar que la junta de la base del FVC está correctamente posicionada en su lugar, verter agua en la parte superior del FVC y revisar posibles fugas de aire.
- Page 11 3.why is there water in the bottom of the toilet tank? This is normal, particularly with our dual flush system B8100. The flush control valve discharges water into the tank when flush is activated. It is also normal for other components to release small amounts of water during and after the flush. 4.How do i clean the ECOFLUSH? DO NOT USE ANY CHEMICALS OR ANY CLEANING AGENTS! This will void your warranty and more importantly will damage the unit and may cause leaks and even damages.
- Page 12 FDP_30-0-0414-100235046_100235047-0220-1 www.noken.com...
Need help?
Do you have a question about the CITY 100235046 N399999686 and is the answer not in the manual?
Questions and answers