Advertisement
Quick Links
Advertisement

Summary of Contents for Eta COMPUTE TALIA
- Page 1 TALIA INSTALLATION GUIDE...
- Page 2 1. Included in package 2. Additional tools needed 3. Optional tools and hardware (not included)
- Page 3 4. Determine installation location The Talia sensor is designed for single-wide doors in commercial offices and other public spaces. Depending on the door configuration, there are two categories of mounting position. Case 1 (center) Use center placement if there is no door mounted in the doorway, the door opens outwards (outside of the room where the device is mounted) or in the presence of a sliding door.
- Page 4 Case 2 (side) In the case where a door swings into the primary space (inward opening door), Talia must be mounted on the side opposite the door’s hinges, to minimize interference in sensing by the door. Side placement can also be used for doorways which reach the ceiling or any other situation making center placement not possible.
- Page 5 For optimal performance Talia should be mounted in one of the optimal locations as indicated by shaded and white circles in figure 5. However, if optimal placement is not possible (e.g., due physical obstacles or low ceiling) Talia can be mounted within the allowed position zones. If using the allowed position zones, for best performance Talia should be mounted as close and possible to the optimal position.
- Page 6 For optimal locations – predefined angle Talia provides a simple method for mounting with the correct (0 or 15 degree) rotation at the shaded locations in figure 5. The simple method doesn’t require any measurements or calculations other than those...
- Page 7 For the sensing geometry shown above, the Talia must be tilted (with the top tilted away from the plane of the vertical wall) to ensure that Talia’s field of view includes the door threshold (the line of the doorway at floor level). The Talia (with its mounting base) provides a built-in fixed tilt, such that when mounted flush onto a vertical wall, the correct field of view is achieved.
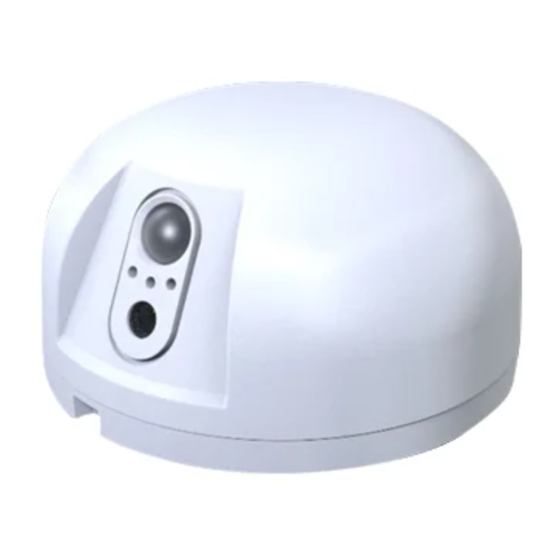
- Page 8 LEDs on the front of Talia and can be accessed using a suitable tool. The green LED is on steady for ten seconds when Talia exits power down mode or ship mode. This indicates that Talia has been turned on.
- Page 10 5. Mounting and installation Using a level, draw a straight horizontal line at the height and location determined in section IV.
- Page 12 **Verify the base location and angle making sure Talia will point towards the bottom center of the door. Remove the tape peel from the wall mount and line it up with the chosen angle on the wall. Press and hold the wall mount firmly against the wall for 15 seconds.
- Page 13 To attach Talia to the wall base plate: line up the four tabs on the bottom of the device with the matching openings on the base plate. Rotate the device clockwise until Talia "clicks" into place.
- Page 14 Dismount the Talia from its base by using a flat thin object, such as a flat head screwdriver, to push down on the snap accessed by the space in the base. The side that is snapped will be the same side the Talia is rotated towards.
- Page 15 Compliance Documentation Model # : SPCO0 Part # AS0010vA FCC ID : 2A7JIN-SPCO0 IC: 28771-SPCO0 Manufacturer: Eta Compute, Inc. WWW.etacompute.com European Representative: Another Trail 5 Ailee de Troenes 38640 Claix, France Caution: the user is cautioned that changes or modifications not expressly approved by the party responsible for compliance could void the user's authority to operate the equipment.
- Page 16 -- Reorient or relocate the receiving antenna. -- Increase the separation between the equipment and receiver. -- Connect the equipment into an outlet on a circuit different from that to which the receiver is connected. -- Consult the dealer or an experienced radio/tv technician for help. FCC&...
Need help?
Do you have a question about the TALIA and is the answer not in the manual?
Questions and answers